Let me show you three different methods on How To Hard Boil an Egg for perfect yellow yolks and easy peeling shells every time.
Get ready to master the art of hard boiling an egg.
We love using hard boiled eggs to make Classic Deviled Eggs or my Lemon Caper Egg Salad for a tasty lunch!
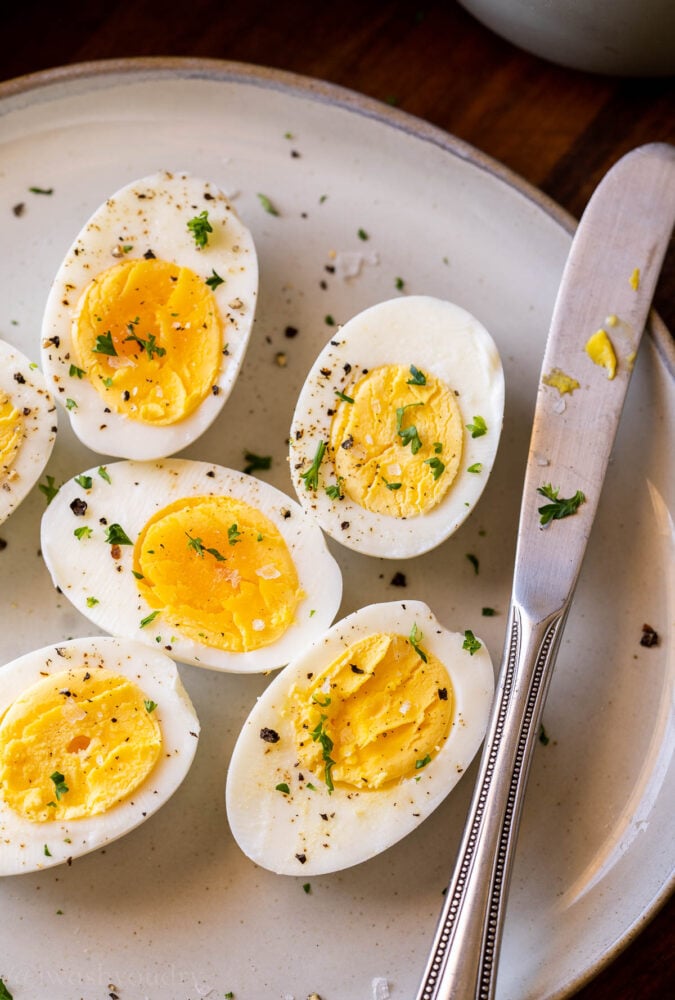
Hard boiled eggs are great for snacking, but also to dye for Easter! Whichever method you choose, you’ll be able to dye them easily.
How To Hard Boil an Egg
When I first wrote this blog post on how to hard boil an egg back in 2014, I was such a novice. The stove top was the only method I knew, but now thanks to the Instant Pot and Air Fryer, we now have two more methods.
Which method works the best?
I wanted to know too.
First, let me show you how simple each method is, then we will get down to which one is best.
Stove Top Hard Boiled Eggs
The classic method! No special tools or gadgets required for this old standby. Over the years I’ve learned a trick or two to getting the peels to slide off like butter.
- Bring a pot of water to a rolling boil.
- Gently lower the eggs into the boiling water with a slotted spoon to avoid them cracking when dropped.
- Continue to boil the eggs for 10 to 12 minutes (depending on how you like your eggs).
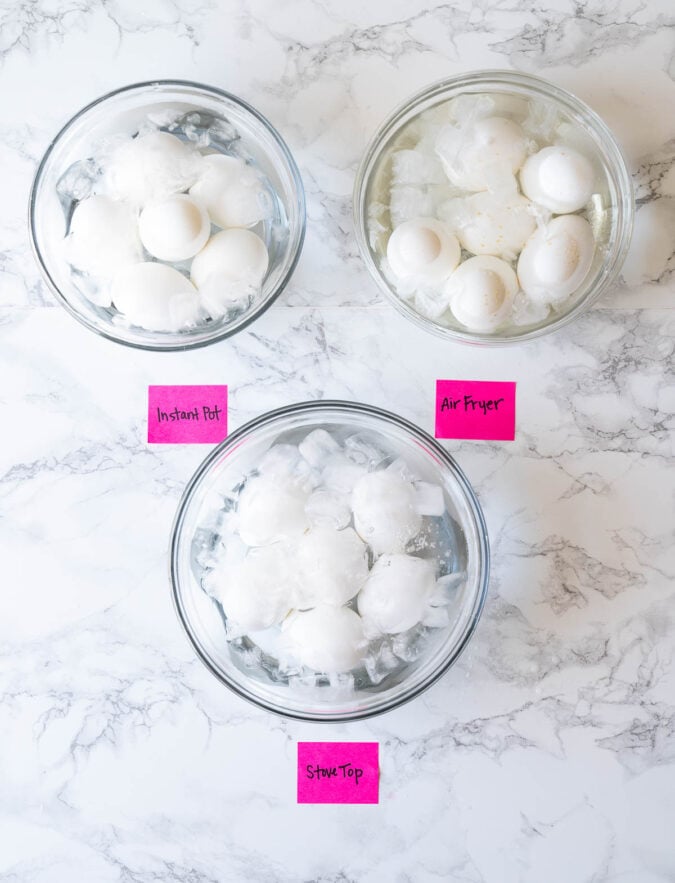
- Immediately dunk in a bowl of ice water to stop cooking. Once cool, you can peel and enjoy!
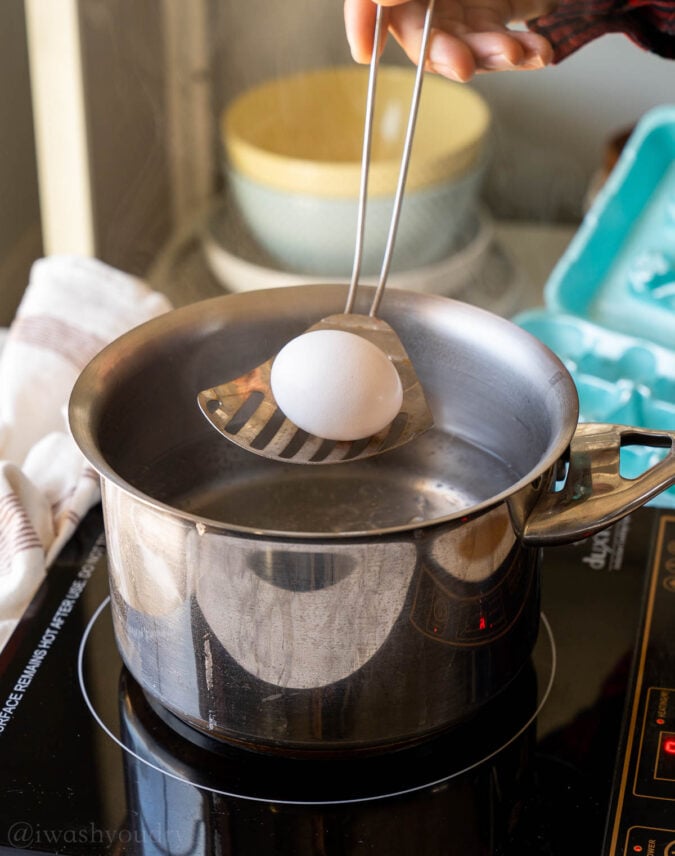
PRO TIP: By adding the cold eggs to the boiling water it shocks the egg whites immediately, which creates that easy-to-peel shell. Works like a charm!
Instant Pot Hard Boiled Eggs
The Instant Pot is an electric pressure cooker that can also make hard boiled eggs. This method works great for making larger batches of eggs all at once.
- Pour 1 cup of water into the instant pot liner and add the rack so the eggs do not sit on the bottom of the pot.
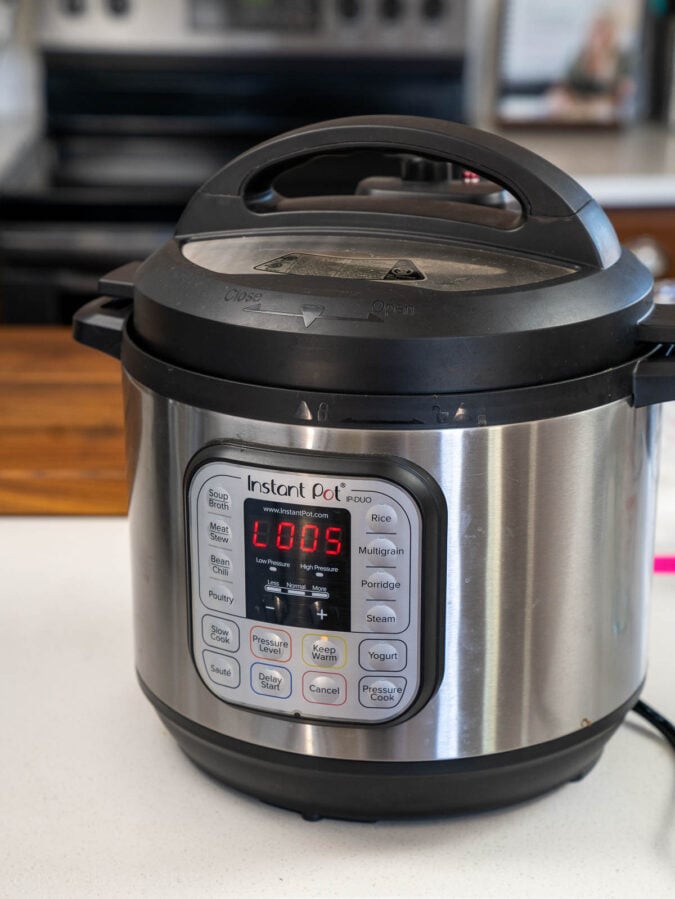
- Close the top, placing the vent to the sealed position and cook on High Pressure for 5 minutes.
- Allow the pressure to release naturally for 5 minutes, then flip the valve open to release any remaining pressure.
- Dunk the eggs in a bowl of ice water to allow to cool. Once cool enough to handle you can peel and enjoy!
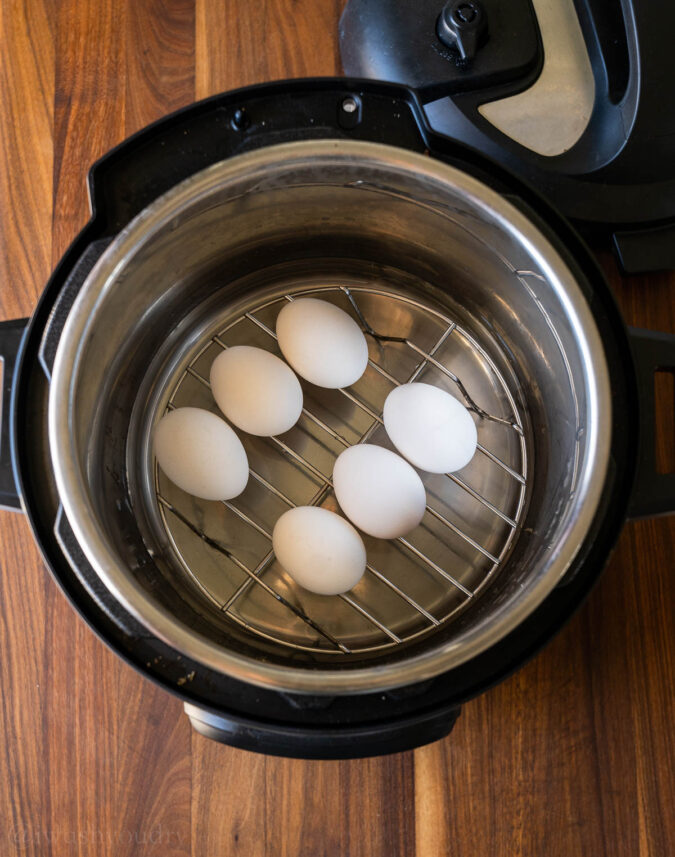
PRO TIP: This method of cooking hard boiled eggs in the Instant Pot is commonly referred to as the “5-5-5 Method”. 5 minutes of pressure, 5 minutes of release, and 5 minutes in ice bath.
The amount of water needed to start the instant pot will depend on the size of your pressure cooker. A 6 quart instant pot will need just 1 cup, but an 8 quart will need 1 1/2 cups.
Air Fryer Hard Boiled Eggs
Making hard boiled eggs in the air fryer is a relatively new method to me. I love my air fryer (this is the one I have), and use it almost daily. But I have never thought to use it to cook eggs.
- Preheat your air fryer to 250 degrees F.
- Place the eggs in the bottom of your air fryer basket and cook for 17 minutes.
- Dunk the eggs in a bowl filled with plenty of ice water and let cool. Once cool enough to handle you can peel and enjoy.
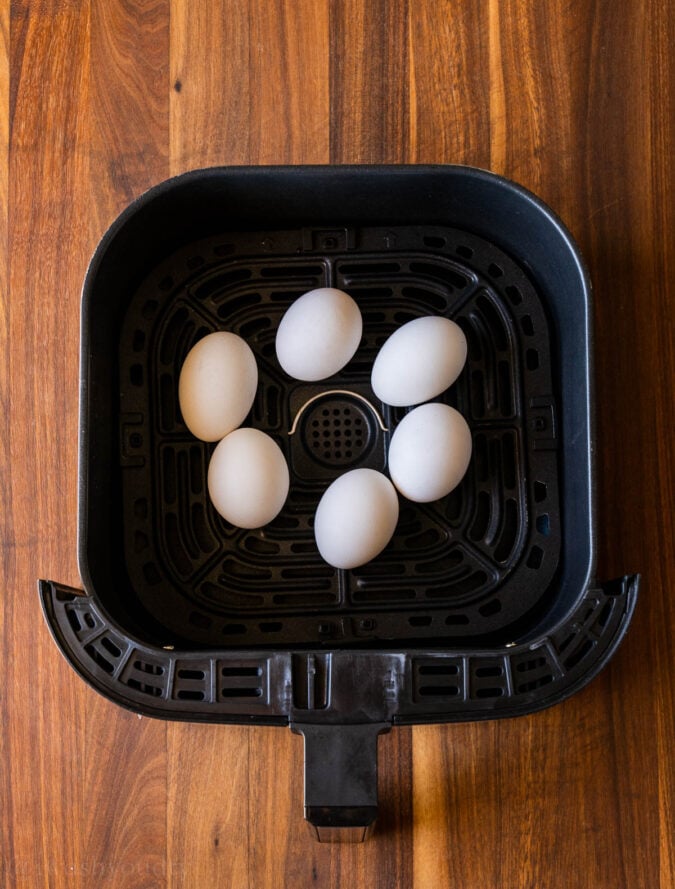
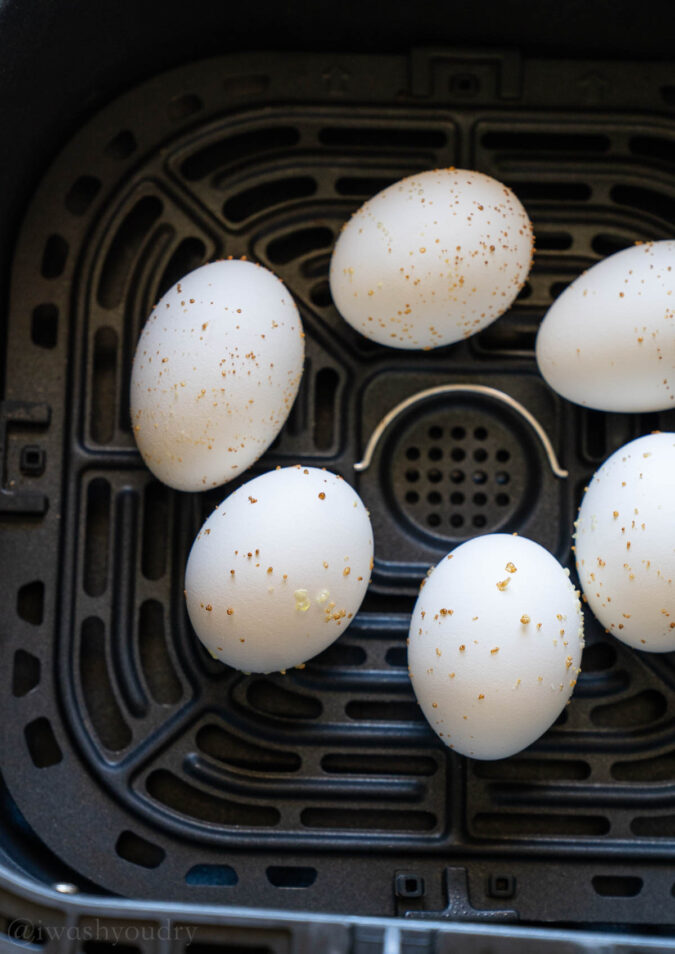
Don’t be alarmed when your eggs come out with little bumps all over them.
Since egg shells are porous, little bits of the egg whites try to escape before being fully set on the inside.
How Long To Cook Hard Boiled Eggs
As you can see the time to cook hard boiled eggs can vary from method to method.
However, when I tested all the methods, I timed how long it took from start to finish and I was surprise to find that they all take roughly the same amount of time.
- Stove Top – 10 to 12 minutes
- Instant Pot – 5 minutes + 5 minutes release
- Air Fryer – 17 minutes
*When you factor in the amount of time it takes to bring a pot of water to a boil and bring the instant pot to pressure, they were all cooked in the same amount of time.
Easiest Method for Peeling Eggs
I was interested to see which method of hard boiling an egg would result in the BEST peeling of the shells.
Here’s what I found…
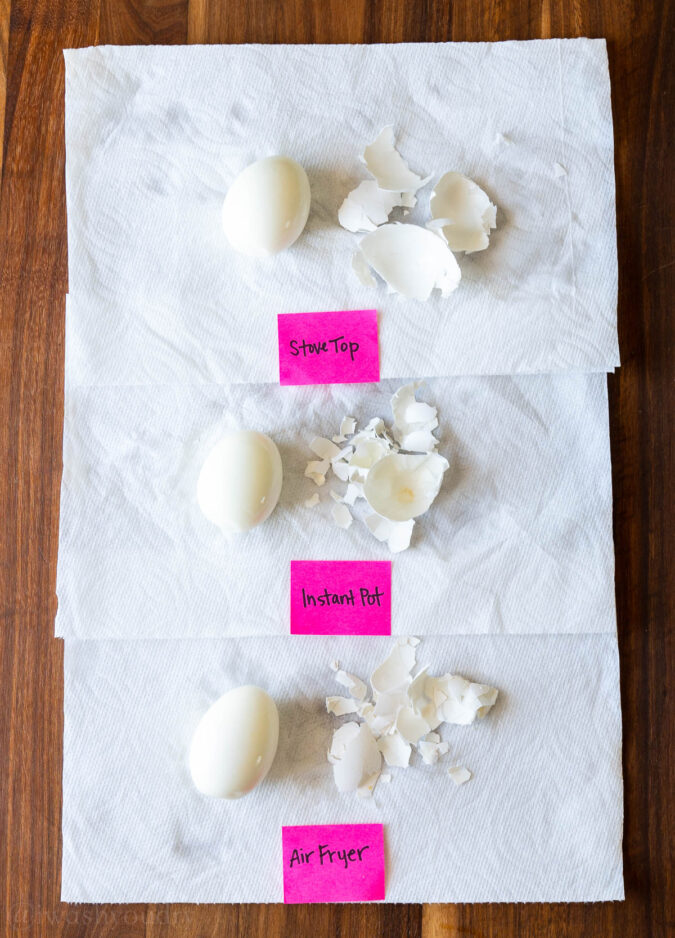
The Stove Top method won the challenge of being easiest to peel. With the shells coming off super easily and in larger portions, it made for effortless peeling.
Coming in second place was the Instant Pot method. It was still very easy to peel, but require a little more effort.
In last place we have the Air Fryer method. While I was still able to get all the egg shell off without damaging the egg whites, it took a bit more effort with lots of little egg shells going everywhere.
Which Had The Best Cooked Yolk?
After peeling an egg from each method I was anxious to see which had the best cooked yolk on the inside.
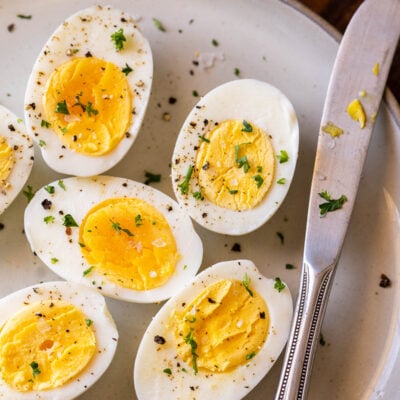
When I sliced into them, I was pleased to find they were all perfectly cooked. I will say that my stove top method could have cooked maybe one more minute (for a total of 11 minutes) to give it that perfectly pale, fluffy yolk, but it still tasted great.
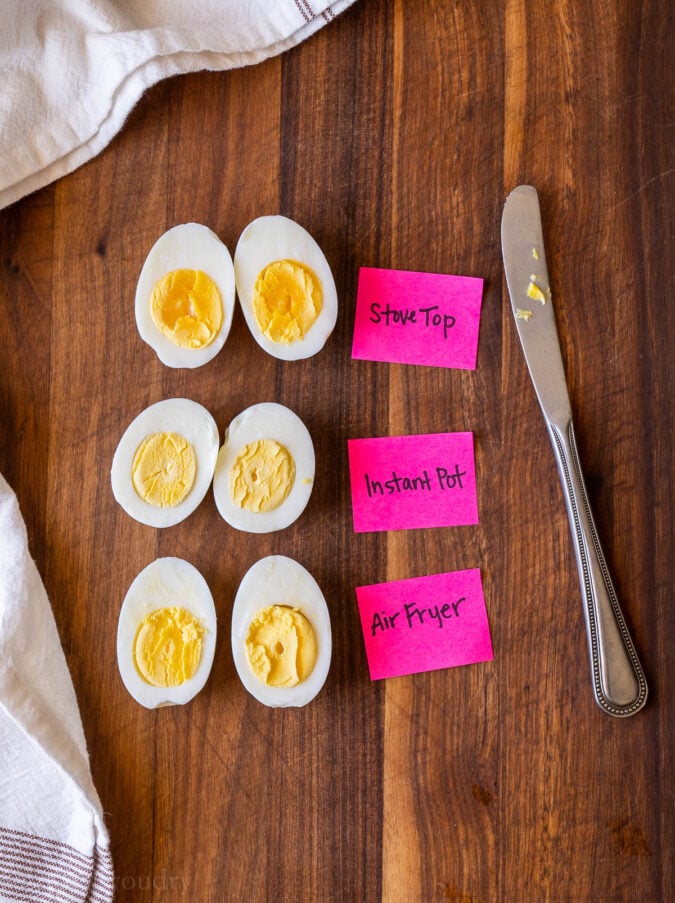
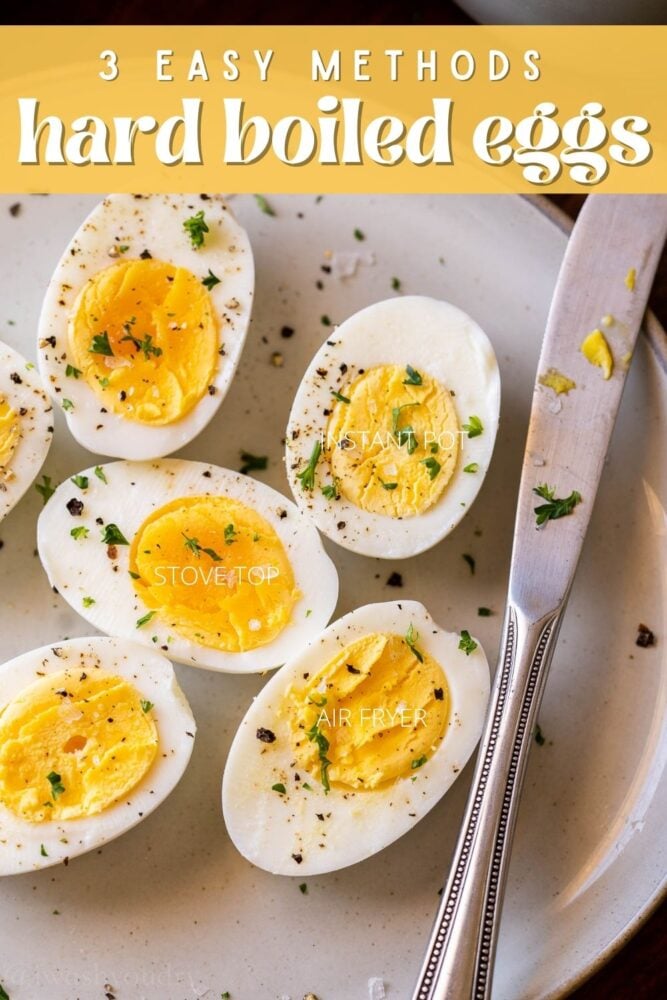
I found that the instant pot method had the best consistency. The air fryer method was unusually light and fluffy, and surprisingly delightful. Finally, the stove top method was nice and creamy.
Conclusion
This was such a fun experiment to put these methods to the test against each other.
When it comes down to it, I have to say that the stove top method is the easiest method for hard boiling eggs.
With the stove top method I don’t have to pull out any special equipment, the egg shells come off very easily and the yolks taste phenomenal.
How To Use Hard Boiled Eggs
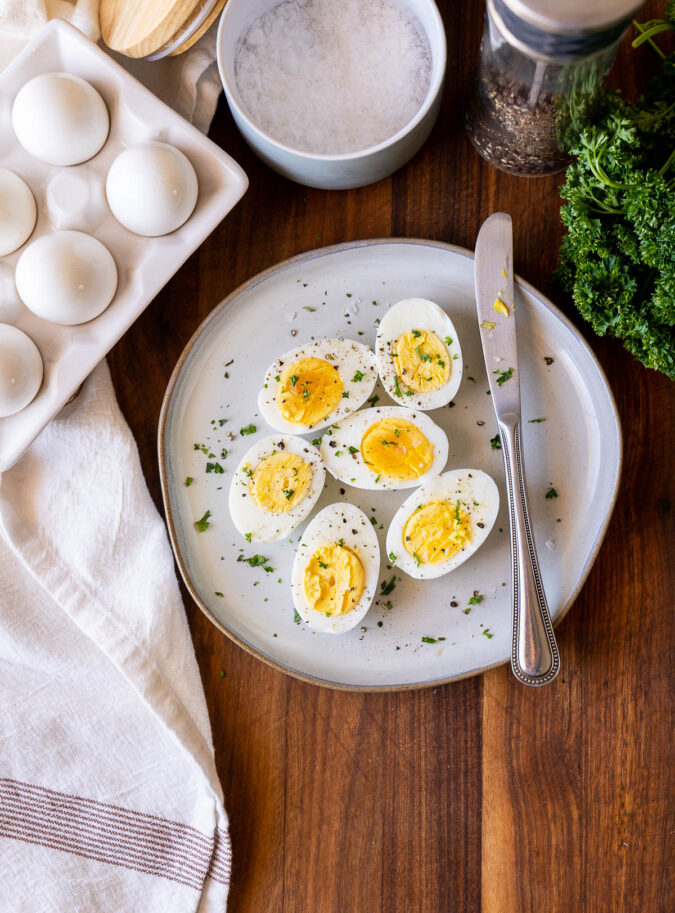
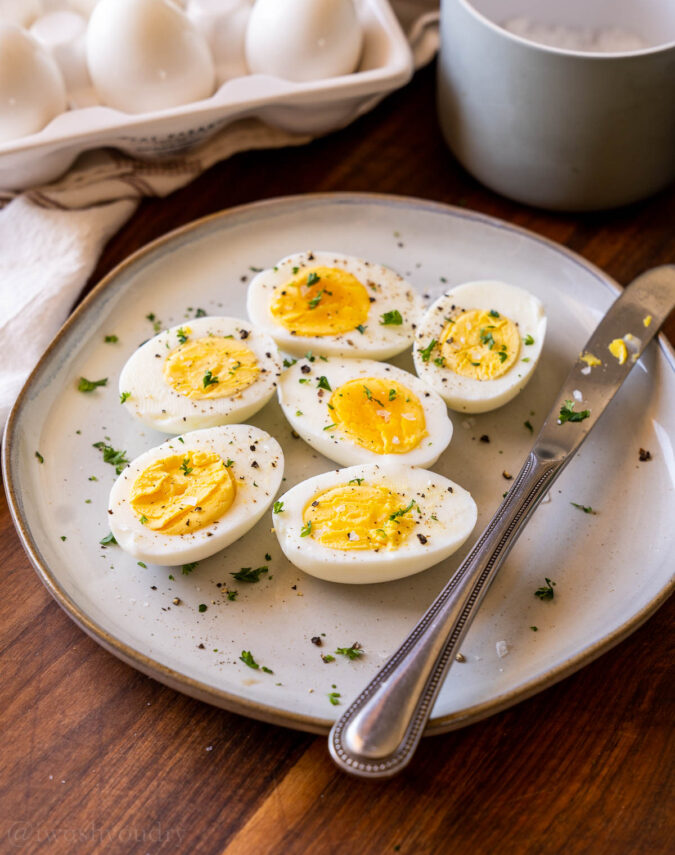
Hard Boiled Eggs are a protein-packed snack that are delicious to eat with just a sprinkle of salt and pepper on top. They’re great for a quick breakfast, after school snack, or sliced up and added to a Cobb Salad.
Here are some other fantastic ways to enjoy hard boiled eggs…
- Classic Deviled Eggs – ultra creamy and delicious!
- Lemon Caper Egg Salad
- Potato Salad
- Guacamole Deviled Eggs
How To Store Hard Boiled Eggs
Store unpeeled, hard boiled eggs in an airtight container in the fridge for up to 1 week.
If the hard-boiled eggs are peeled, use within the same day for best quality.
Why Does My Yolk Have A Green Circle Around It?
If you’re finding that your egg yolks have a green circle around them, it’s likely that you’ve cooked the eggs either too long or too hard.
Luckily, the green color is just a chemical reaction that happens with the hydrogen in the egg whites and the sulfur in the egg yolk, and it’s completely safe to eat.
How to Hard Boil an Egg
Instructions
Stove Top Method
- Bring a pot of water to a rolling boil. Gently add in the eggs with a slotted spoon and continue boiling for 10 to 12 minutes.
- Remove eggs from pot and immediately dunk in a bowl filled with ice water. Let cool for at least 5 minutes. Once cool to touch, you may peel and enjoy!
Instant Pot Method
- Pour in 1 cup of water to the liner of your instant pot. Place the rack inside the liner and arrange eggs on rack. Cover with lid, turn valve to sealed position and cook on High pressure for 5 minutes.
- Let pressure naturally release for 5 minutes, then release pressure manually. Immediately dunk eggs into a bowl filled with ice water and let cool at least 5 minutes. Once cool to touch, you may peel and enjoy!
Air Fryer Method
- Preheat air fryer to 250 degrees F. Place eggs in air fryer basket and cook for 17 minutes. *no water needed for cooking
- Immediately remove eggs from basket and dunk in bowl filled with ice water. Let cool at least 5 minutes. Once cool to touch, you may peel and enjoy!
Notes
Nutrition












I got one of the machines makes hard boiled eggs works best for me and easy to peel cause you poke hole in bottom of egg and very little water
I love how you tested each way to hard boil an egg and showed how easy it was to peel and what the insides looked like for each one!! Thanks for posting 🙂 I love your site
I have always use the stove method. I put eggs in the pot and cover with water. I set it on stove to about medium high heat, when water starts to boil, I time it for 10 minutes. After 10 minutes, remove from stove and proceed to next step. I will try putting in ice water. I hate peeling the eggs.
Please try steaming the eggs. Put a pot on the stove with a vegetable steamer and water. Bring to a boil. Add eggs to the vegetable steamer. Cook for 13 minutes. Then put in ice cold water. Works every time.
Do you remove from heat after covering or keep it on the hot eye?
I boiled eggs like this recipe for years with off and on success with peeling. I have recently tried a new method by adding the eggs to boiling water for 13 minutes – they have all peeled perfectly even if I purchased the eggs that day. Just adding to the discussion.
I am like so many others re forgetting the basics of making the perfect boiled eggs. I end up with zombie looking eggs when I peel them and end up having cut them up for egg salad instead of the deviled eggs I so love. Thanks for the tip….I wrote it down for my go to reminder recipe collection.
Thank you for helping me out! Your site is a big help.
Awesome! Glad to be here to help!
Not to be rude but as a former Family and Consumer Sciences teacher, using the term “hard boiled egg” is so wrong. Your directions are spot on but the name leads one to think that the eggs are actually boiled which they aren’t because it always leads to that awful green ring around the yellow.
Thanks for letting me vent and go back to my roots, the Home Ec. classroom.
And nearly 9 years later..lol I have two ways of preparing my boiled eggs.
1.) Most preferred, bring the water to a boil, gently lower eggs in, turning heating halfway between medium and medium/high. Boiled for exactly 6.5 minutes for runny yolk, or 8 minutes for mostly firm, only slightly gelatinous yolk. Regardless boiling time, immediately immerse is cold water (I am blessed with 4C/39.2F water from my faucet..ok, not blessed..my hot water heater has to work overtime) for about 15 seconds, Remove, peel, and eat.
2.) Bring water to a boil, again gently lower eggs, boil 9 minutes on that magic spot between medium and medium/high, remove, cold water immersion, peel, eat. Boiled all the way through, and no green ring.
That’s just how I do it! 🙂
Great minds think alike! 🙂
Wow I seriously love those little tips! My wife doesn’t cook much but when she boils an egg it’s always perfect for some reason…
Thanks Gerry, and that’s probably because wives are always perfect… even when we’re not… 😉
I, too, always forget the basics.. including how to boil eggs EVERY. SINGLE. YEAR! Lol, I always have the weirdest looking eggs when we’re finished.. nothing like these perfect little huevos. Plus, I live for Egg salad, so I can’t wait to boil these babies up and go to town with a fork!
Oh yes, egg salad, deviled eggs… the possibilities are endless! Thanks Hayley!
Awesome! Maybe this way , I won’t have to purchase store bought/ peeled hard boiled eggs anymore. They are quick and good though. 😉
I have totally boughten the store bought ones when I was in a pinch, no shame. But doing it yourself is easy too. 😉
Ah yes the hard boiled egg! My teens eat dozens of them! I never use vinegar, thanks for that tip!
Thanks Sheila, my kids can put away quite a bit too! 🙂