






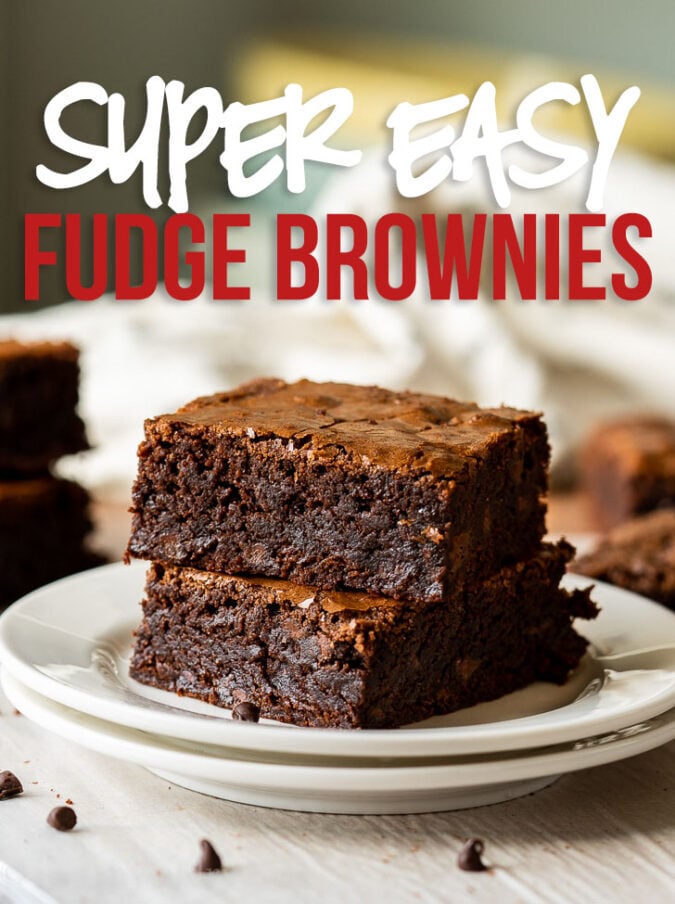
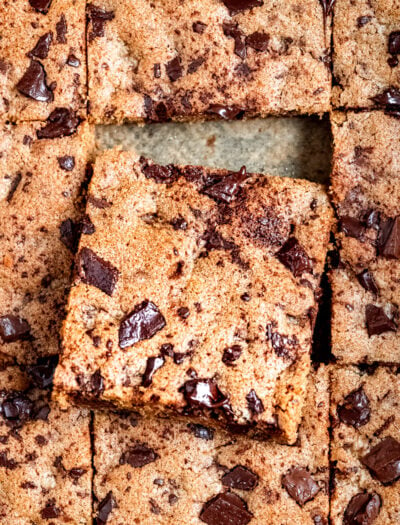
This Super Easy Fudge Brownie Recipe makes a large 9×13″ pan of rich chocolate brownies that are fudgy on the inside, with the perfect crackly top.
Why You’ll Love these
No mystery ingredients here! Making homemade brownies means you know exactly what ingredients are going into your dessert. All you need are some basic pantry ingredients, a few minutes of prep and you’ll be blown away at how delicious these brownies are.
Ingredients Needed
Here’s the basic list of ingredients you’ll need in order to make these family style fudge brownies. As always, you can find the full list of ingredients located in the printable recipe card below.
- Unsalted Butter – melted
- Sugar – granulated
- Eggs
- Unsweetened Cocoa Powder
- Vanilla Extract
- All Purpose Flour
- Baking Powder – to help give the brownies some lift
- Mini Chocolate Chips – my secret ingredient to make them extra chocolaty
How To Make The Best Brownies
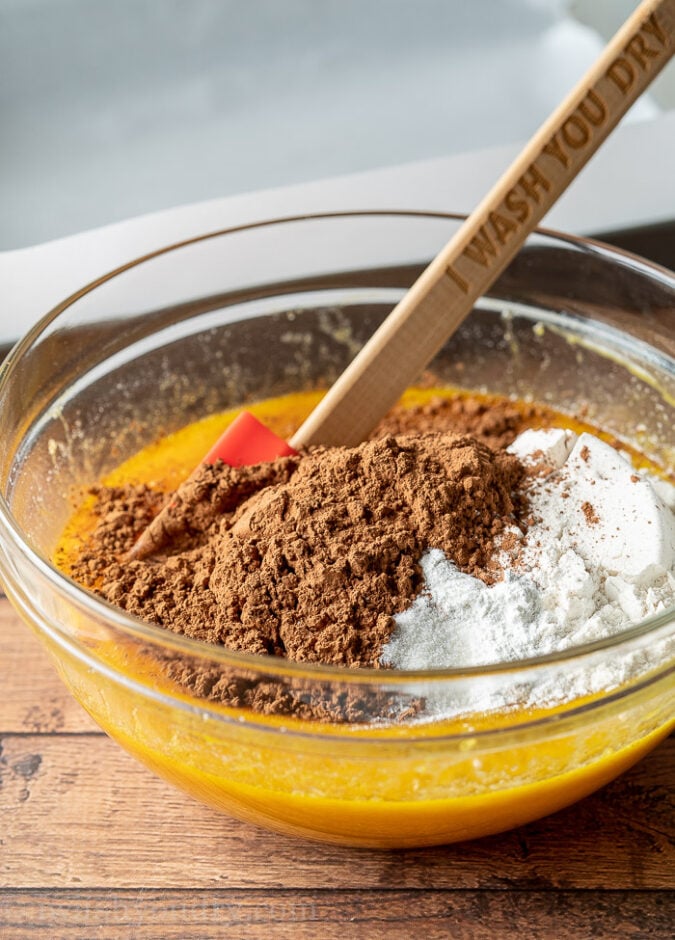
Start by melting a cup of butter in a microwave safe dish. Let the butter cool slightly then whisk in the sugar, eggs and vanilla extract.
PRO TIP: Whisk until the sugar is fully dissolved into the eggs and butter. This helps to give the brownies that nice shiny and crackled top when baked.
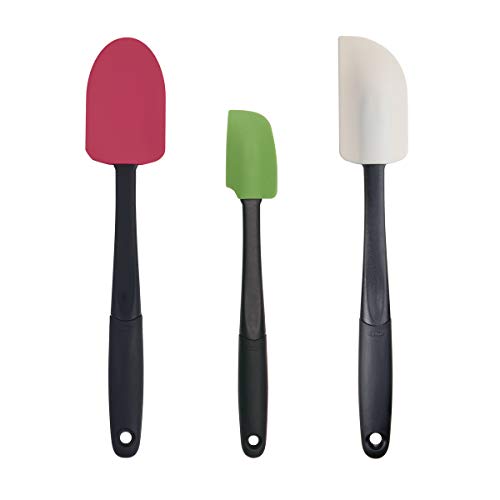
Add in the cocoa powder, flour, salt and baking powder. Use a sturdy wood spoon to gently stir until the mixture is no longer dry.
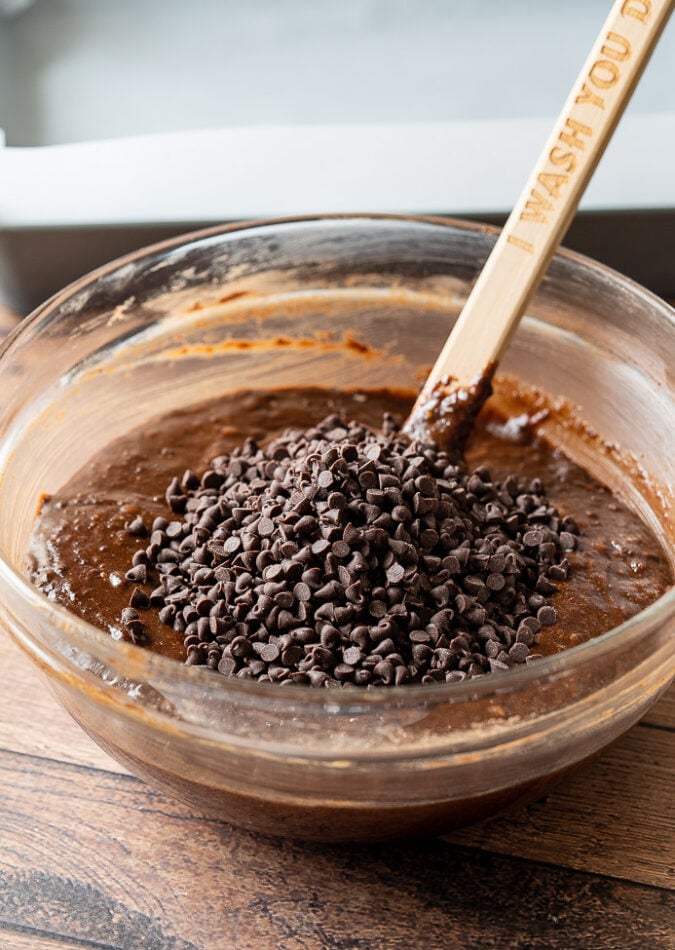
Fold in the mini chocolate chips and pour the brownie batter into a lightly greased 9×13″ baking pan.
My Top Tips for Brownie Success:
Now that you have all the ingredients to make the best brownies, here are my top tips to make them AWARD WINNING brownies every time!
- EGGS & SUGAR – Fully whisk together the eggs, sugar and butter until the sugar is fully dissolved into the liquid. If you pinch the egg mixture with your fingers you shouldn’t feel any sugar.
- STURDY SPOON – Ditch the whisk when it comes to mixing the dry ingredients with the wet. Gently stir the batter together until there are no more dry lumps. Again, over mixing here will create air pockets in the batter, resulting in a more cake-like brownie.
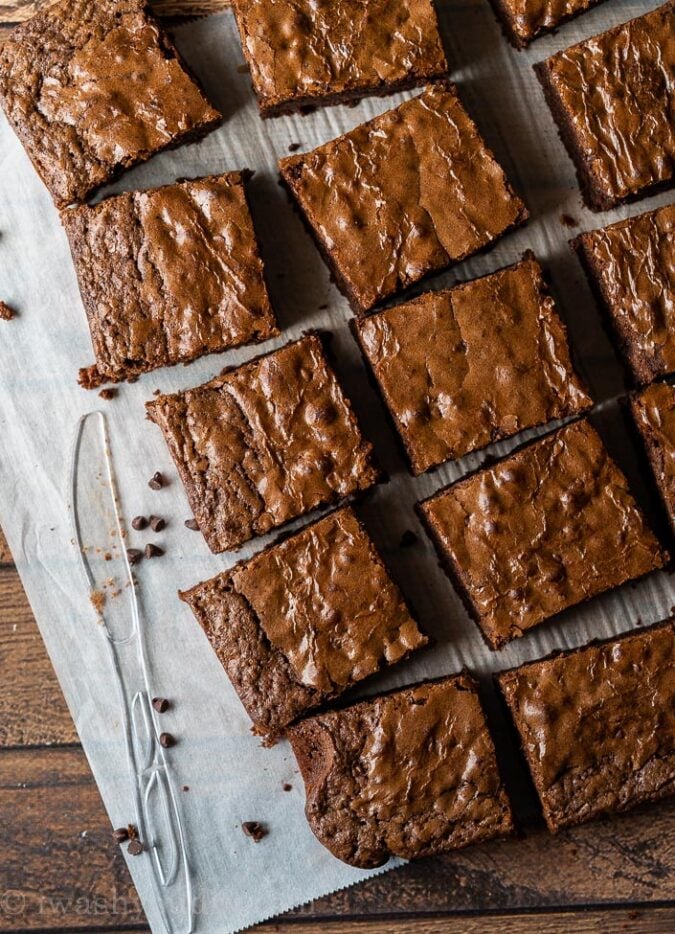
- BAKE TIME – All ovens are a little different, so make sure you keep an eye on your brownies and don’t let them over cook. You’ll know the brownies are done when the top gets a shiny gloss to it with a few cracks all over.
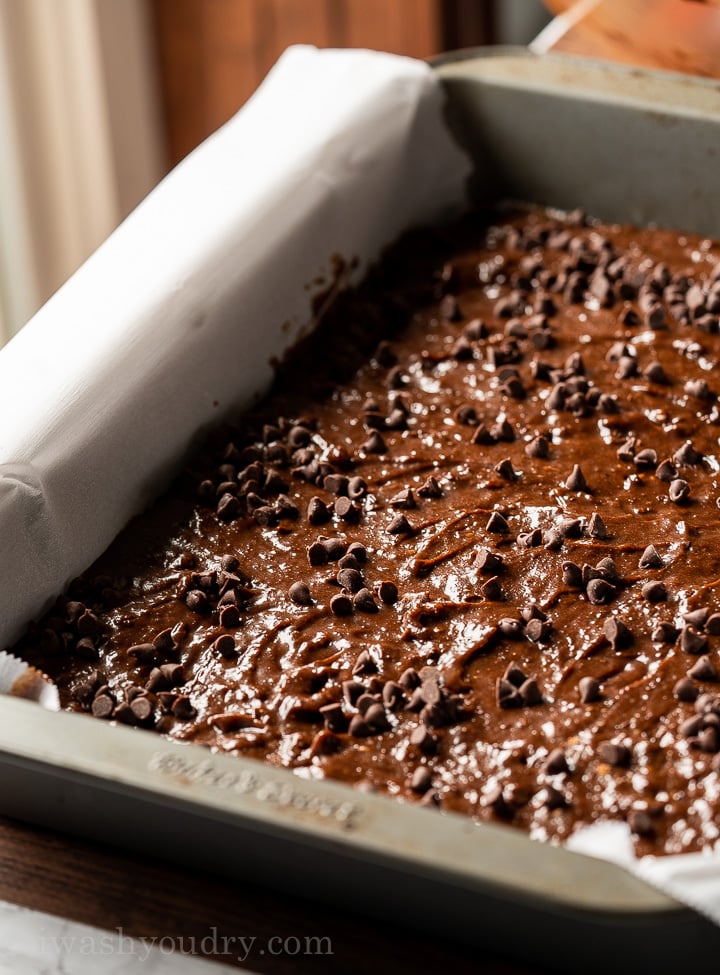
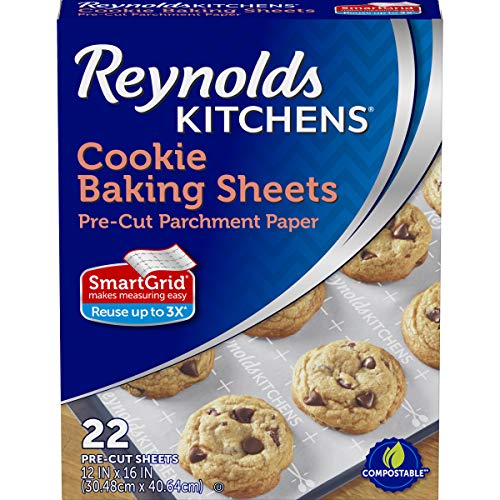
- LINE THE PAN – The easiest way to get brownies out of the pan is to line the pan with parchment paper. Make sure you leave a few inches of parchment paper along the sides of the pan so you can easily lift the brownies out of the pan.
- PLASTIC KNIFE – Here’s a bonus tip for ya! Use a plastic (disposable) knife to get perfectly cut brownies that don’t stick to the knife. It’s a game changer!
Can I Add Extras To This Brownie Mix?
Want to take your brownies to the next level? Here are some easy ways to customize this classic brownie recipe.
- Use quality chocolate bars that are coarsely chopped in place of chocolate chips.
- Try using chopped up kit kats, reese’s peanut butter cups, m&m’s or any of your other favorite candies (a great way to use up leftover halloween candy).
- You can even add your favorite nut- Pecans, walnuts, peanuts, etc.
Looking for an over the top brownie recipe? Try these Fudge Ripple Pecan Brownies!
Frequently Asked Questions
I prefer to make these brownies in my metal 9″x13″ pan because it gives the brownies a little more of a crisp edge to them. That being said, you can also get away with using a glass baking dish, just make sure the brownies are fully cooked before removing from the oven (glass may require a few extra minutes of bake time).
Yes! You can easily halve this recipe and bake it in a 9×9″ pan. The brownies would be a little thicker, but should be done around 20 to 23 minutes.
If you want to double the recipe, I would just bake in two 9×13″ pans. You can use the “2x” button in the recipe card to get the proper measurements.
For most brownies, Dutch-process cocoa powder is my favorite. It gives them a darker color, smoother chocolate flavor, and richer, more fudgy taste.
For brownies specifically, I’d usually choose mini semi-sweet chips, especially since the batter already has plenty of sugar. If you want something extra indulgent, a mix of semi-sweet and milk chocolate chips works really well, such as ⅔ semi-sweet and ⅓ milk chocolate.
Make Ahead and Storage
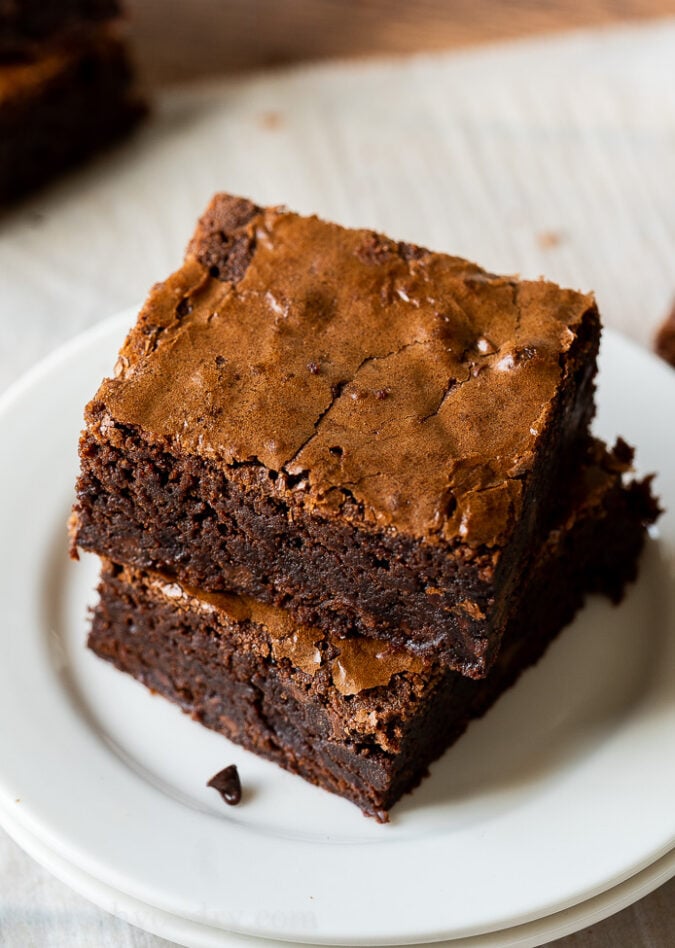
There is nothing better than a warm, fudgy brownie right out of the oven. However, these brownies also taste great when baked ahead of time.
Here is how you want to store these fudgy brownies:
- Counter: about 3 to 4 days in an airtight container at room temperature. Keep them away from heat and direct sunlight.
- Fridge: about 5 to 7 days, sometimes a little longer if tightly wrapped. Refrigeration can make them firmer, so I’d let them sit at room temperature for 20 to 30 minutes before eating.
- Freezer: these brownies freeze very well for about 2 to 3 months with minimal loss of quality.
For freezing, I recommend cutting them into individual squares, wrapping each tightly in plastic wrap, then putting them in a freezer bag or airtight container. That way you can pull out one at a time. They usually thaw on the counter in 30 to 60 minutes.
If you’re making brownies ahead for an event, freezing is actually better than refrigerating them for several days, because it preserves that fresh, moist texture better.
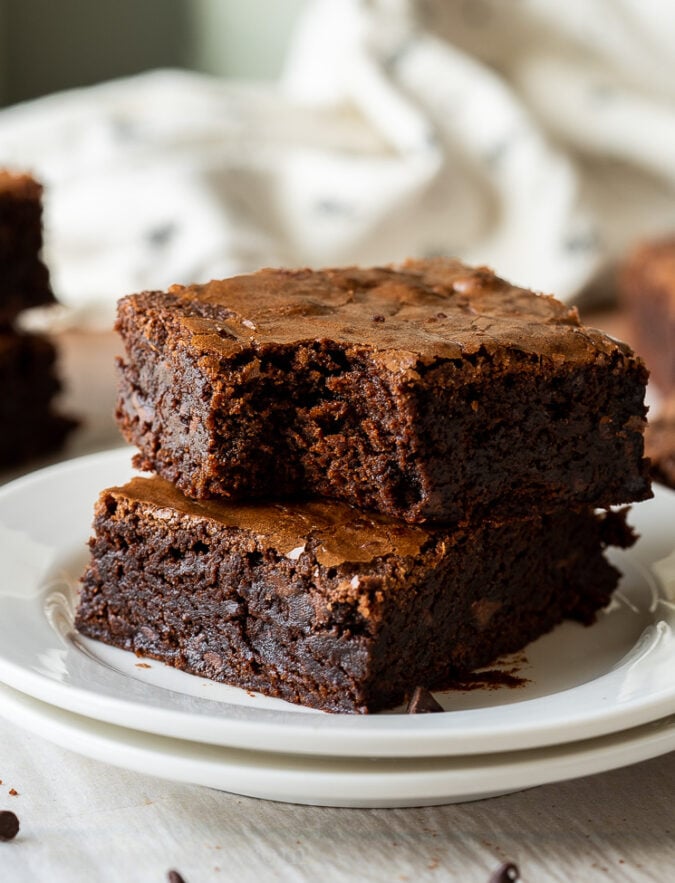
One bite of these delicious fudge brownies and you’ll be hooked!
Super Easy Fudge Brownie Recipe
Ingredients
- 1 cup butter
- 2 cups sugar
- 4 eggs, lightly beaten
- 2 tsp vanilla extract
- 2/3 cup cocoa powder
- 1 cup all-purpose flour
- 1/2 tsp salt
- 1/2 tsp baking powder
- 1 cup mini chocolate chips
Instructions
- Preheat the oven to 350 degrees F. Grease a 9×13″ baking pan or line with parchment paper. Set aside.
- Melt the butter and let cool slightly. Stir in the sugar, eggs and vanilla extract until combined.
- Add in the cocoa powder, flour, salt and baking powder. Use a sturdy wooden spoon or rubber spatula to gently stir the ingredients, just until combined. DO NOT whisk or over mix (this will add extra air to the batter and result in cake-like brownies instead of fudge-like ones).
- Fold in the chocolate chips and pour batter into prepared baking pan. Spread out evenly.
- Bake for 25 to 30 minutes, until the center is set. Let cool slightly before slicing. Enjoy!

Love this recipe, so easy and good. Will be one of my favorites. Thanks Shawn for your great recipes.
Mine tasted delicious, but maybe I cut them too soon? They were falling apart and very gooey. That was after baking in a foil pan for 30 minutes.
They taste good. I would add extra mint chips or at least sprinkle on top..
I would add more mint chips or mix it up with adding mint chips and chocolate chips. Good recipe.