


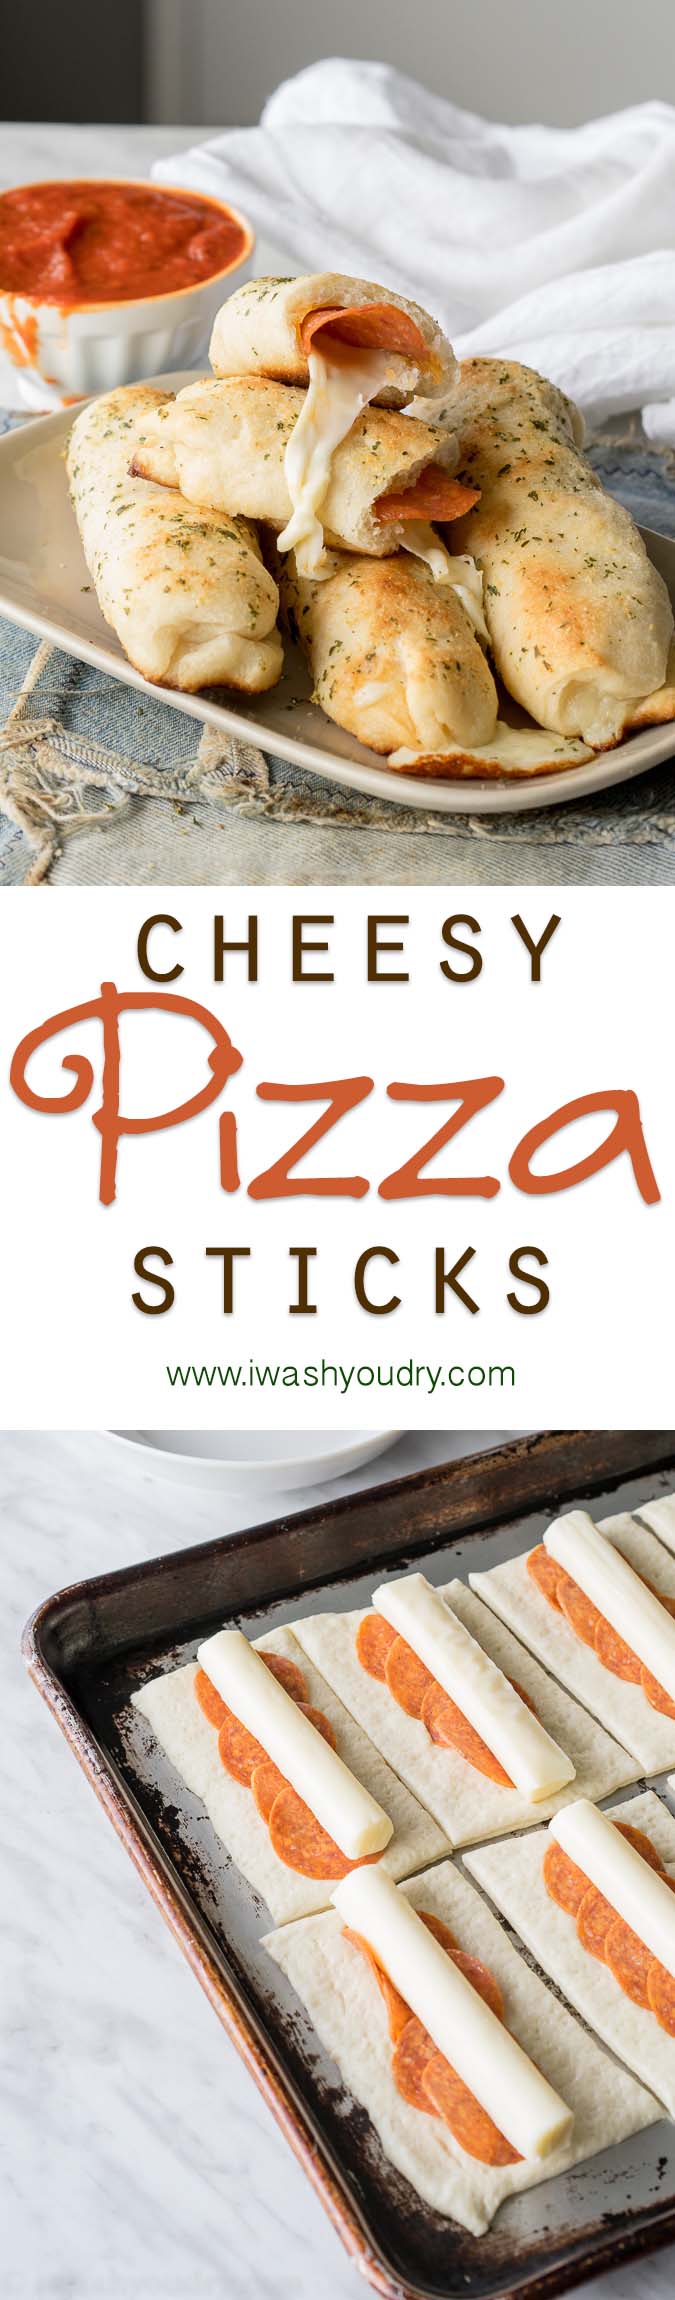
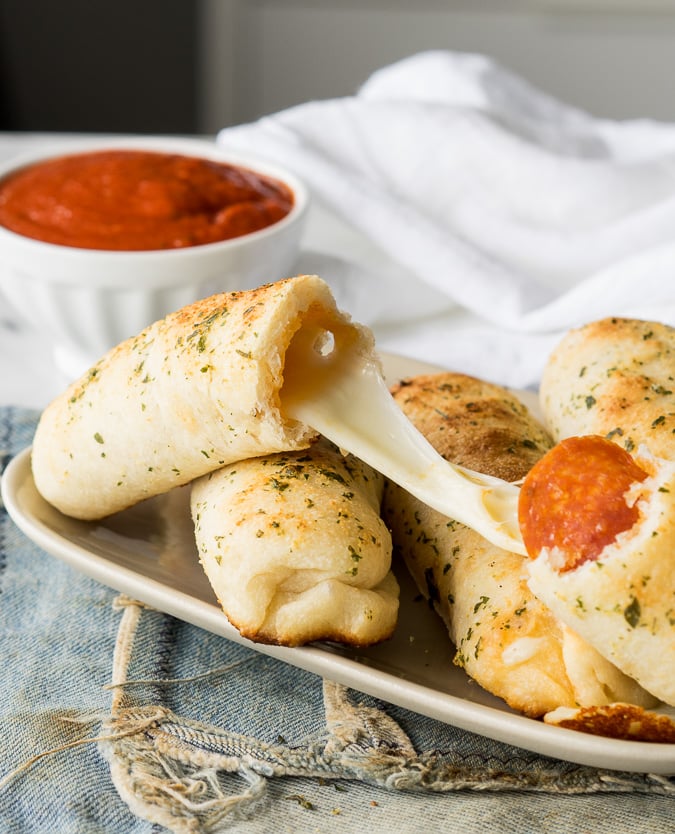
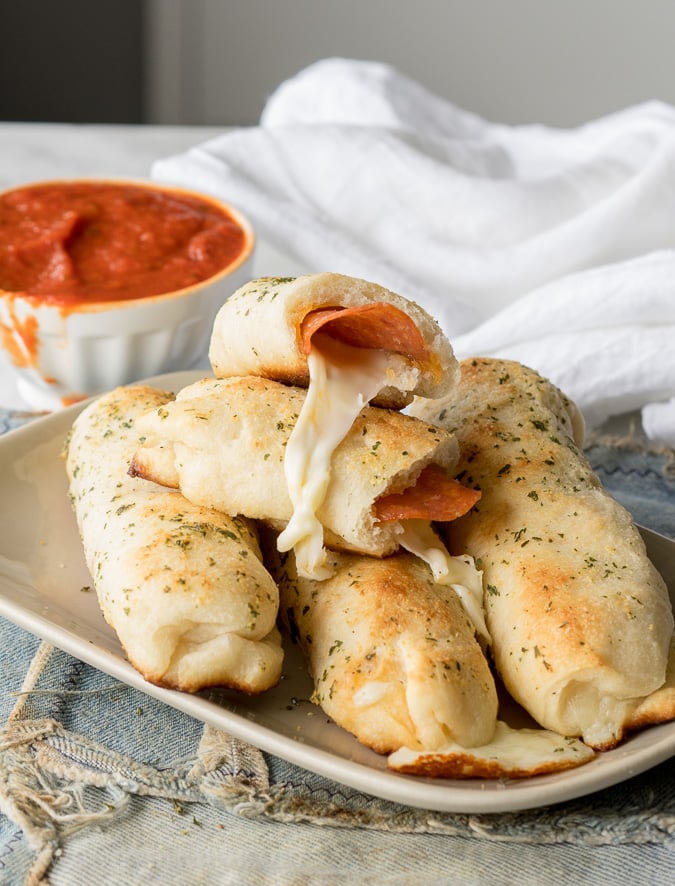
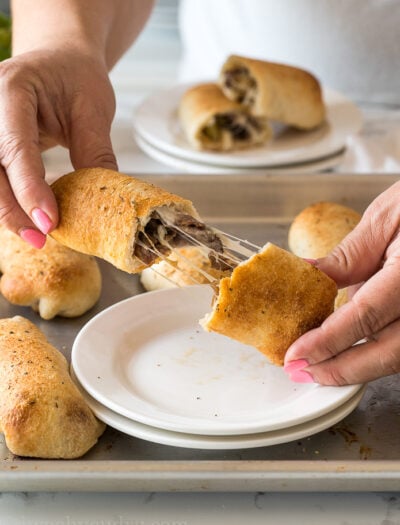
These Cheesy Pepperoni Pizza Sticks are made with refrigerated pizza dough, mozzarella cheese sticks and plenty of pepperoni.
Dip these cheesy pizza sticks into some Homemade Marinara Sauce for an epic snack, easy lunch or game day appetizer!
![]()
Cheesy Pepperoni Pizza Sticks
All you need is 6 simple ingredients to make this easy snack recipe. There is virtually no dishes to clean up. BONUS – they’re super quick to put together.
Ingredients Needed
Here’s what you’ll need in order to make these delicious pizza sticks! As always, you can find the full list of ingredients located in the recipe card below.
- Pillsbury Pizza Dough – you could also use homemade if desired
- Pepperoni Slices
- Mozzarella Cheese Sticks
- Butter
- Garlic Powder
- Parsley
How To Make Pepperoni Pizza Sticks
These pizza sticks are so easy to make, the kids love getting in there and helping out too!
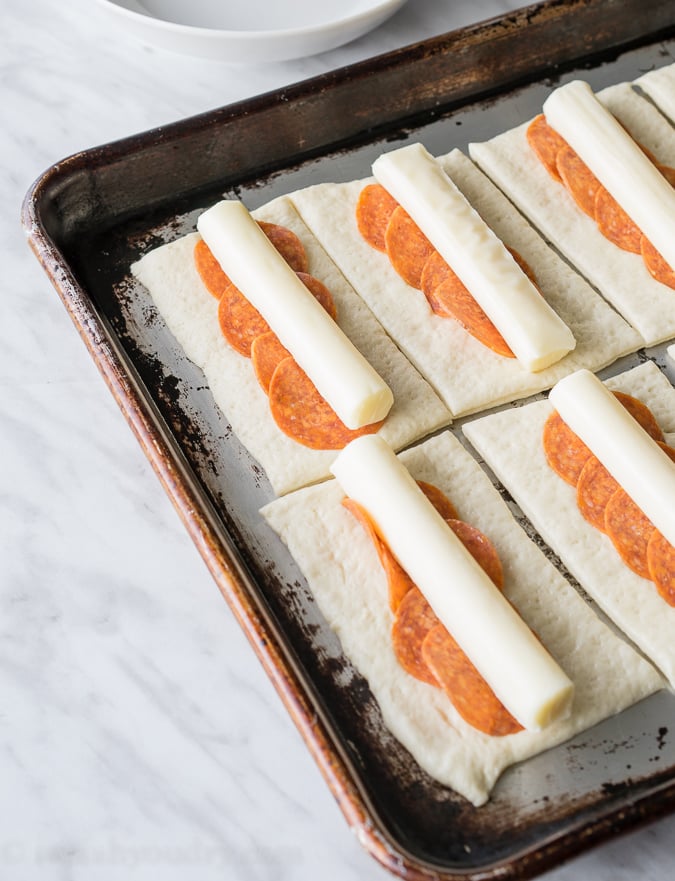
CUT PIZZA DOUGH Start by rolling out the pizza dough into a large rectangle. Cut the pizza dough into 10 equal pieces, long enough to fit the cheese sticks. I like to use a pizza cutter to make the cuts easier.
TOP WITH CHEESE Add the pepperoni down the center of each piece of dough and top with a cheese stick.
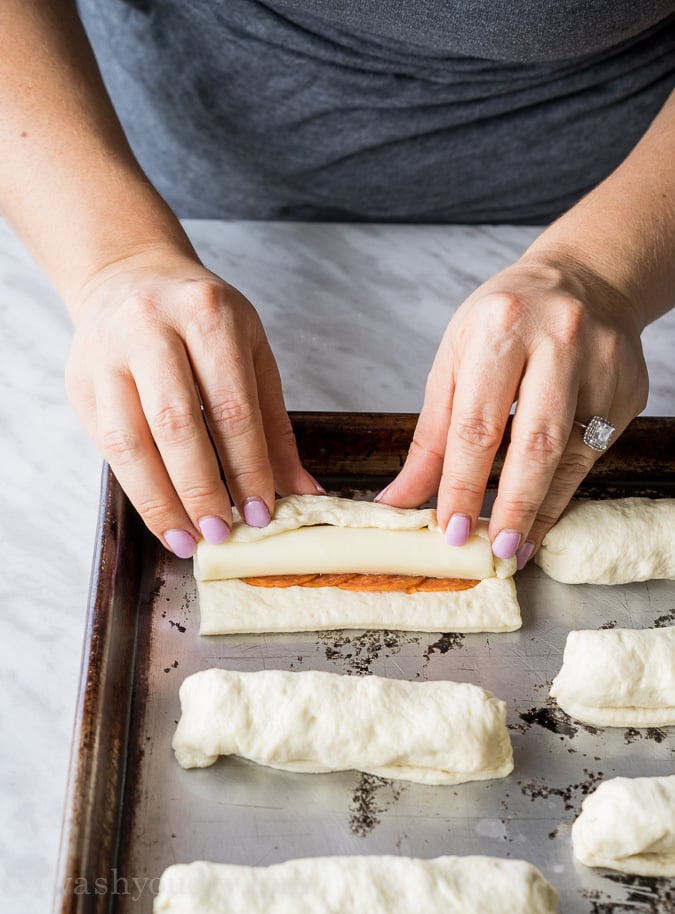
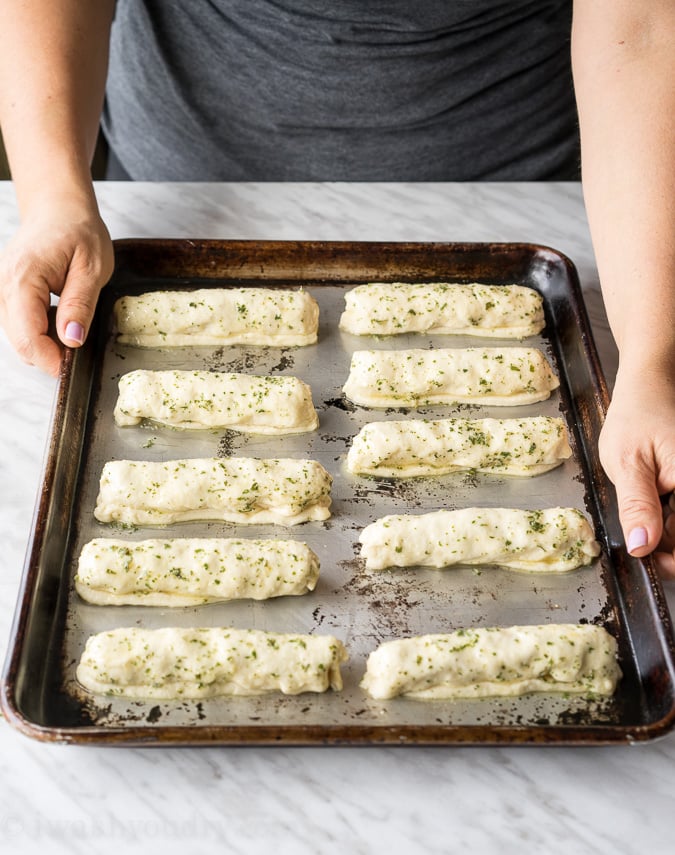
ROLL UP TIGHT Roll up the dough tightly around the cheese sticks, making sure to pinch the sides and place the seam-side down on the baking sheet.
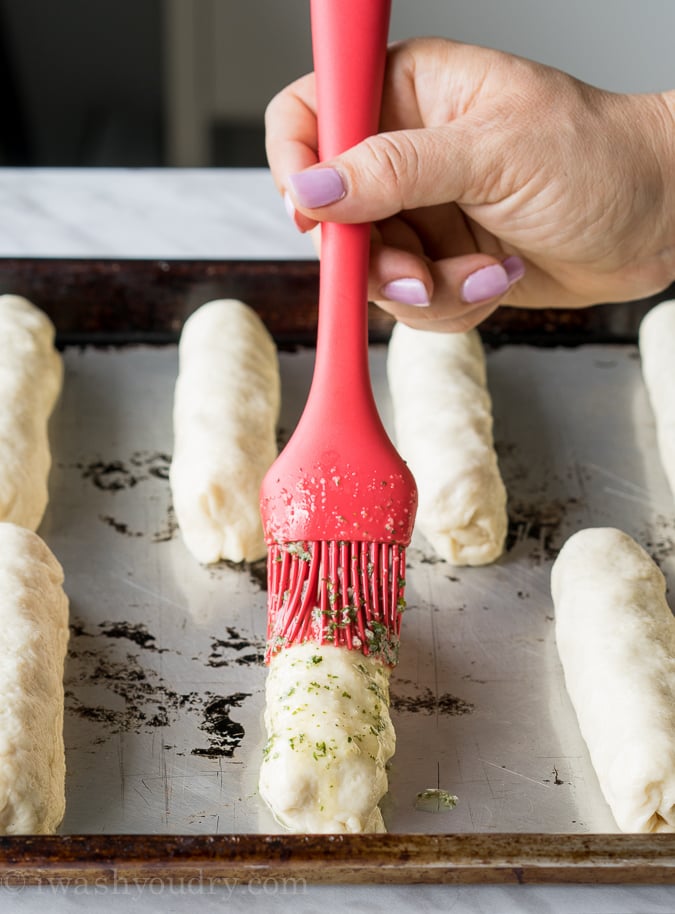
BRUSH WITH BUTTER Melt the butter and combine the garlic powder and parsley. Brush this mixture over the top of each pizza stick to give it a nice buttery topping.
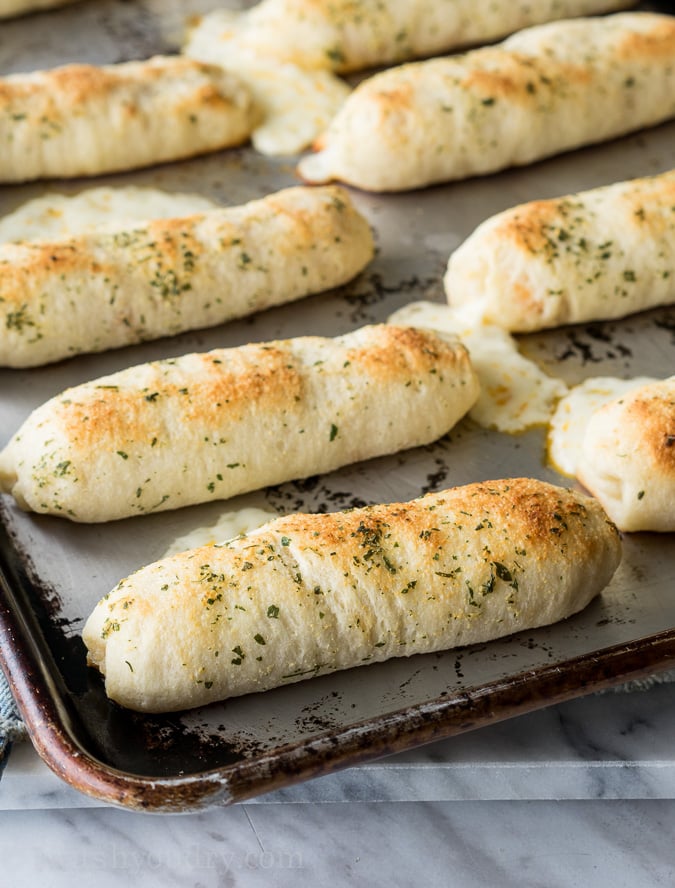
How Long To Bake Pizza Sticks
Bake the pizza sticks at 450 degrees F. for just 10 to 12 minutes.
You may have some cheese that oozes out of the pizza sticks after they have baked. That’s ok! I love the melty cheese that gets slightly crispy on the pan.
Recipe Variations
The fun thing about these pizza sticks is that they are completely customizable to your taste preferences.
Try adding all sorts of filling options like: sliced olives, sliced mushrooms, green peppers, onions, sausage, bacon, etc.
PRO TIP: Make sure you don’t overfill the pizza sticks as they will get more difficult to wrap up. Just a little filling is all you need.
Make Ahead and Freezer Options
I often get asked if you can make these cheesy pepperoni pizza sticks ahead of time. The answer is YES!
You can bake these pizza sticks, let them cool, then pop them in a zip close bag in the fridge. To reheat, bake them in the oven until they’re heated through or you can air fry them to get them nice and crisp on the outisde.
This is my favorite air fryer to use to reheat pizza sticks.
FREEZE You can also freeze the baked pizza sticks for up to 3 months. They’re great for pulling out and making an easy snack.
What To Serve with Cheesy Pepperoni Pizza Sticks
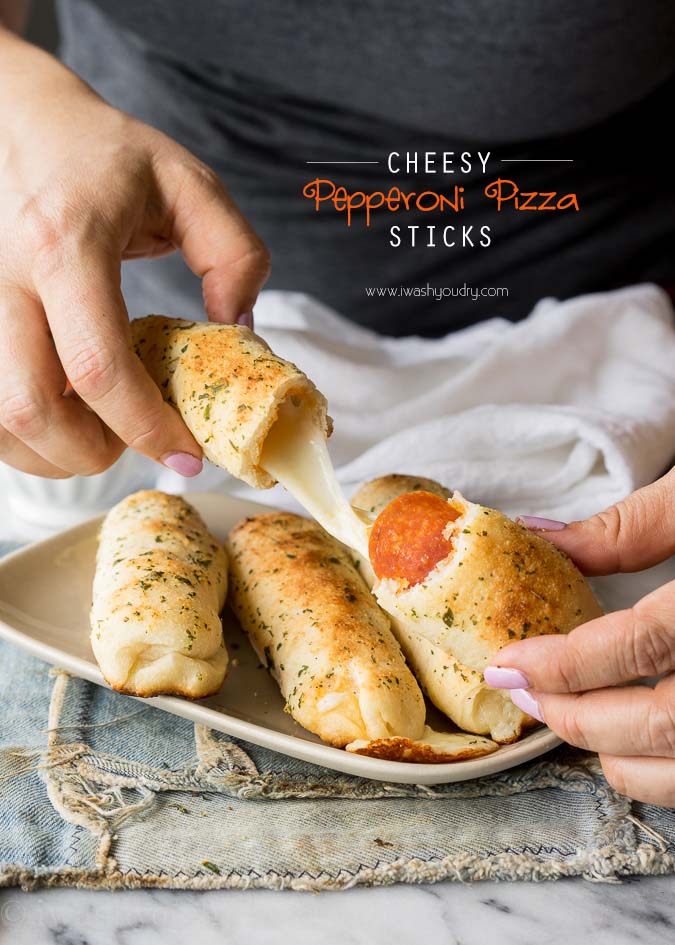
In order to keep the pizza sticks from getting soggy, I’ve opted to not add any sauce to the inside.
The best thing to do is dip the pizza sticks in a warmed marinara sauce, similar to fried mozzarella sticks.
To make these pizza sticks a full meal, try adding my Caesar Pasta Salad as a side!
More Pizza Stick Recipes to Try
We love pizza in this house! I know you’re going to love these easy pizza recipes too…
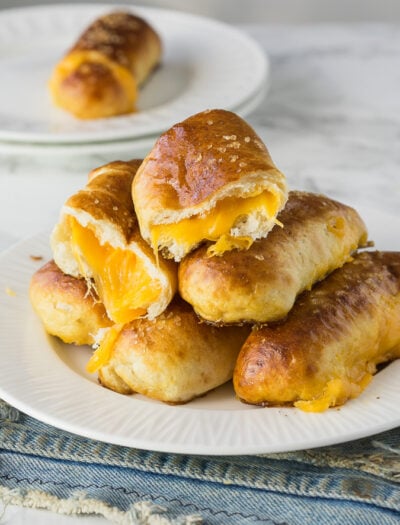
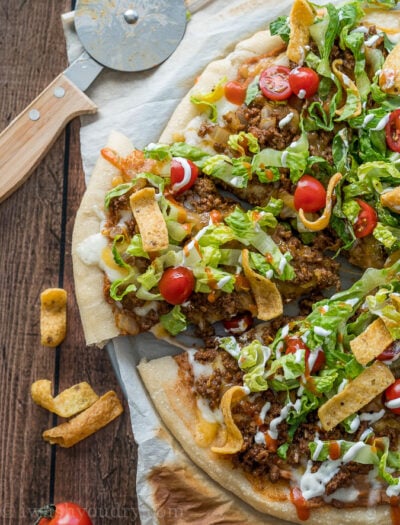
- Cheesy Taco Pizza Sticks
- Philly Cheesesteak Pizza Sticks
- Chicken Bacon Ranch Pizza Sticks
- Cheesy Pretzel Pizza Sticks

All my taste testers approved this recipes with two thumbs up.
I can’t wait for you to give this simple recipe a try! I know you’re going to love it!
Make sure you don’t miss a thing! Follow I Wash You Dry here:
FACEBOOK | PINTEREST | TWITTER | INSTAGRAM | BLOGLOVIN

Cheesy Pepperoni Pizza Sticks
Ingredients
- 1 Pillsbury pizza crust, tube
- 40 pepperoni slices
- 10 mozzarella cheese sticks
- 2 tbsp butter
- 1/2 tsp garlic powder
- 1/2 tsp dried parsley
- marinara sauce, for dipping (Optional)
Instructions
- Preheat oven to 450 degrees F.
- Spread pizza dough out on a lightly greased baking sheet. Cut the dough into 10 equal size rectangles.
- Arrange 4 pepperoni slices on each rectangle and top with a mozzarella cheese stick.
- Roll up the pizza dough, enclosing the cheese stick, pinching the seams closed.
- Melt the butter and add the garlic powder and dried parsley. Brush the pizza sticks with the butter.
- Bake for 10 to 12 minutes or until golden brown.
- Enjoy warm with a side of marinara sauce for dipping if desired.
I made this tonight, all the cheese melted out of the dough onto the pan, I pinched til until no hole were seen, I don’t no why this happened, anyway to correct it
Some cheese will find it’s way out, but if you pinch the seams good and lay them seam-side down on the pan, you shouldn’t have too much escape.
These were yummy and a fun twist to pizza night. They would make great finger food for a gathering of friends whether it’s for adults or kids. Either way they are so easy, and so yummy! I made these for an easy dinner and served it with a Caesar salad. Thank you for this recipe! We love it!
Sounds like a great dinner! Thanks for the comment Christine!
Delish! I used my air fryer on 330 degrees for 8 mins. I turned them over at 4 mins.
These sound very yummy. I was wondering if you could cut everything in half again and make bite size appetizers. Maybe a little more work but I think they would be really good this way too.
That would definitely work!
hi, can i bake in the morning at 6:30am, and keep it in the lunch box and only eat at 12pm?
will it taste bad?
I think these taste best when eaten fresh, but I’m sure they wouldn’t be horrible if eaten later. It’s like eating a slice of pizza 6 hours after you bake it… so that’s your call. 😉
Just curious why you use 2 Tbs. butter & 1/2 tsp. of garlic powder and parsley on the pizza sticks but double that for the Taco Sticks.
Hmm… might be that when I was making the Taco Sticks I felt like they needed more? I’m sure using less would still result in a great pizza stick. 🙂
I’m planning on making these as a main dish for dinner, what would you make as a side for this?
You could serve this with a side salad or some steamed broccoli or green beans!
I had trouble getting a good seal. They all opened up during baking . They were still good but wondering how to fix it the next time. Help please!
You could rub some milk or water along the edges before rolling the dough up. Be sure to pinch the seals firmly. Hope this helps!
These were seriously tasty and easy to make but I did have some serious cheese leakage problems. I was thinking maybe an egg wash??
I made these the other day. They r so good. My problems was getting a good deal. Not sure what I did wrong . They all popped open while being baked. Help please!
You could rub milk or water along the edges of the dough before rolling them up. Be sure to pinch firmly. Hope this helps!
You could rub some milk or water along the edges before rolling the dough up. Be sure to pinch the seals firmly. Hope this helps!
Made these for the first time last night for dinner. It was a hit! Easy to make, delicious to eat. Thank you for an easy recipe!
I had to flip half way thru but they were great!!
Awesome recipe! Made them for my little. Froze some for lunches. So, when they are frozen how long do u put them in the microwave to heat up?
If they are frozen I would start at 1 minute, flip and then another minute. 🙂 So glad you enjoyed the recipe!
I’d like to make these to freeze as something that can be heated up in the morning to pack in lunches. What do you think about freezing them?
You can definitely freeze these, they would be perfect for lunches. 🙂
Can you freeze these? If so before or after you bake. Thanks, looks delicious
Curious about this too!!!
I am wondering if it would be ok to assemble these and make 2. Then somehow freeze the remaining and make them later…
Hey Penny, I think that would work. You’ll probably have to flash freeze them (freeze them on a baking sheet for about 30 minutes not touching each other), then you can place them in a zipclose bag and keep them frozen. I’m thinking to heat them up, they will take longer, but just cook until browned and heated through.
loved it
Th Pillsbury dough is so much thicker on 1 side, hard to even out, or thins out too much when u try to stretch it out. I had to turn the dough the other way, take the amount of cheese down to half to three quarters of a stick. Much better, puffed up and didn’t ozze out the cheese as much. Just my take. SLS
Im thinking about putting a little sauce in them. Do you think that will work fine?
You might have issues rolling and sealing them with the sauce in there, but it might work! 🙂
I put sauce in mine and it stayed in perfectly.
Nice! Glad you enjoyed them!
Can u assemble these before hand then bake?
You can, but you’ll want to keep them covered in the fridge until ready to bake.
Where is the nutritional information listed? Why don’t you list that information with the recipe?
How u figure that out is, if u want the carbs for each. U add up the total of carbs in the entire tube. Then u divide that by how many rolls u make. So say there’s 70 carbs in the hole tube an u make 12 rolls. 70 divide by 12.. Same with calories an so on. Then u do the same thing with pepperoni an cheese sticks. U get the individual number for each an then add those numbers together. My son is a type 1 diabetic an we have to focus on the carbs every day for his entire life. Ive had to do this numerous times
Wow! How about a ‘thank you’. She doesn’t owe you the nutritional information. You were able to navigate your way to this site, so surely you have enough intelligence to find that out yourself…or maybe not?
I agree 100% YoLanda!! Please keep the recipes coming.
I can’t wait to make these for my kids! They look so good, not to mention how simple the ingredients are.
Yum
I made these last night and they were a hit. I did have a major problem with cheese oozing. Maybe I didn’t seal and overlap the dough enough, will try again.
Great and easy recipe, thanks. My kids love them and they also like making the sticks too.
I’m on aunt duty for my 6 and 3 yo niece and nephew, this weekend and these will definitely be on the menu! So quick and easy!
i just tried this it was very good! thank you a lot this recipe will be a keeper
This is a MUST HAVE.
In the oven right now! We can’t wait to try
This did not turn out like the unclear recipe. Roll out the dough and spread it on the baking sheet. Just spreading it is not adequate. Oven temperature was too hot and they burned at only 10 minutes, even though the recipe said bake for 10-12 minutes. Very simple recipe ruined by a not so great instructional.
OK, so they did come out gooey and messy, but boy were they delicious. My two teenage sons and I polished them off in no time. I think my mistake was pinching up dough from both sides and dragging it over the cheese stick to then pinch it. When I look at your pictures, it appears you rolled them.
Hmmm. I just made these and once I brushed on the butter, all the “enveloping” opened up. They are all in the oven right now and wide open. I’m afraid it’s going to be a real mess. Any tips for getting the dough to remain closed? I pinched it nice and tight.