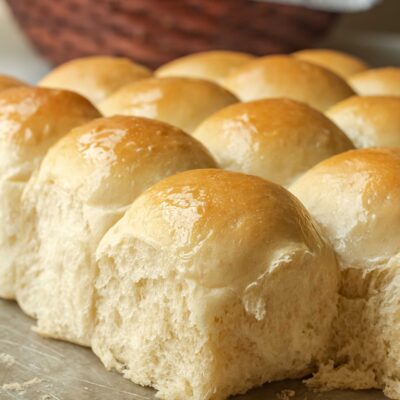
How to make the BEST Homemade Rolls ever! Light and fluffy, soft and warm, and most definitely slathered with butter.
These are extra fluffy dinner rolls, perfect with melty butter and a drizzle of honey or jam, or amazing made into little sandwiches to feed a crowd!
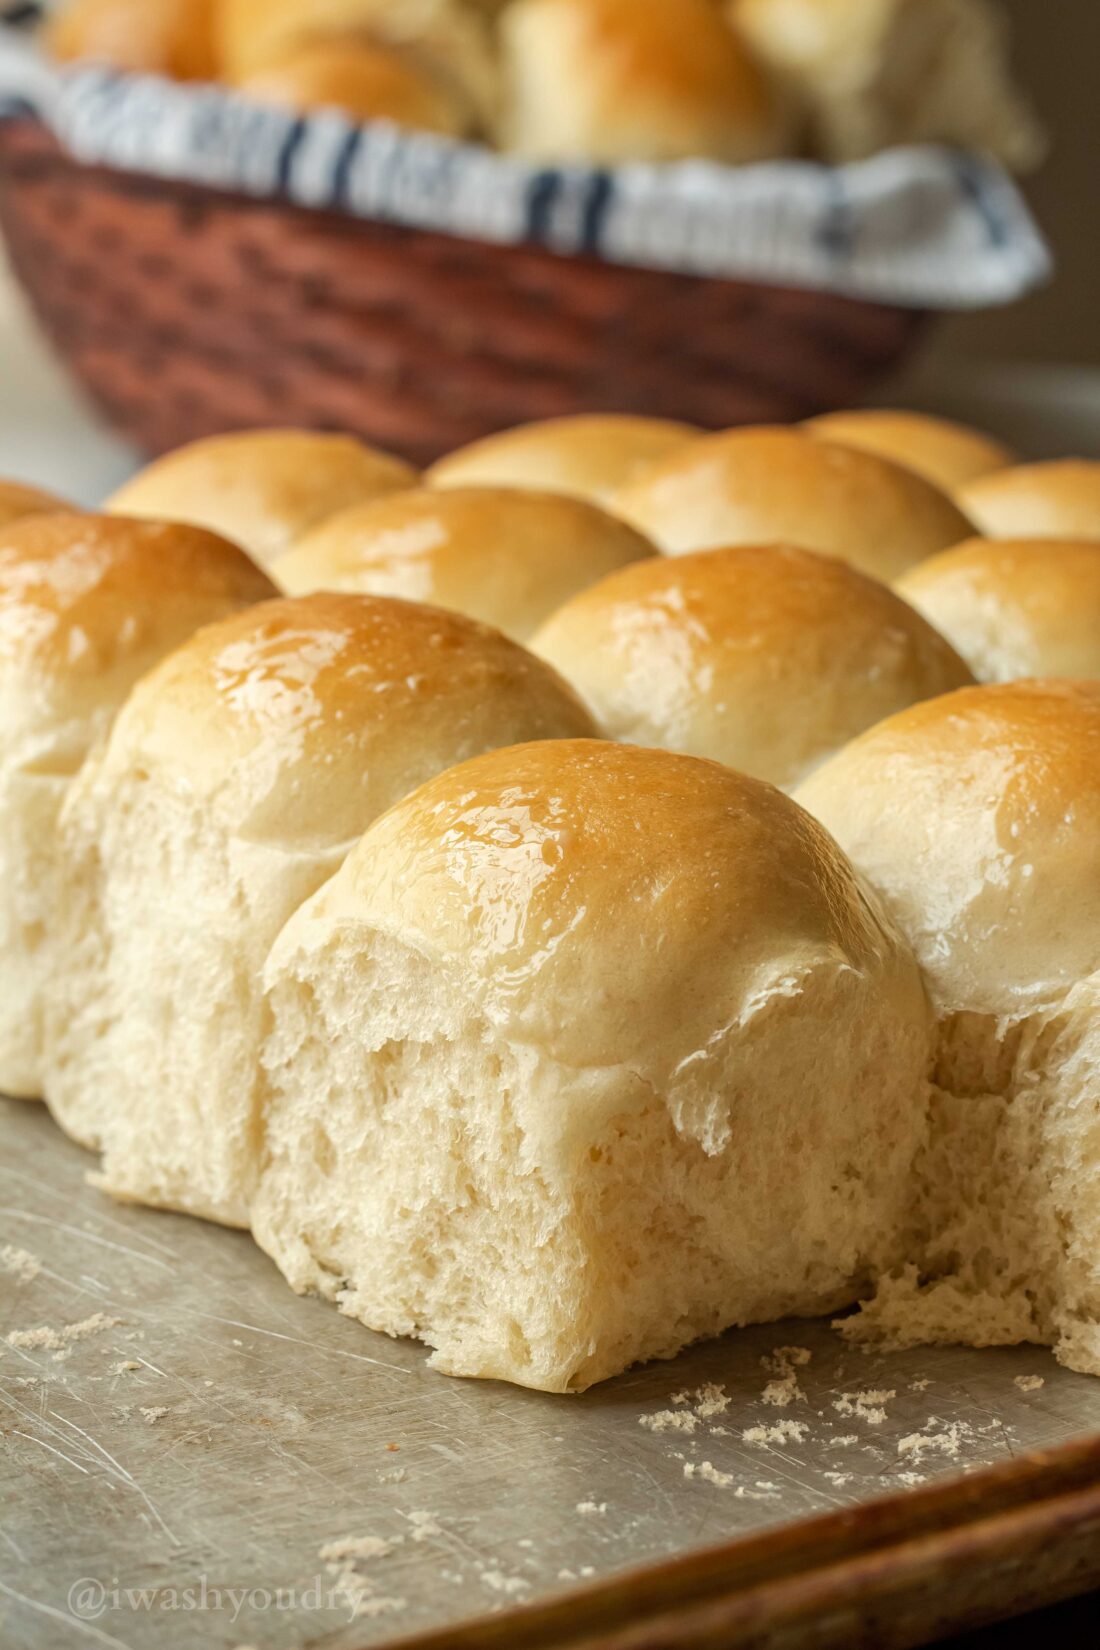
This is a yeast rolls recipe, but never fear! Using yeast is easy, and this is a good dinner roll recipe to practice with. I’ll give you a few tips to make sure you succeed every time.
Homemade Dinner Rolls
This recipe for rolls from scratch has been around in our family for YEARS. It is tried and true, beloved by all, and coveted by many.
The secret to our delicious, fluffy rolls is the combination of honey and butter-flavored Crisco! Trust me, you won’t go back after having these rolls.
Ingredients Needed
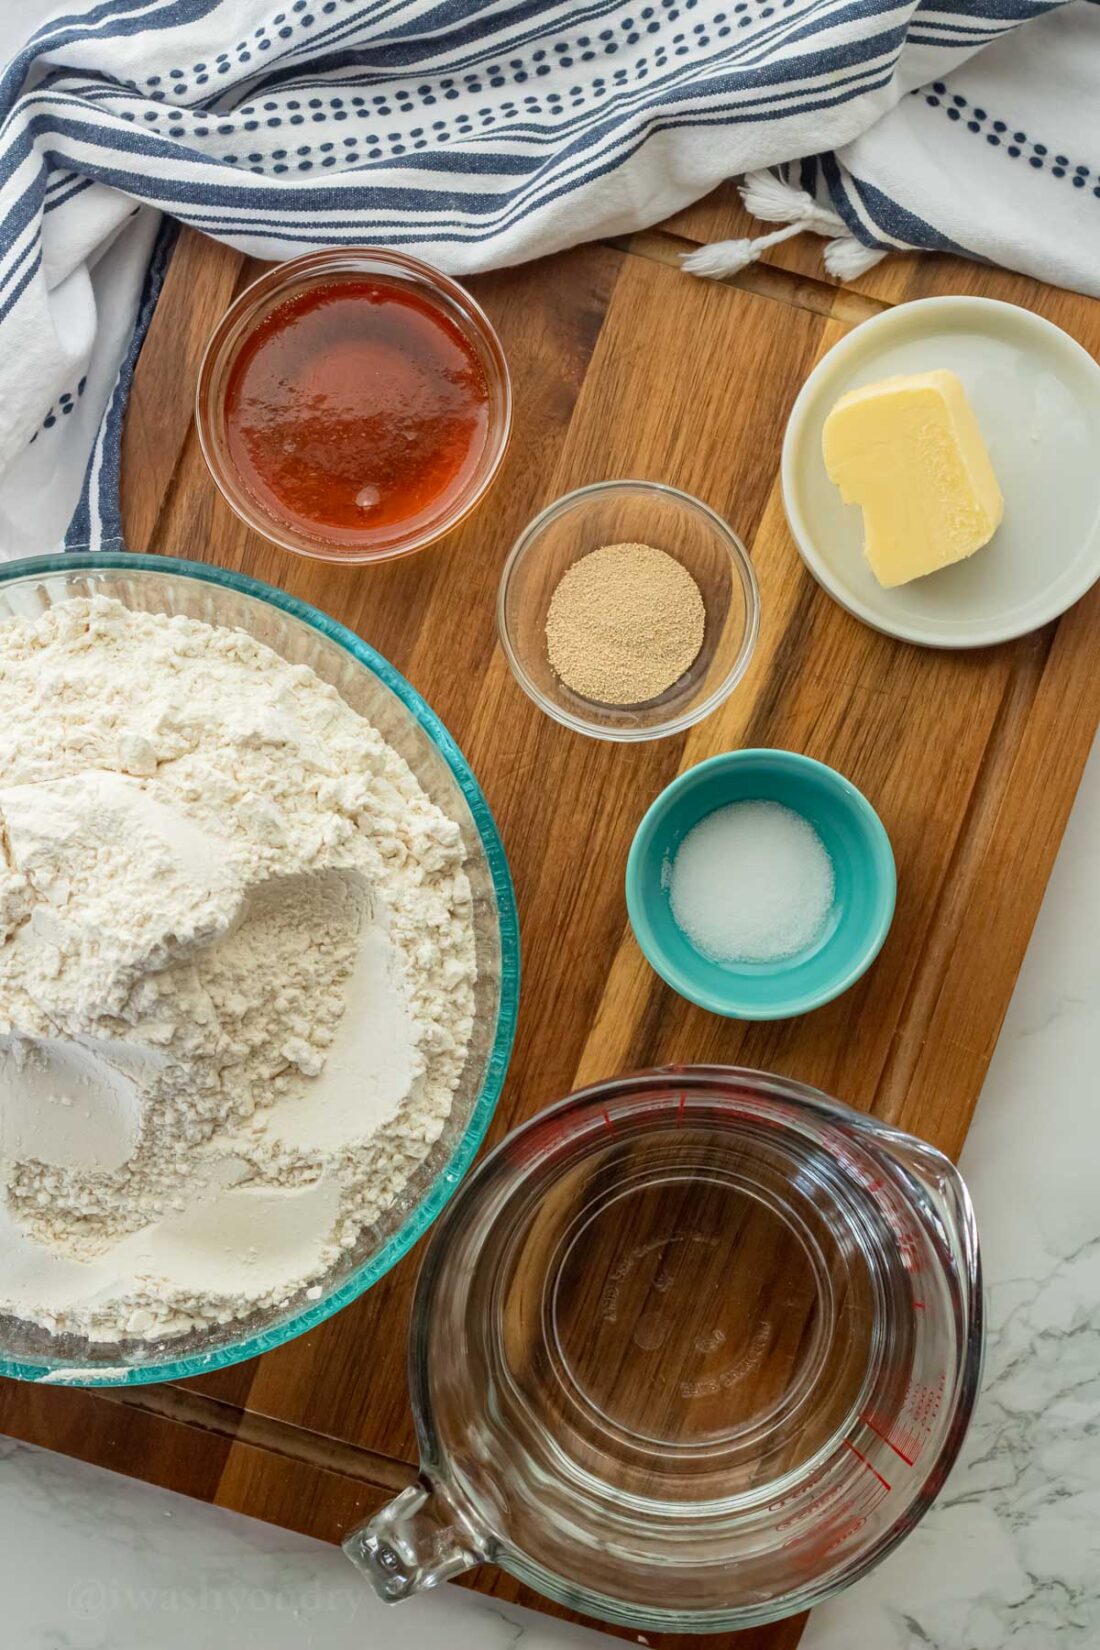
Here’s the basic list of ingredients you’ll need in order to make Homemade Dinner Rolls. As always, you can find the full list of ingredients located in the printable recipe card below.
- Honey – a very mild, natural sweetener that is perfect in this roll recipe.
- Butter Flavor Crisco – essential for delicious flavor and fluffy texture!
- Yeast – active dry yeast, not instant yeast.
- All-Purpose Flour – bread flour will also work fine.
How To Make Homemade Rolls
This is a beautifully simple homemade roll recipe. With only a few ingredients and some time, you’ll have a pan of delicious homemade fluffy rolls to eat!
Proof Yeast
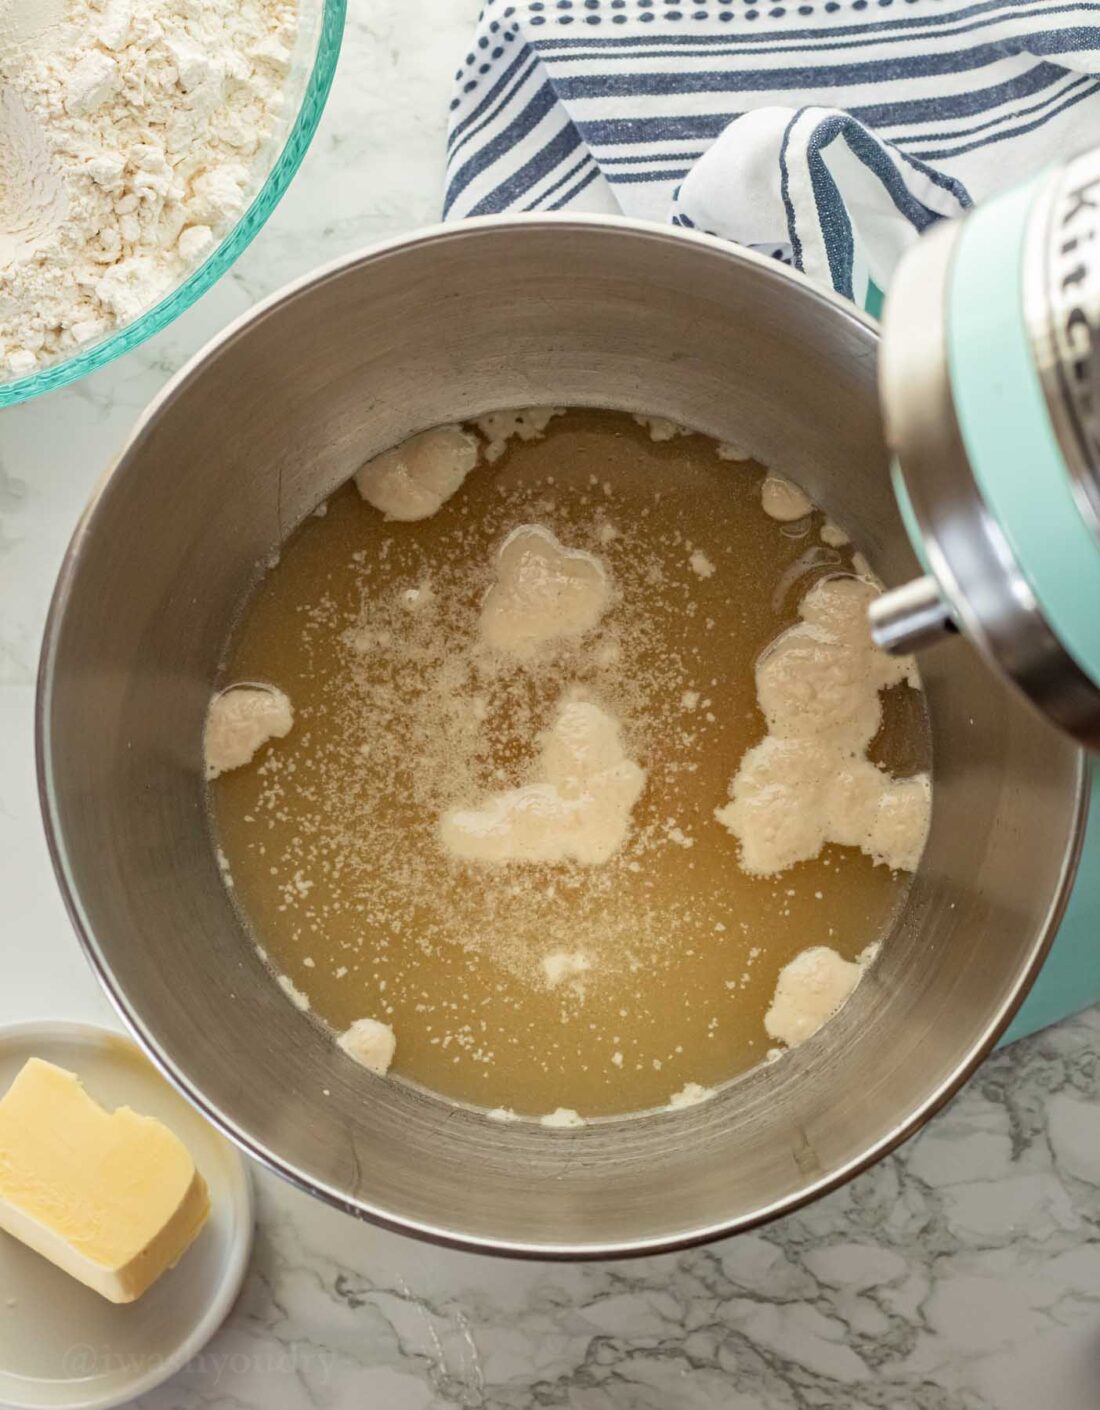
In the bowl of a mixer fitted with a dough hook, start by adding warm water, honey, salt, and yeast. Stir it gently and let it sit for 5 minutes till the yeast activates and gets foamy.
Add Crisco and Flour
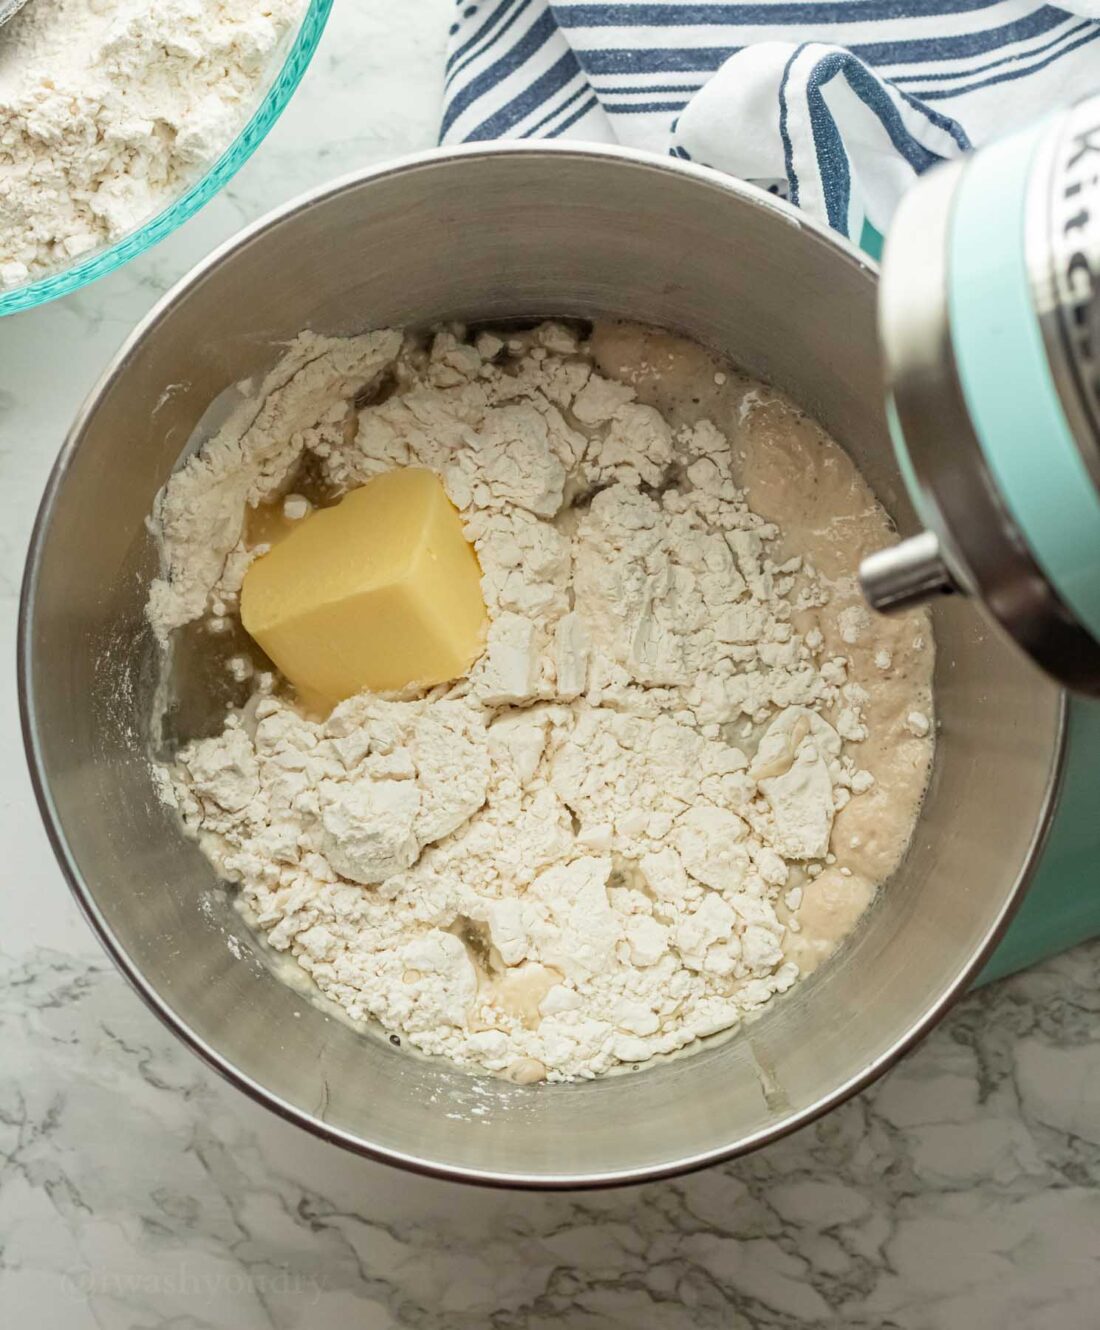
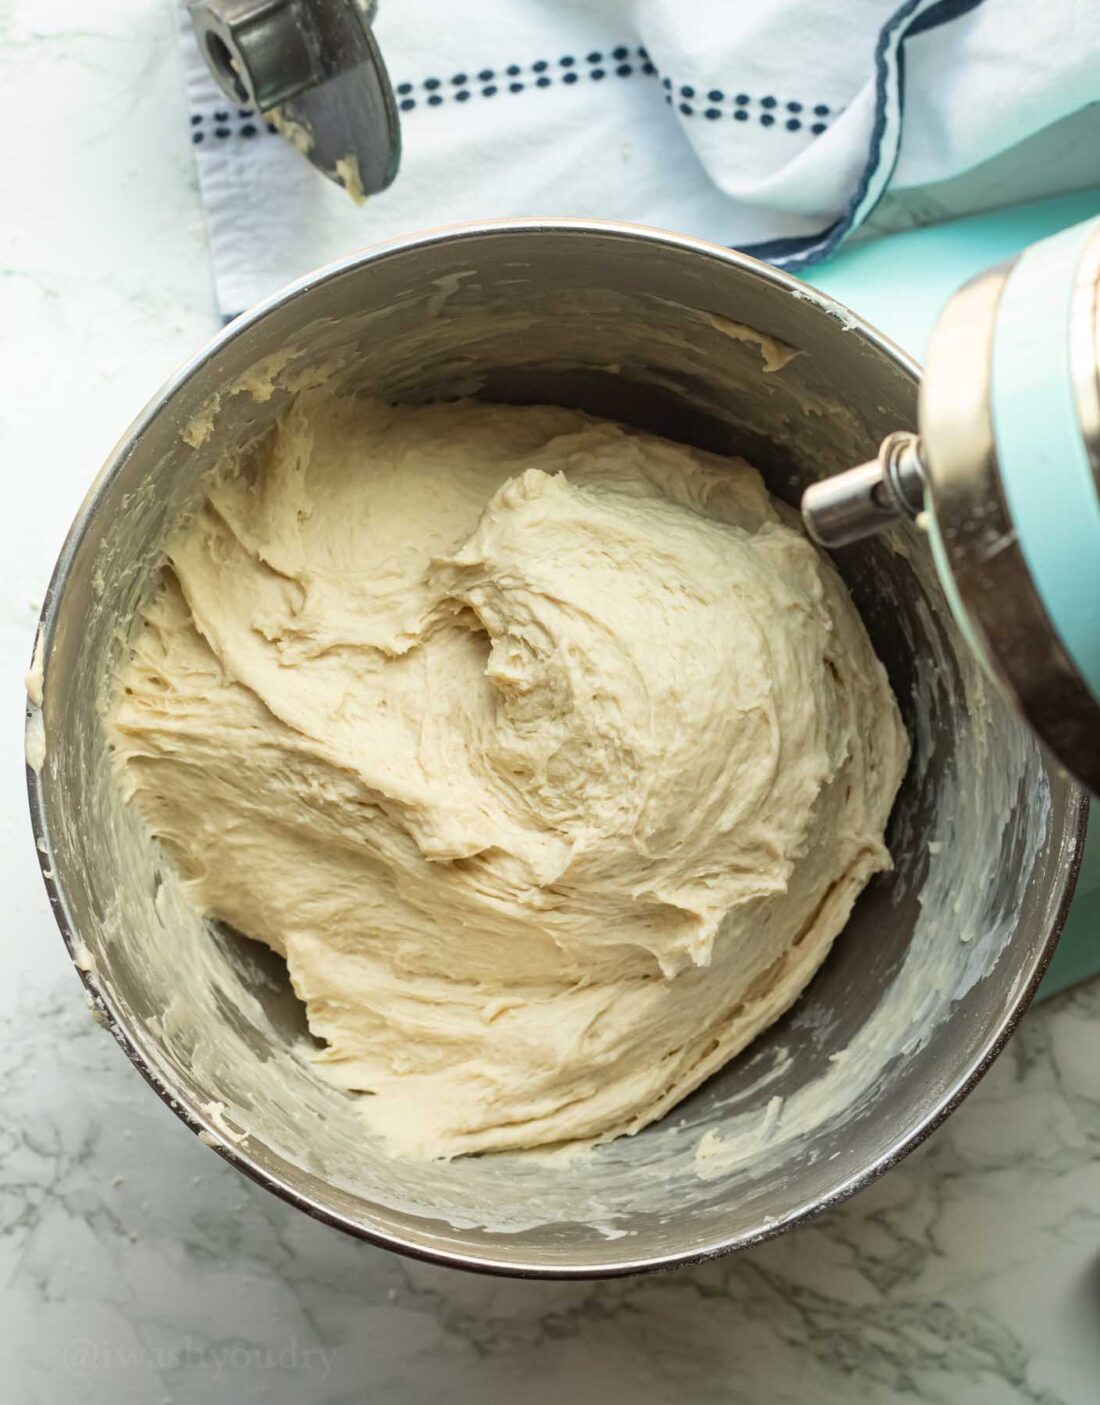
Combine the Crisco and one cup of flour at a time and mix until dough starts to form.
Add Flour and Knead
Keep adding flour until the dough starts to pick up off the sides of the bowl and is not sticky when touched with your finger. Let your machine knead the dough for 15 minutes in total.
First Rise
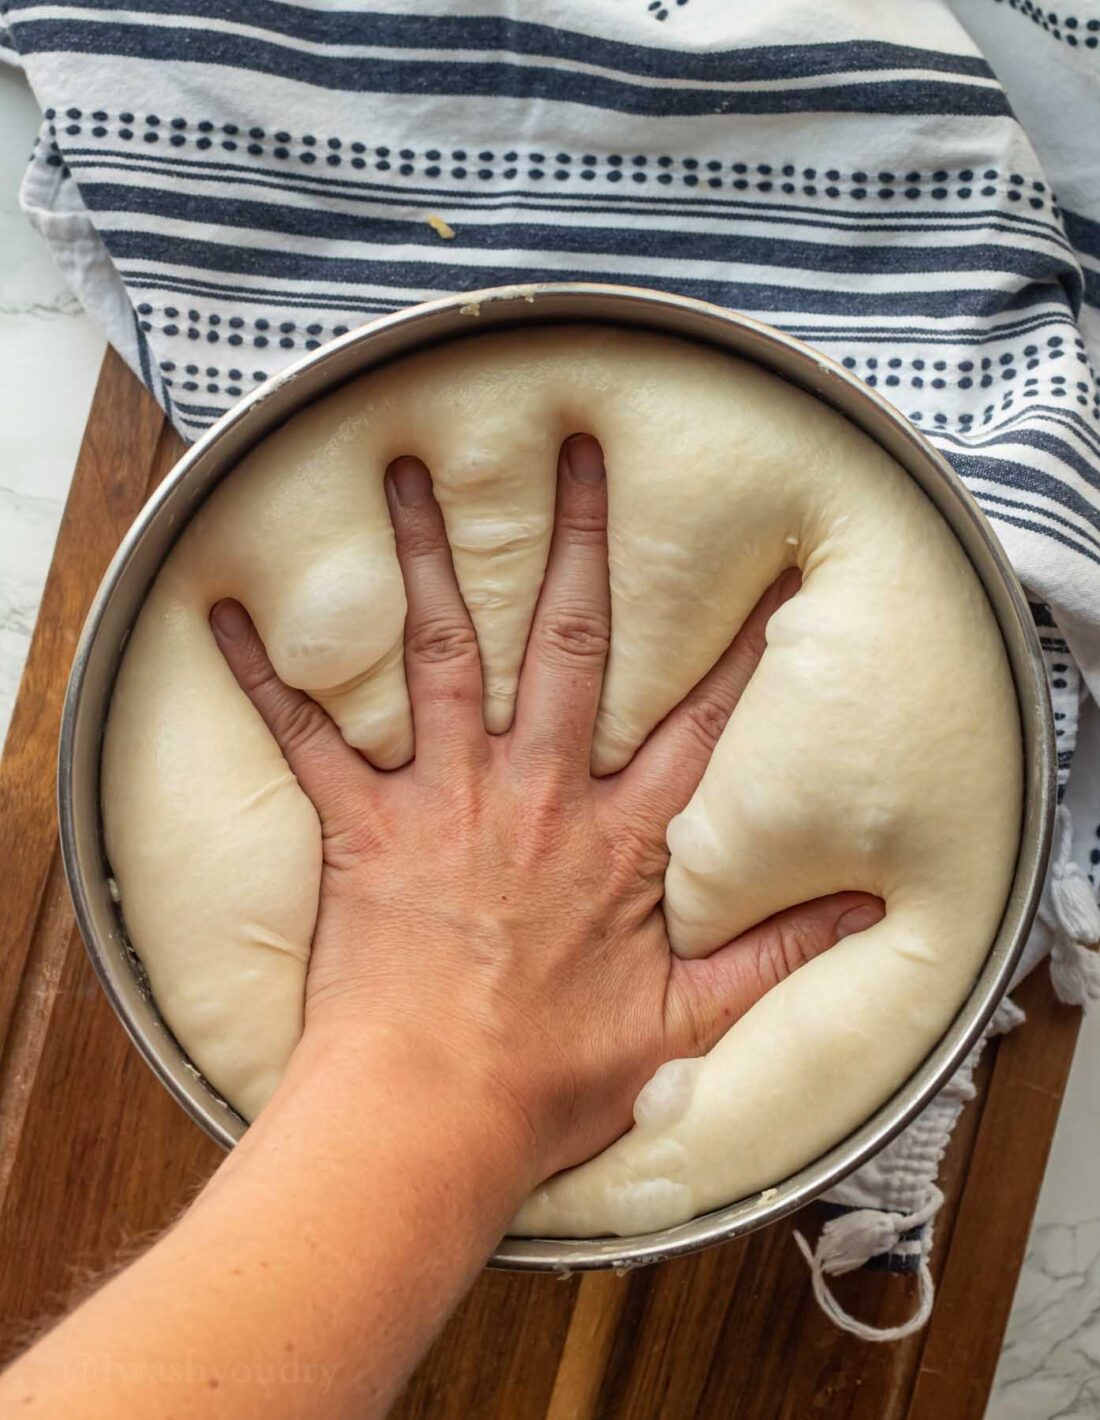
Once it’s finished kneading, cover the bowl with a clean cloth towel and place in a warm spot to rise for 1 hour or until doubled in size.
Shape Rolls
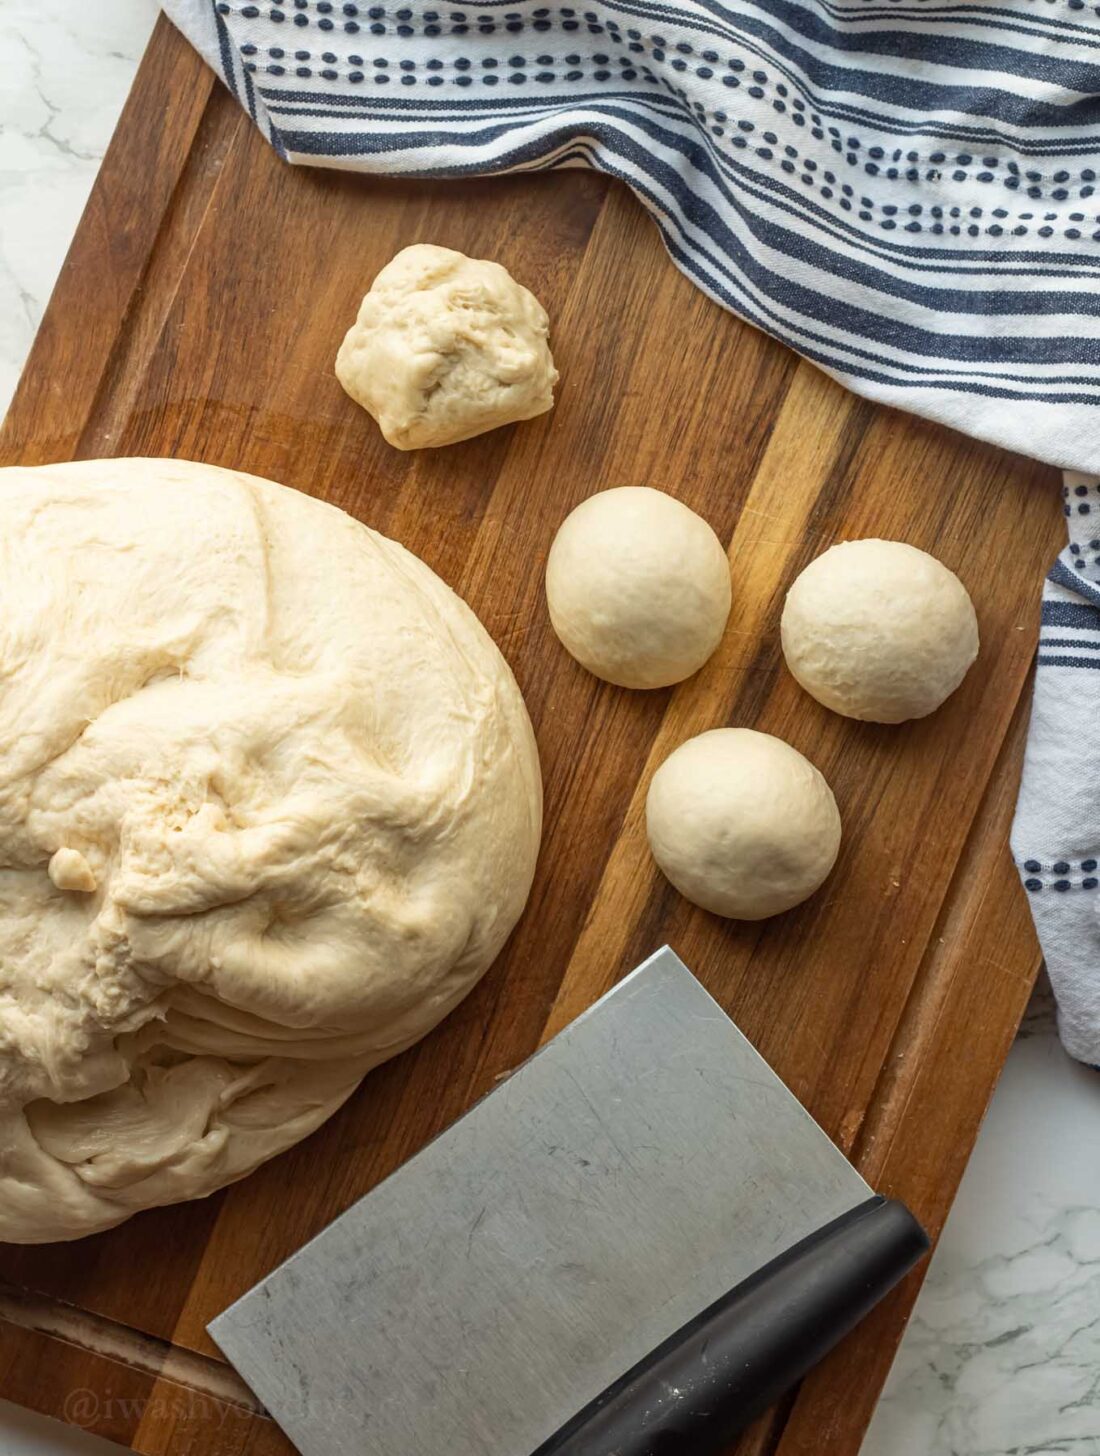
After an hour punch down the dough and divide the dough into large golf ball-sized balls. Arrange about an inch apart on a baking sheet or casserole dish.
Second Rise
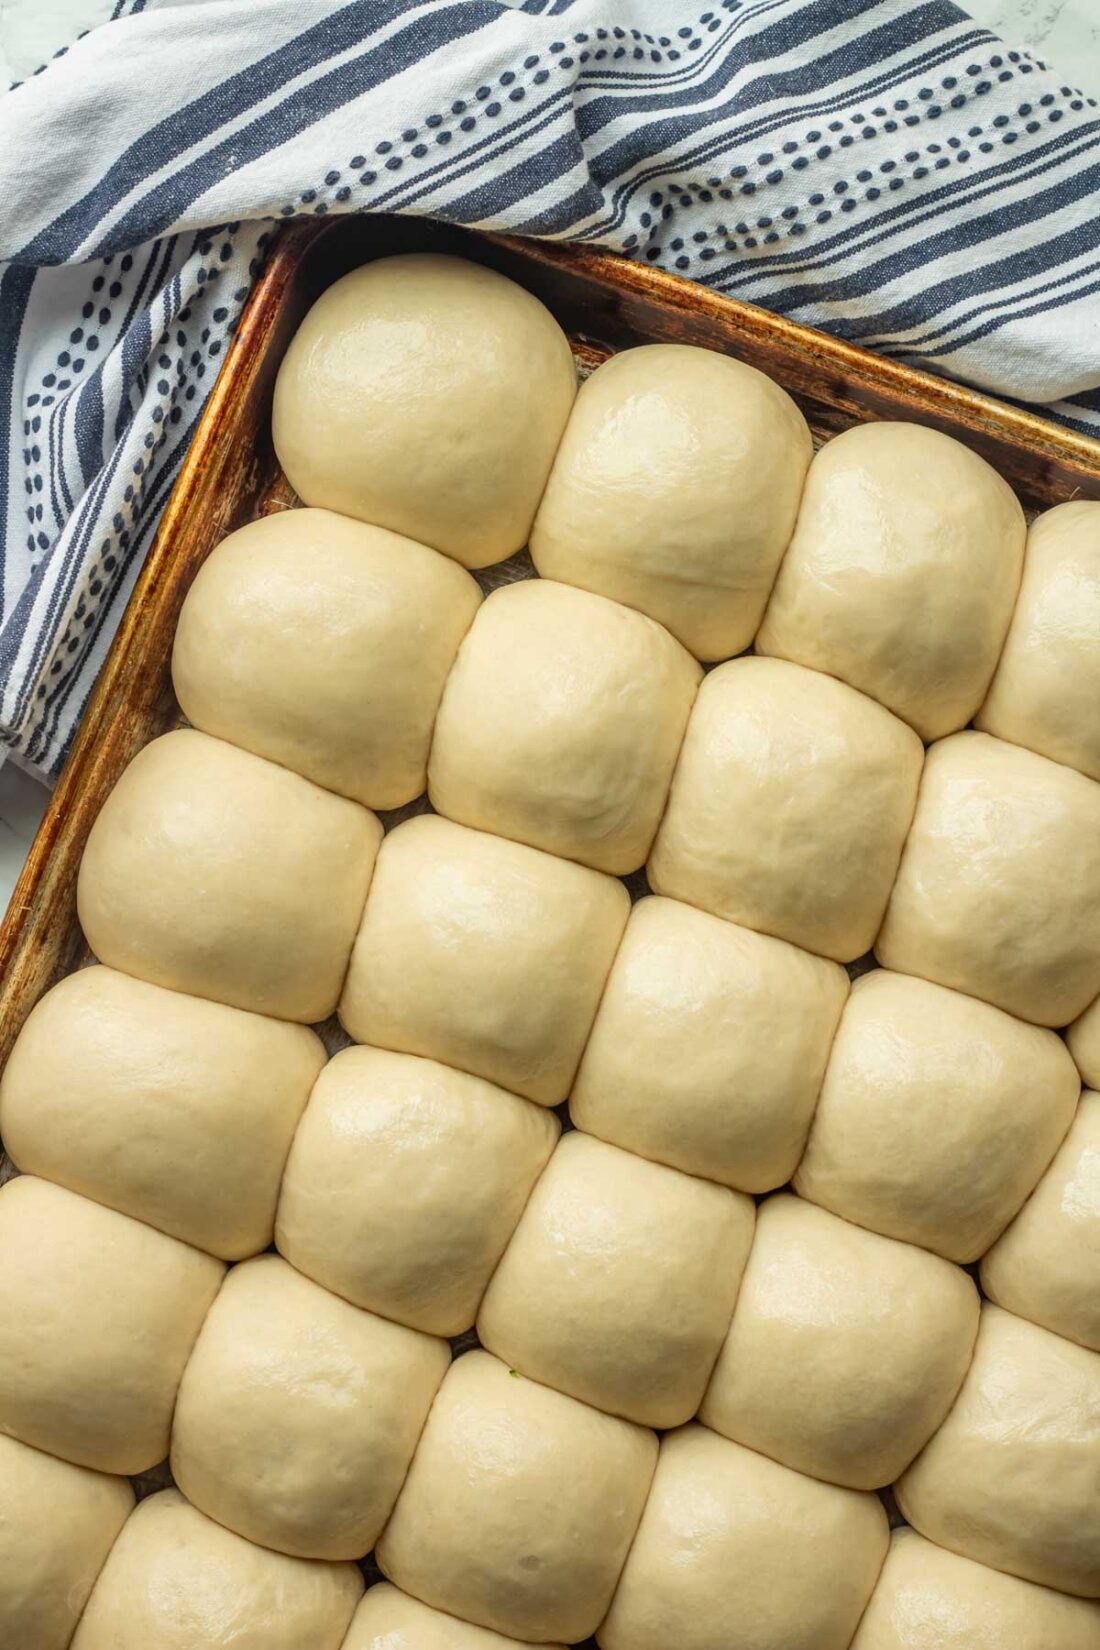
Cover again with a towel and leave in a warm place to rise for another hour.
PRO TIP: This second rise is critical for that yeast to develop the gluten in the rolls. It will help create fluffy insides, so don’t skip it!
Bake Rolls
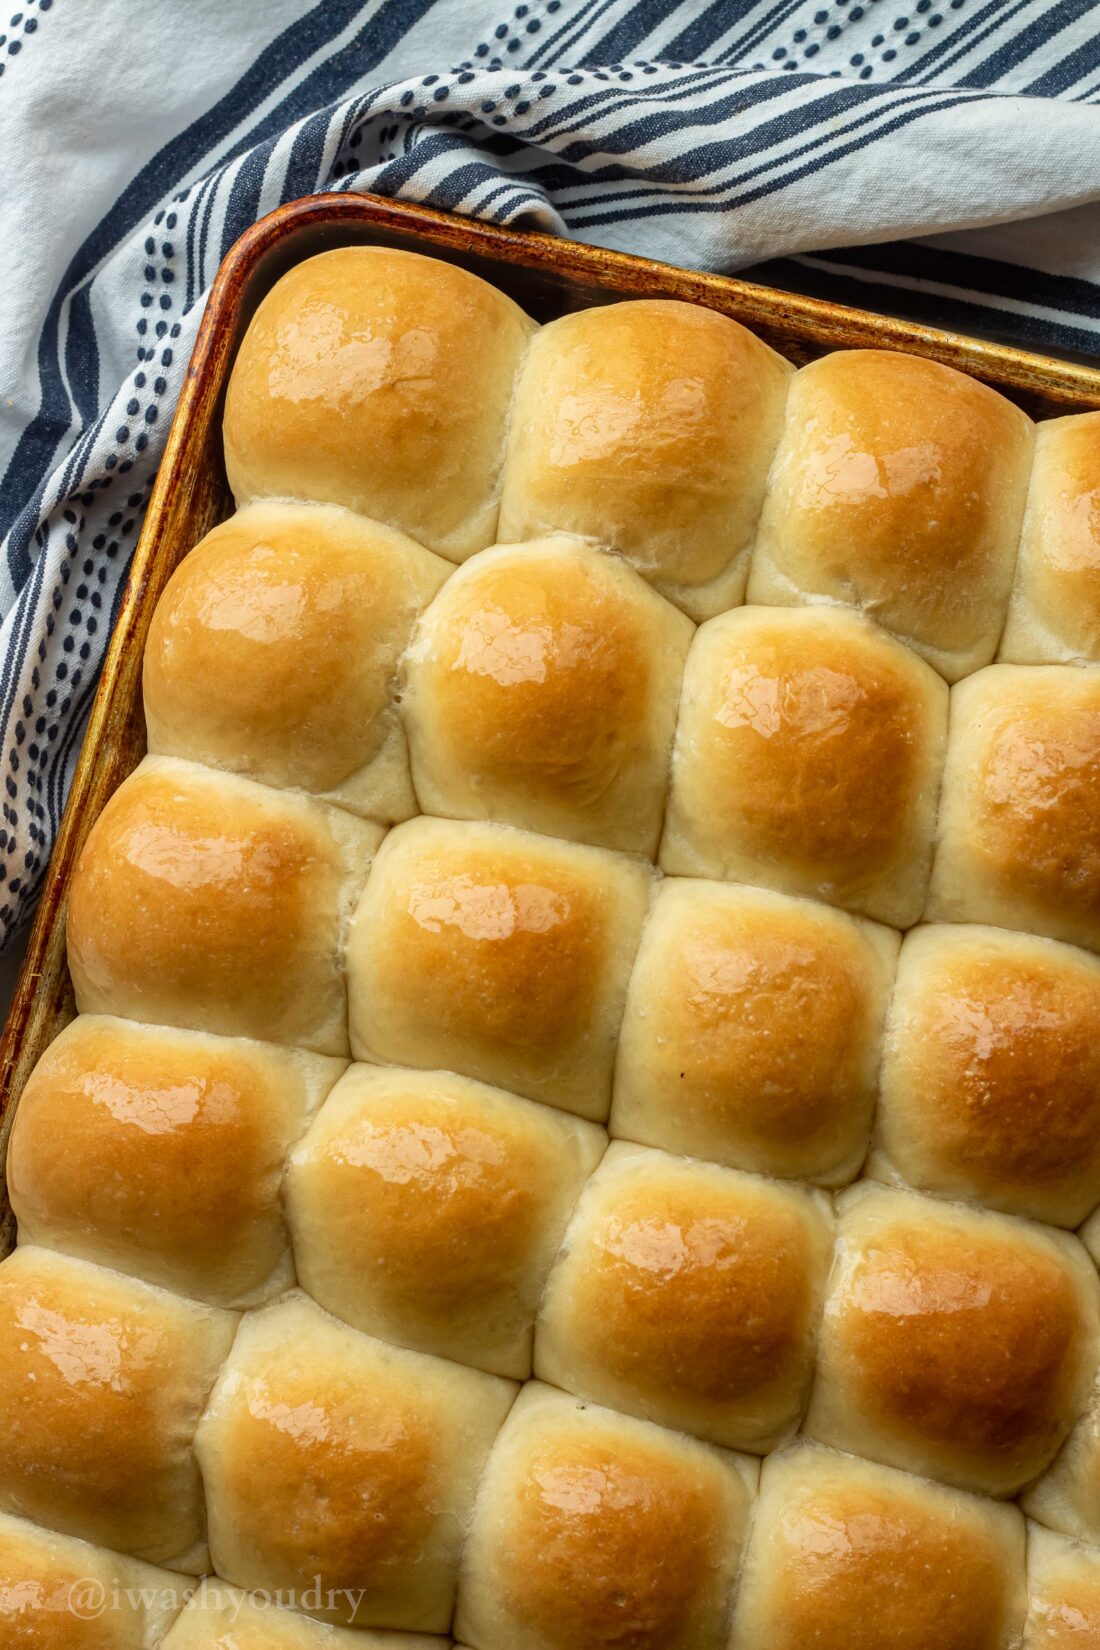
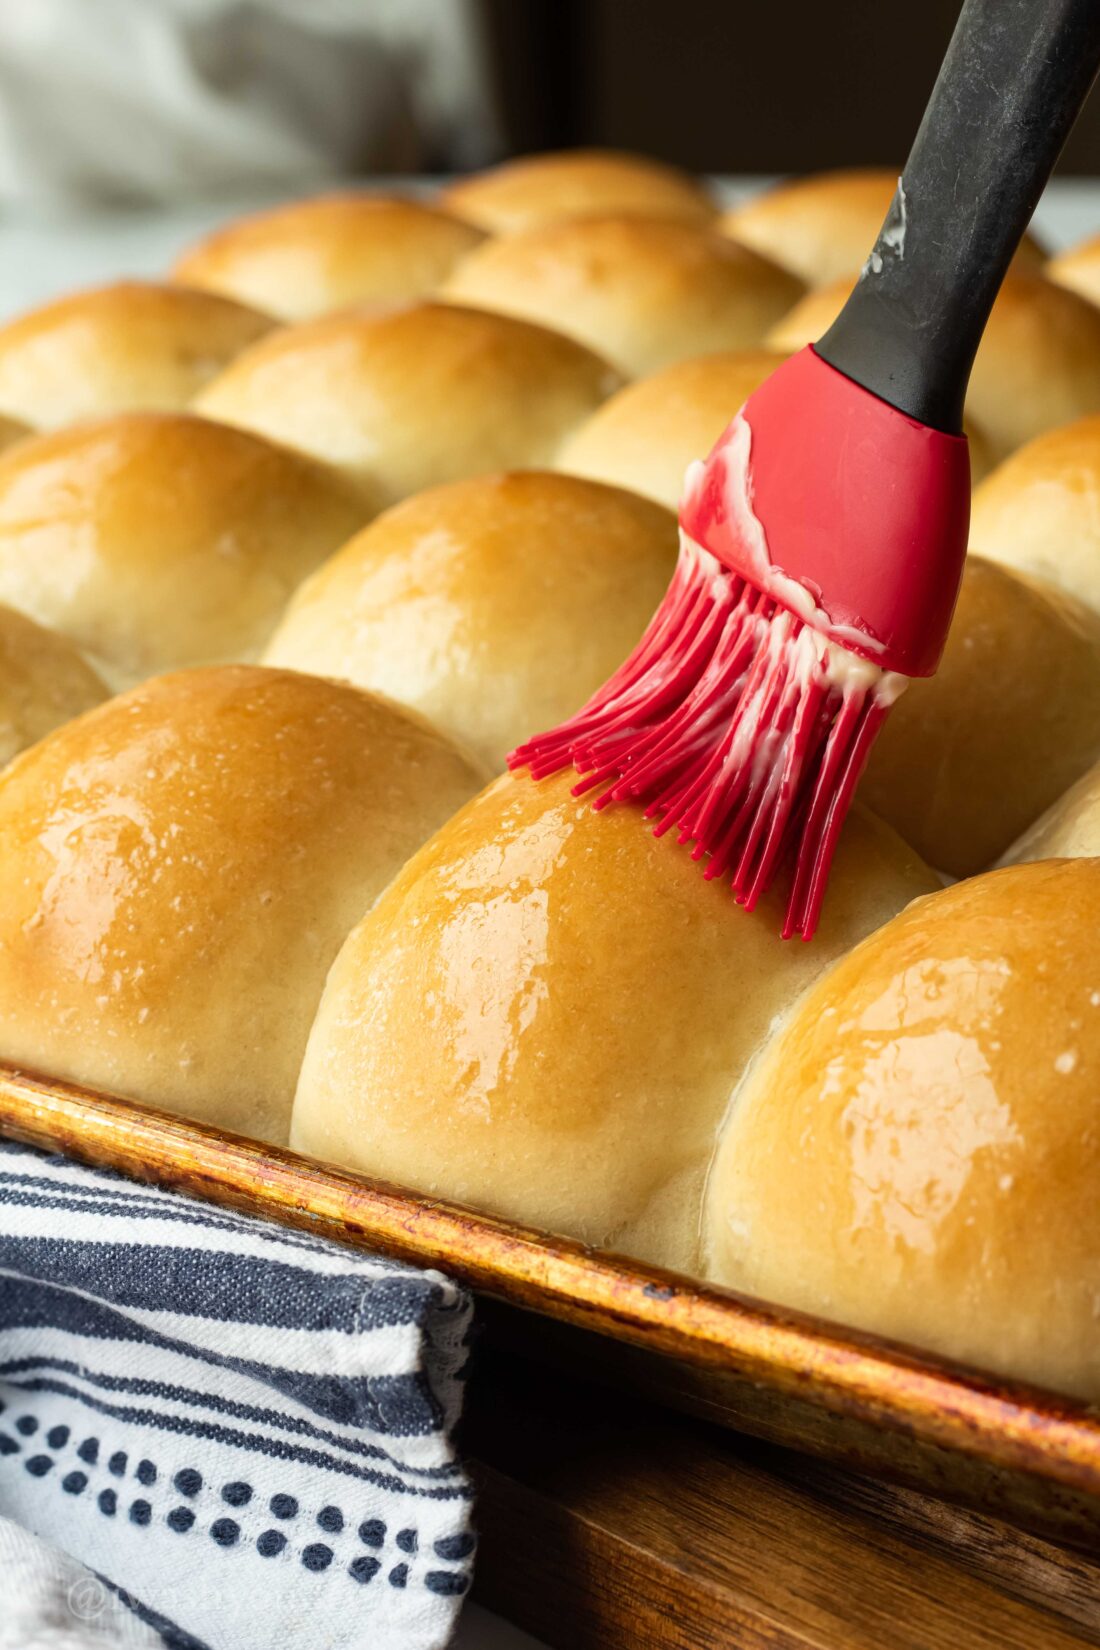
Preheat the oven to 350℉. Once the rolls have risen the second time, place them in the oven and bake for 20 minutes. Remove them from the oven and immediately brush butter on the tops of the rolls.
The tops of the rolls have a delightfully thin crust while the inside is still soft and fluffy thanks to the double rise we did.
Tips and Substitutions
- It’s important to let the rolls rise two times. It helps give them a fluffy, irresistible texture on the inside.
- Honey can be substituted for white granulated sugar or brown sugar.
- Water Temperature is important! Yeast starts to die above 120℉, so make sure the water is warm, but not too hot. You’re looking for a temperature of about 105°F – 115°F for the yeast to properly bloom.
Make Ahead and Storage
Freeze: You can freeze the raw dough balls before the second rise individually and then transfer to a freezer-safe container, or freeze the baked and cooled rolls for up to 3 months.
Make Ahead: You can make these rolls a day ahead and they will still taste fresh the next day. You can always pop them in the oven for a few minutes to warm them before serving.
Common Questions
You can brush butter on the tops, sprinkle with herbs, or use jam or honey on them. They also make great bread for sandwiches!
If the room they rise in is cooler than 70℉, they may need longer than 1 hour to double in size. Try 90 minutes when rising at cooler temperatures.
I typically bake these on the middle rack to avoid browning the tops of the rolls too much.
If you’re house is just a bit too cold for the dough to proof, try popping it in the oven! Place a glass baking dish on the bottom shelf of the oven and fill it with boiling water. Place the dough you’re trying to proof on the shelf above the water and close the oven door. No need to turn on the oven, just let it sit in there and do it’s thing.
More Bread Recipes
Bread recipes are so delicious! Here are a few of our family favorite bread recipes to try.
- Easy Homemade Bread Recipe
- Small Batch Garlic Parmesan Breadsticks
- Classic Banana Bread Recipe
- Amish Apple Fritter Bread
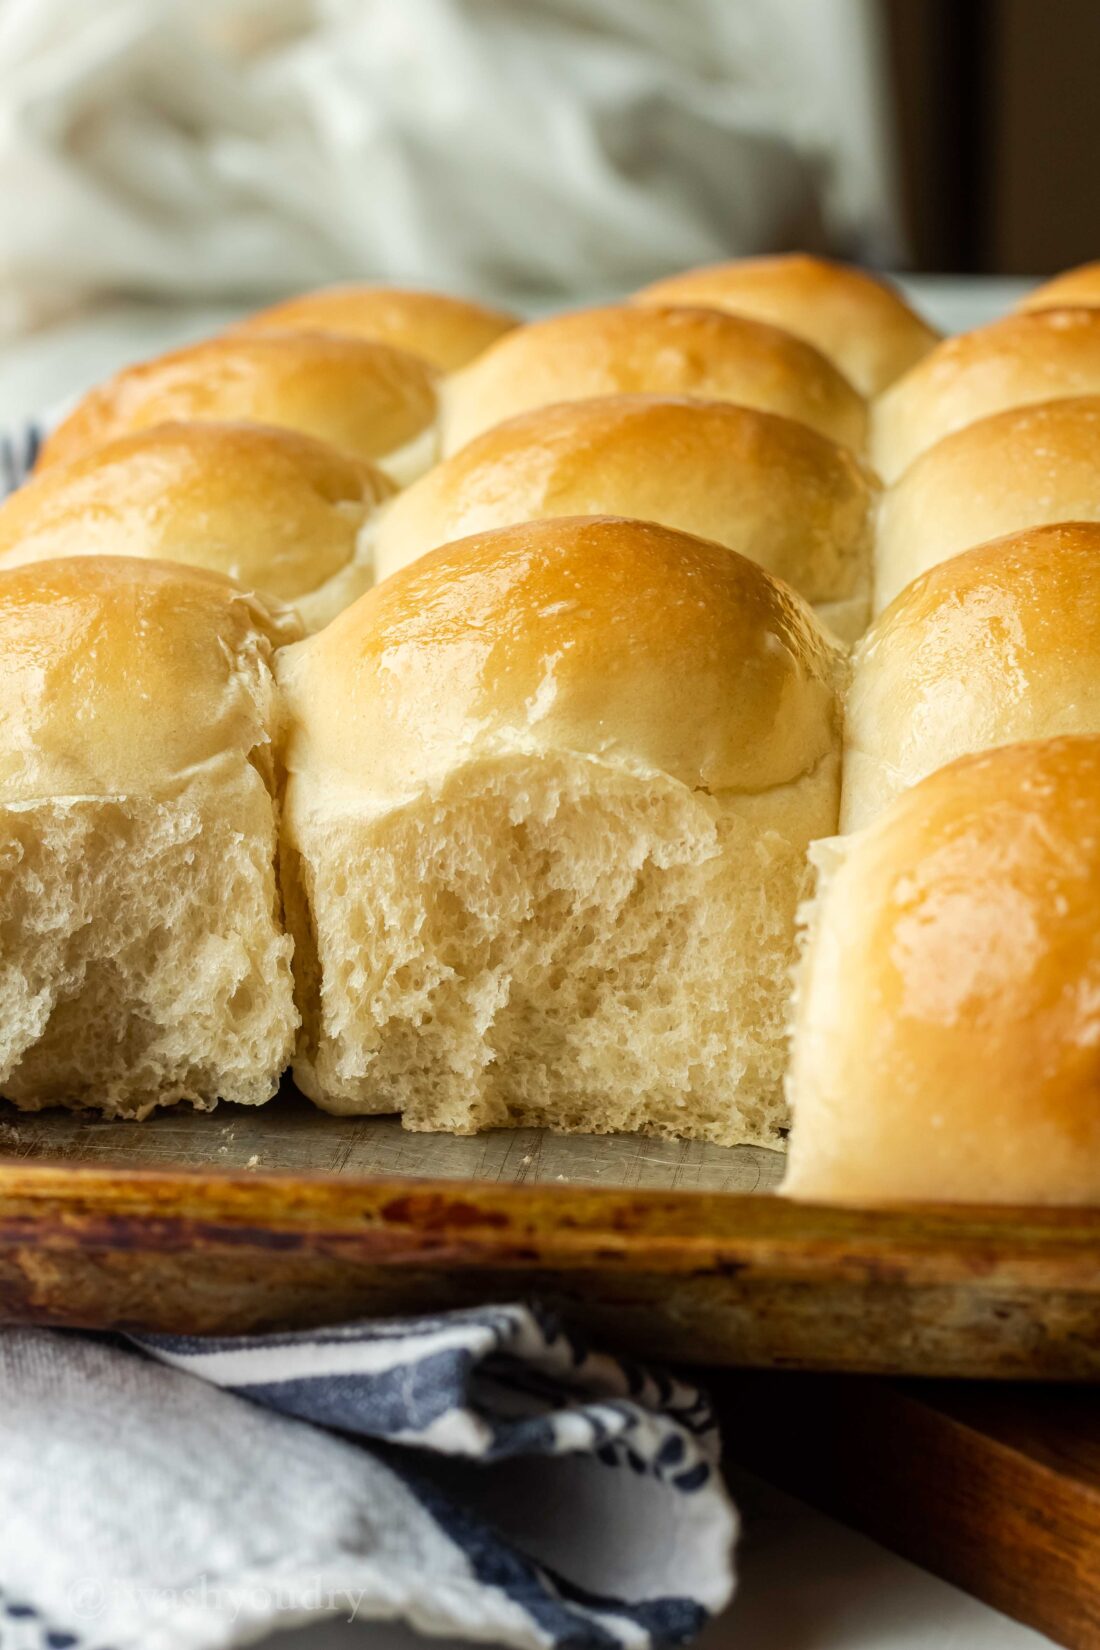
I hope you enjoy these large, lighter than light and fluffy homemade dinner rolls as much as we do! Make sure to share how it goes in the comments below!
How To Make Homemade Rolls
Ingredients
- 2 3/4 cups warm water, run hot water out of your tap
- 1/4 cup honey
- 3/4 tsp salt
- 1/4 cup Butter Flavor Crisco
- 1 1/2 tsp yeast
- 7 cups all-purpose flour, + more if needed
- butter for brushing on top of rolls
Instructions
- In the bowl of your stand mixer (fitted with your dough hook) add warm water, honey, salt and yeast. Stir it gently and let it sit for 5 minutes till the yeast activates and gets foamy.
- Add the Crisco and one cup of flour at a time and mix until dough starts to form. Keep adding flour until the dough starts to pick up dough off the sides of the bowl and is not sticky when touched with your finger. Let your machine knead the dough for 15 minutes total.
- Once it’s done kneading cover the bowl with a clean cloth towel and place in a warm spot (by a window or on top of the oven works) and let the dough rise for 1 hour.
- After an hour punch down the dough and divide the dough into large golf ball size balls. Arrange about an inch apart on a baking sheet or casserole dish. Cover again with towel and leave in a warm place to rise for another hour.
- Preheat the oven to 350 degrees F.
- Once the rolls have risen for the second time, place them in the oven and bake for 20 minutes, or until the tops are lightly golden brown.
- Remove them from oven and immediately brush butter on the tops of the rolls.




These are Wonderful! Thank You, just what I was looking for. Very soft and delicous! Next time I will add a little more salt.
wow yummy I am gonna try this one awesome …. please update me with your other great recipes
I cant wait to make these. And fist bump to those of us with “man hands.”
Hi,
Wow.. amazing receipe, just wanted to know is it possible to use All purpose Wheat flour to make these buns, if so, is there any difference in the quantity of the yeast.
Looking forward to your reply
Thanks so much..
Shivika K R
I wouldn’t switch all of the all-purpose out for wheat flour, but you could try subbing out 1/2 of the flour with wheat flour. It may not rise as well, so you might want to add a little more yeast. I haven’t tested the recipe this way, so I can’t give you exact measurements. Let me know how it goes!
Do you think these would come out ok if I don’t have a stand mixer? I would just make them by hand…I guess.
Thanks~
Maggie
Hi, I can’t wait to try this recipe, the packets of yeast hold 2 1/4 tsp , I have another yeast roll recipe I use all the time,but I can’t wait to try this one. A little hint I keep my yeast in the fridge(take it out before I mix everything together) keeps a lot longer. I only use the packets. I love homemade rolls, you know what is in them and they are fresher.
Just read this post & thought these would be great on the Easter menu. I know when I hand this recipe out the baker is going to ask about strip packet yeast. Any idea how much yeast in one packet?
BTW this is a fabulous tutorial & the link will be added to the recipe for reference.
Thanks!
What kind of flour? All-purpose or self-rising?
All Purpose flour for this one! 🙂
Hi …
Im pretty much a beginner when it comes to making rolls/buns and am going to “attempt” to make these yummy lookin beauties (The couple previous times I have tried to make yeast rolls/buns Ive been not so lucky *sigh*) and I am wondering at what number (speed) do you knead the dough with the hook attachment? mine is a classic no frills kitchen aid … would the #2 speed be right? also am I correct to assume that you begin mixing (with the hook) after the yeast is proofed (in other words right after you add the crisco and 1st cup of flour)?
I think somewhere between a 2 and a 4 would be a great speed for kneading the dough. Hope you enjoy the rolls!
Amazing! I have an aversion to yeast but you make it look too easy!
I attempted to do it after the first rise it was sticky. Is is because I didn’t add enough flour the first time?
Hi Vanessa, if the dough is a little sticky you can add a little more flour to it, and you can also spray your hands with cooking spray so the dough doesn’t stick to your fingers. 🙂
Hi,
Would like to try making these rolls for Thanksgiving dinner.
At what point can I stop and finish thanksgiving day?
Thanks so much!
Hey Shawn, What size sheet pan did you use, and how many dough balls did you put on each? (I’d like to know these so that I’d also get the wonderful pull-apart rolls :)) – Thanks!
Hi Linda! I used a half sheet pan (18″x13″) to make 2 dozen rolls (4 rolls by 6 rolls), then for the last dozen I put them in a 9″x13″ pan (3 rolls by 4 rolls). The ones in the 9×13 were closer together which resulted in them being more of the pull apart kind. Hope that helps! 🙂
Thanks Shawn! I think these rolls will make my boyfriend and his family very happy at Thanksgiving! Normally, I make potato rolls, but this year it’ll be different. I will just have to enjoy making them, watching them rise, salivate at the smell emanating from the oven whilst they are baking, and seeing the family devour them because I can’t eat gluten – boohoo. Thanks again, great blog you have here!
Hi Shawn again. I bake breads pretty often, and noticed that the amount of yeast is only 1 1/2 teaspoons. Is this correct, or should it be 1 1/2 tablespoons? Thanks.
Hi Linda, it’s just 1 1/2 teaspoons, but thank you for checking! 🙂
I would like to bake these right before I serve my thanksgiving dinner. I d like to make the dough the day before. Would I let it rise just once before refrigerateing? Then pull out and let in get to room temp and allow to rise again? (And can I make dough balls on baking sheet straight from the fridge for the second rise?) MY first thanksgiving dinner, and I want to wow my family with homemade warm rolls:)
Hi Jennifer, Yes, you got it right! That’s exactly what I would do! Good luck with your first Thanksgiving dinner! 🙂
These look delicious! I share them this week at my 30 Days of Thanksgiving gifts. You can see it here…http://sewlicioushomedecor.com/sew-thankful-series-house-day-3/. 🙂
Marti
Thank you Shawn I will bear that in mind. Thanks for getting back to me so quickly!
The rolls looked mouth-watering so I attempted them today. I followed the recipe exactly and I let them sit by the window for 1 hour covered. The dough rose, however, it was very sticky and not formed at all. I added two more cups of flour, it seem to be a little less sticky. As of this moment they are sitting in my mixer with the cloth still on top. How long can I keep the dough like this? A few hours or even over night? I live in New Jersey and it’s quite cool now, no humidity. Do you think next time instead of adding the 7 cups of flour as the recipe says, should I add 9 or even 10 cups? Thank you Shawn!
Hi Beth, first- if you want to leave the dough overnight, I would seal it up and place it in the fridge. Before baking you’ll want to bring it back to room temperature and let it rise again. Second- I would start off with the smaller amount of flour and keep adding a little more until the dough comes away clean from the sides of your mixer. You can always add more flour, but you can’t take it away, know what I mean? Hope that helps!
I was so excited about this recipe! Pinned it awhile back and decided to make these rolls to go with a nice beef stew….
Not sure WHAT happened, but these ‘rolls’ came out like rock hard biscuits! =(
I make bread biscuits etc ALL THE TIME, so this recipe did not strike me as different or difficult in any way….
Really not sure how they turned out so absolutely awful……..
Hi Hillary, I’m sorry these rolls didn’t turn out for you. Sounds like maybe your yeast didn’t work. Did you proof the yeast? Did you let the rolls rise twice? They always turn out fabulous for me, so I would suggest giving it a second try and make sure you have some active yeast. 🙂
I have baked yeast breads and rolls for years and I have no idea how 1 1/2 tsp of yeast to 7 cups of flour would get that about of dough to raise to any appreciable height. Is that a typo per chance?
These are my family’s favorite too, but I noticed you mentioned pizza rolls [on pinterest is where I saw i] never realizing I can use my recipe for Grandma’s rolls [that’s what we call them :)] for that. I do llke the idea of butter flavored Crisco – thanks for the hint.
And my family and I were laughing [in empathy] at the Dishwasher Tango. Too funny.
Not a typo. That’s the correct amount of yeast. 🙂
Amazing! I have an aversion to yeast but you make it look too easy!
Just wondered….can i use real butter instead of crisco? i live in italy and it’s a little hard to come by! thanks!
I think real butter would work just fine. Just make sure it’s room temperature first. 🙂
These look so good … I could eat them all 🙂
Wow, these look amazing. Thanks for the great tutorial. I’ll know I’m a REAL Mormon woman when I can bake bread! *Wink*
Warmly, Michelle
Have you tried making these ahead of time and freezing?
Hi Traci, if you’re going to freeze the dough, I would do it after the first rise. Get all the dough balls formed and freeze them individually. Then when you’re ready to bake them pull them out and leave them in a warm place with a clean towel covering them. Let them rise and then bake. If you just want to freeze the baked rolls, I would wait till they have come to room temperature before placing them in a zipclose bag and placing them in a freezer. Pull them out and let come to room temperature, you can place them in a microwave safe bowl and cover them with a towel and warm them up for 30 seconds per batch to get them nice and warm again. I hope that answered your question! 🙂
I’m going to hijack this post to say thanks! I had the same doubt – I like to make my own bread, but since I live alone it always ends up going bad before I can eat all of it, which is just such a shame!
I’m salivating. If there’s one thing I can’t resist, it’s carbs. And rolls–especially freshly baked–are my kryptonite. I want them!
wow!they look so perfect, can I try them out with some stuffing, like corn or potatoes?
Shawn, thank you for bringing these over. They ARE as good as they look!
Anytime! Let me know if you decide to make them and I’ll come right back over! 😉
Beautiful! I will never turn down a hot buttered roll! 🙂
Seriously, NEVER turn down a hot buttered roll! YUM! Thanks!
I love homemade rolls! These look perfect!
Thanks Jessica, you’re too sweet! 🙂
These are beautiful, Shawn! I want to eat them right off the screen 🙂
Haha, thanks Barbara! They are definitely worth it!
I love these kinds of rolls!
Aren’t they addictive?! Thanks Rachel! 🙂
These looks just like my mother in laws!! I pinned the recipe because I will have to try these .
You make dinner rolls seem so easy! Looks super fluffy. =)
That’s what I do! Thanks Stephanie!