You guys, I might have a small obsession with making cakes.
Remember last month when I shared the Gender Reveal Cake that I made for a friend? Well, my little girl was turning 3 and all she could talk about what how she wanted a Dora Cake for her birthday. And what my baby wants, my baby gets.
Ok, not really. She doesn’t get everything she wants, but a Dora Cake, I can do that!
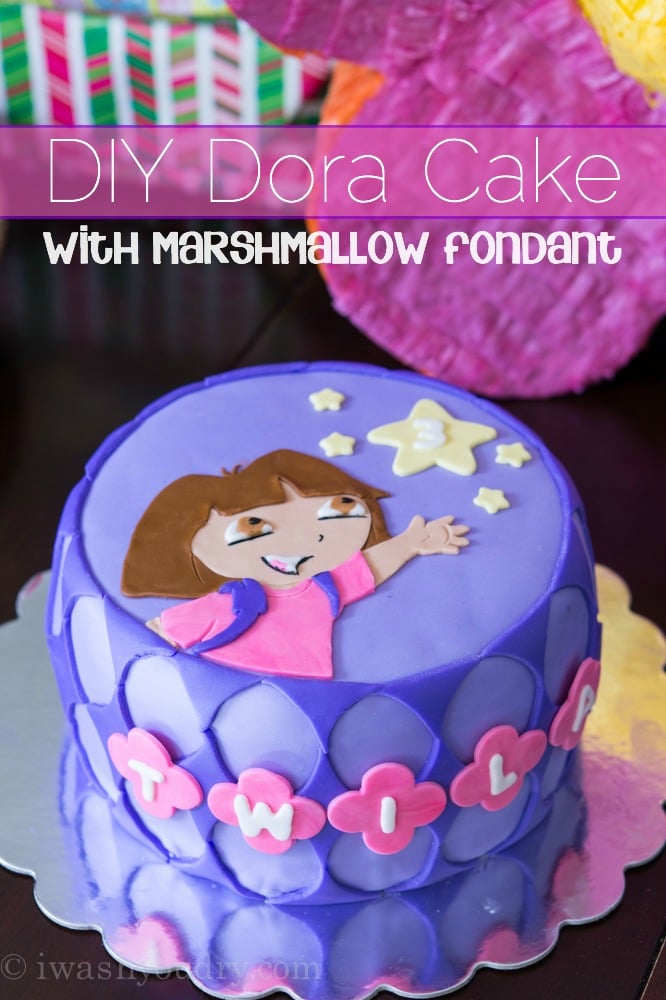
I wanted to show you guys step by step photos of the process, but I totally got lost in the moment of decorating and forgot to grab my camera.
BUT, I’ll walk you through how I did it and give you links to where you can buy what you need to be able to make it. Obviously, you can make your cake special to the little one you’re making it for, and you don’t have to copy mine exactly, but it’s actually a lot easier than you think. It just takes a little patience when you get to the smaller details.
Let’s talk about the FONDANT:
In the last cake post I shared links to my favorite youtube videos that walk you through how to make your own marshmallow fondant.
Watch this extremely helpful video from My Cupcake Addiction on how to make your fondant –

Here she is again with how to color your fondant –

For this cake I made my base a light purple, then I left a softball size amount of fondant white to color later on for all the extra details.
**Remember!! Marshmallow fondant is easiest to work with when it’s been left to rest for at least 18 hours, so plan ahead!
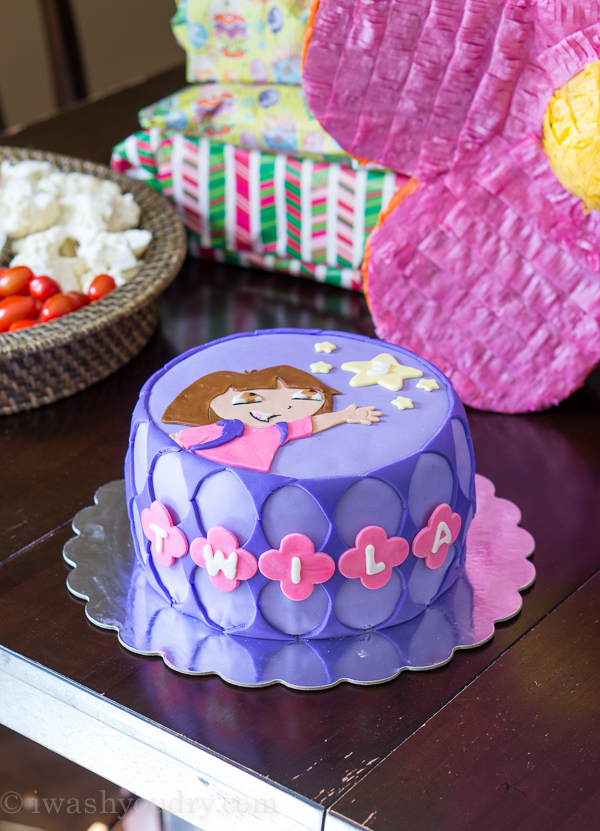
Let’s talk about the CAKE:
I really love the height and width of a 3 layer 8 inch round cake. I feel like this is the perfect size for decorating, it’s not too big, and it’s not too small. Since it’s three layers you can cut smaller slices to feed a larger crowd.
I stick with the easy box mixes (in this case – funfetti). You’ll need to make a total of 4 (8 inch) layers (from two box mixes), let them cool, and then you can wrap one of the layers in plastic wrap and put it in a zip close bag and freeze it for another cake later on, or make cake balls, or whatever you want. But you’ll only need three layers here.
Let’s talk about the FROSTING:
Once your layers are ready you’ll frost them like you would any other cake. I prefer to use a nice buttercream frosting (recipe below), because it hold up well underneath the marshmallow fondant.
Make sure you frost all around the cake, making it as smooth as possible. I like to use this smoothing tool. Any bumps will show up when you put the fondant over it, so smoothing it out now is your best bet for a smooth cake later on. After it’s smoothed out, place it in the fridge to firm up the frosting. I will let it sit in the fridge for at least 30 minutes.
Let’s talk about COVERING THE CAKE:
Make sure to roll it out to 1/8th of an inch thin, so it doesn’t weigh down the cake. Also make sure you have plenty of room on all sides of the cake to help smooth out the edges.
I like the Krazy Kool Cakes method for covering a cake because it doesn’t require and special tools.

Once your cake is covered you’re ready for the fun part – DECORATING!
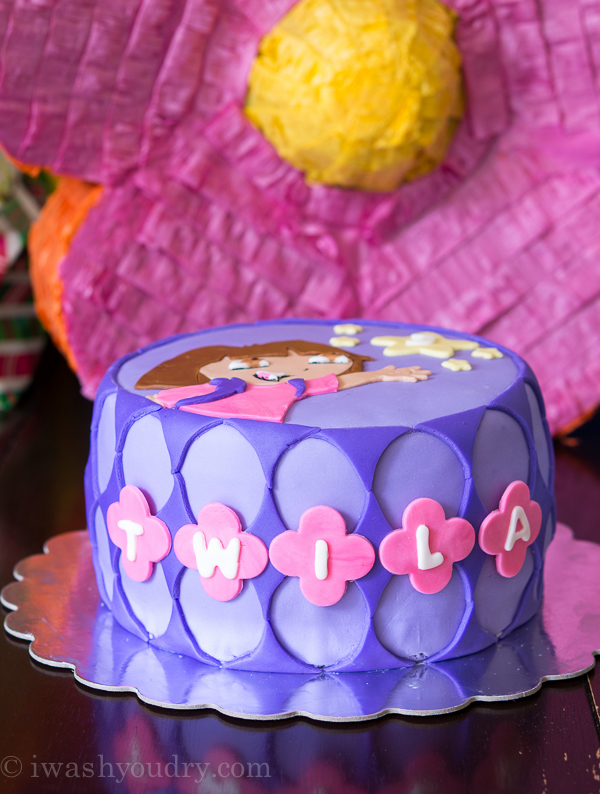
For this cake I found these really cute Wilton geometric cookie cutters that made for a super cute border around the outside. It almost makes the outside of the cake look like a big purple drum, but oh well. I think it turned out cute.
Remember to roll out your fondant thin for the decorating as well. The more fondant you stack, the thicker the fondant will become. And no matter how much I love fondant, too much can be off putting.
Let’s talk about the DORA:
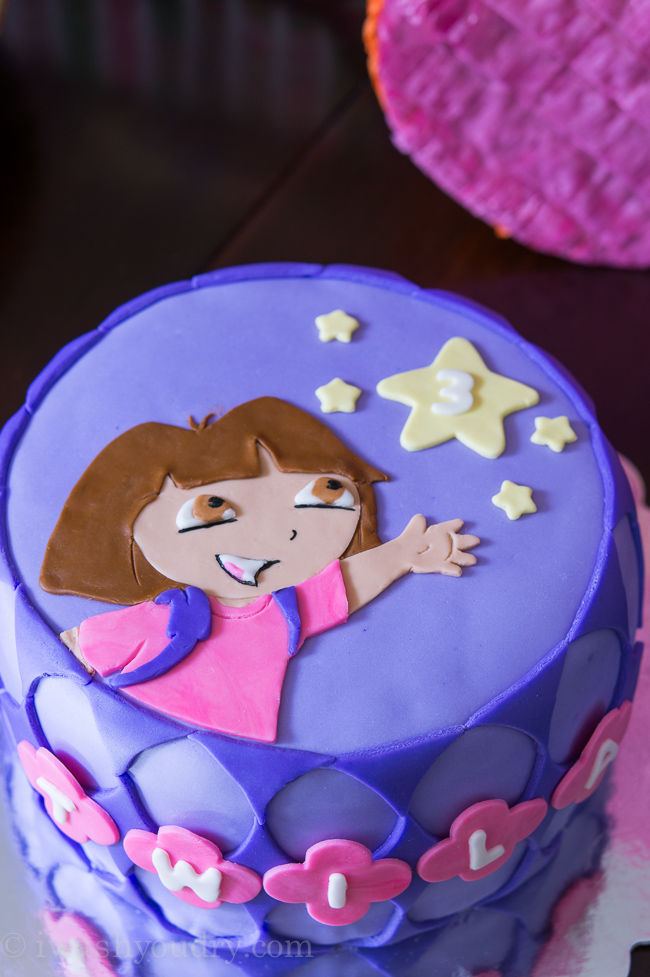
I know what you’re thinking… it looks way difficult right? But guess what?! It’s NOT! This was actually my husband’s idea – he suggested that I print out a picture of Dora, and then cut out the different parts of her and trace them on fondant and piece her together like a puzzle. So that’s what I did! I found this photo here, and printed it out at 175% so it was large enough. I traced an 8 inch circle over the top and then cut out all the different parts of her.

I colored all the different parts of the fondant, rolled it out thin and then used a small knife to cut out all the pieces. Since fondant is easily moldable, if you end up with pointy fingers (because those were the hardest parts), just use your finger to push them and round them to what they are supposed to look like.
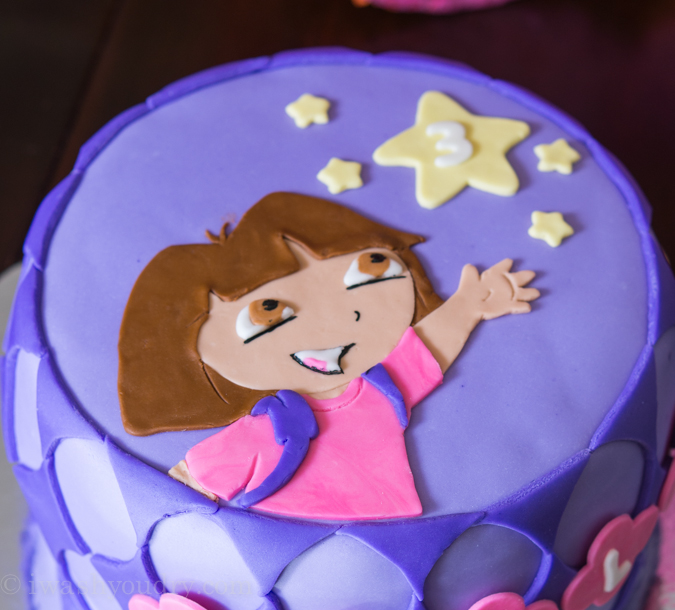
For the finer details, I used a toothpick to create the lines in her hand, around her collar, in her hair, shirt, and backpack.
Just remember to have fun with it!
I’m really happy with how it turned out, and my little girl simply loved it!
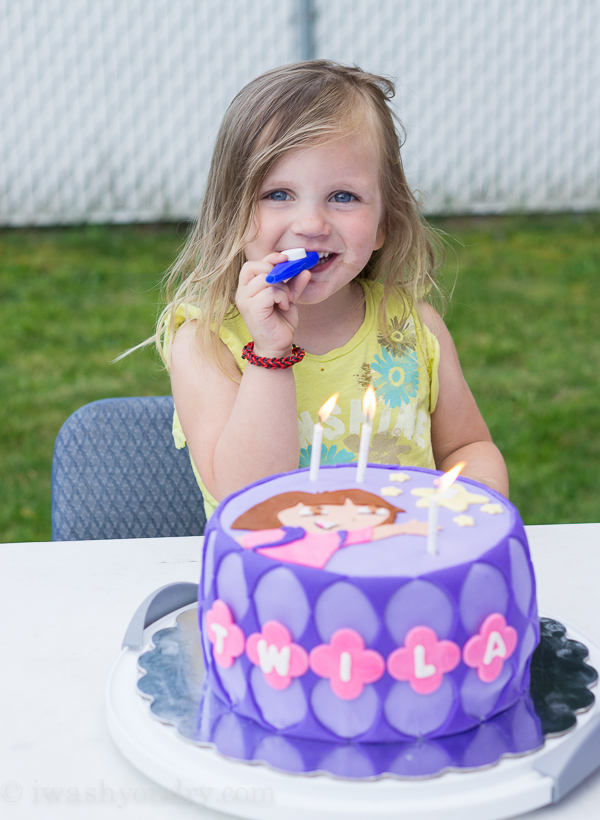
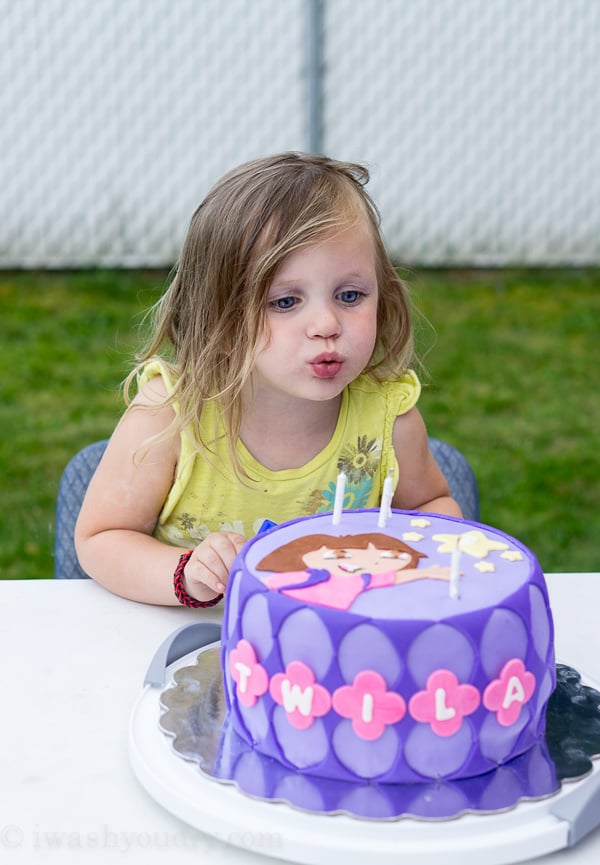
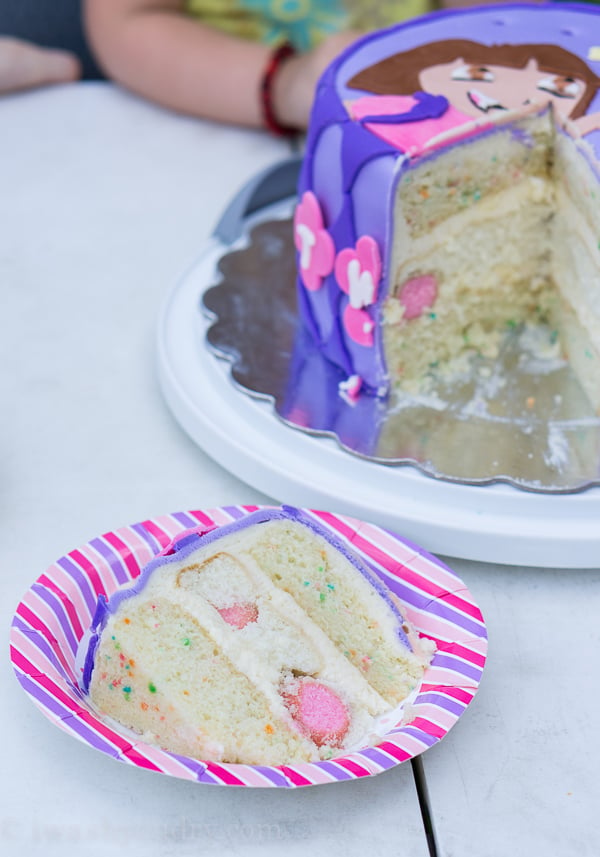
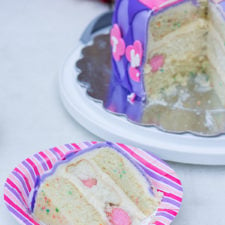
For the middle layer of this cake instead of just making it all funfetti, I made a surprise inside cake. I had made pink cake balls with my cake pop maker, and then baked those inside of a white cake layer.
I hope you feel inspired to make your own DIY Dora Cake with Marshmallow Fondant! If you have any questions, feel free to ask in the comments below!
Here’s that simple buttercream frosting recipe –
Make sure you don’t miss a thing! Follow I Wash You Dry here:
FACEBOOK | PINTEREST | GOOGLE+ | TWITTER | INSTAGRAM | BLOGLOVIN
Classic Buttercream Frosting for Layering Cakes
Ingredients
- 1 cup unsalted butter, softened
- 3 to 4 cups powdered sugar
- 1/4 tsp salt
- 2 tsp vanilla extract
- 3 to 4 tbsp heavy cream
Instructions
- Use a paddle attachment to beat the softened butter until light and fluffy.
- Add 3 cups of powdered sugar and turn the mixer on the lowest speed (so powdered sugar doesn't go flying everywhere) until the powdered sugar starts to become absorbed into the butter. Turn the mixer up to medium speed and add the salt, vanilla and 3 tbsp of heavy cream and beat for 3 minutes.
- If your frosting needs a thicker consistency add more powdered sugar. If it needs to be thinned out, add a little more heavy cream.
Nutrition

How further in advance can you make the different colored pieces of fondant that go on the cake. I planning to do something similar and would like to do the eyes and some parts that require different colors in advance and how would you store them colored? thanks ps lovely cake
Such a cute cake! And your method of printing Dora and cutting all the pieces is exactly how I’ve done similar cakes – works like a charm!
Adorable! You did a great job! I remember the days of Dora. Miss when my little one used to watch those shows. I hope your daughter had a happy birthday!
WOW. Incredible. I thought My ombre’ cake for Trevor’s 6th was epic. That’s got nothing on this. Bravo!