If you want the BEST turkey possible, follow these simple steps that I’m going to show you on How to Roast a Turkey.
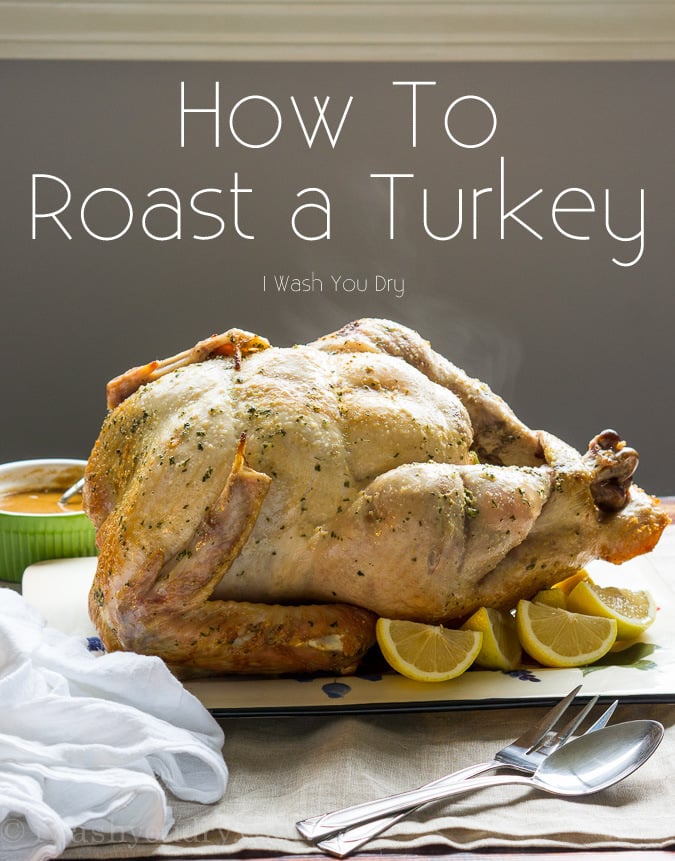
Over the years I have experimented with the different techniques of roasting a turkey, and I feel pretty confident that I’ve nailed down the best of the best.
My Top Tips on How To Roast A Turkey-
1. Fresh or Frozen Turkey? Which one to buy?
- I know this might sound contradictory, but frozen is fresher than fresh. A frozen turkey is fresher than ones that are already defrosted at the grocery store.
- Do yourself a favor and pick up a frozen bird.
- Look for birds that are “natural” or ” no additives added.”
- Plan ahead and let your bird become fully defrosted at least 24 hours prior to roasting.
I purchased a 13 pound turkey this time and to quicken the defrosting time I submerged the wrapped bird in a bucket of cold water for several hours. My husband put it this way – ice melts faster when it’s surrounded by water. I let it sit in the bucket for about 10 hours, drained it and then finished the defrost in the fridge.
2. Brine, Brine, Brine!
- Brining is the secret to a moist and tender turkey.
- There are dry brines (which I’ve used with great success), and wet brines, which I used this time around.
- Brining (or salting) is a way to increase the moisture capacity of the meat, resulting in an ultra moist piece of meat.
Start by placing your rinsed and fully defrosted (giblets and neck removed from the inside) turkey into a clean bucket or pot big enough to fully submerge, yet still able to fit in your fridge. Fill the bucket with water until the turkey is completely covered. Then carefully remove the turkey from the bucket, leaving all the water still in there.
REMOVE FROM BRINE AT LEAST 1 HOUR PRIOR TO ROASTING
3. What Do You Stuff Inside the Turkey?
- Once your bird is brined and rinsed, pat it dry with paper towels.
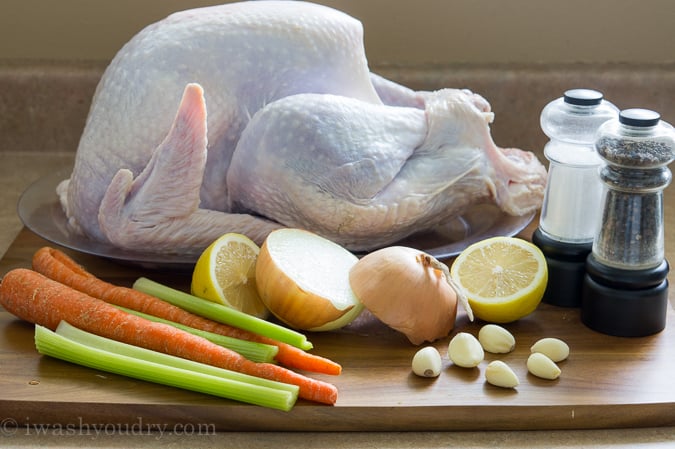
- I prefer to go classic when it comes to what goes inside the bird. I like to go with carrots, celery, onion, garlic and lemons.
- I start by cutting a lemon and rubbing the inside cavity of the turkey with it.
- Then I season the insides sparingly with black pepper. I don’t use salt because the bird just got done taking a salt bath, so he’s plenty salty.
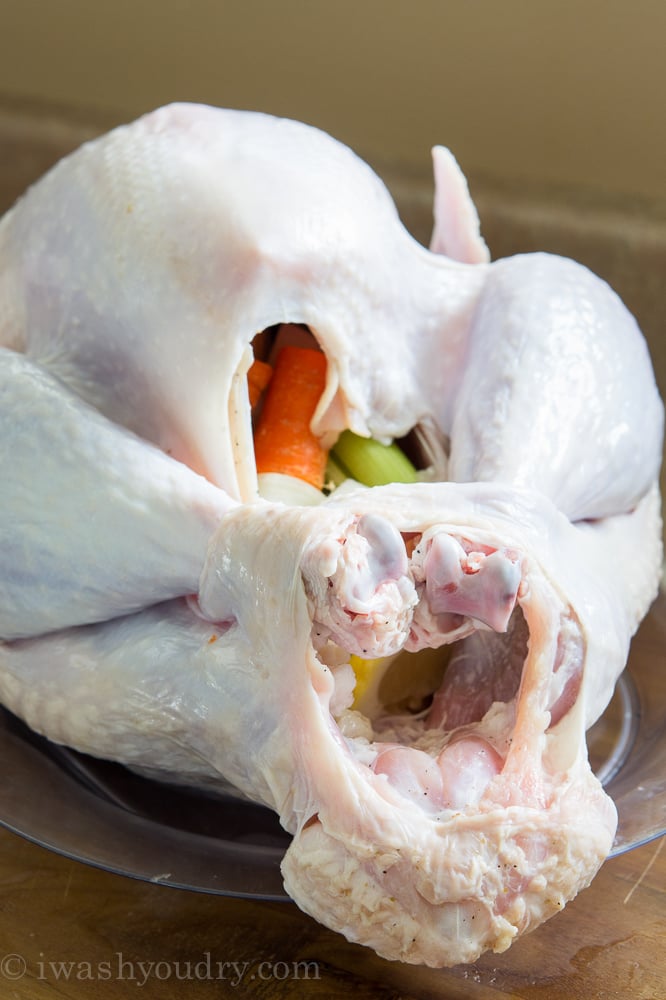
Quarter the onion and a lemon and stuff those inside as well as some smashed garlic cloves, and coarsely chopped carrots and celery. I leave the legs tied if they come tied with the fat, but if they’re tied with plastic, I’ll usually clip that off.
4. Do I Cook the Turkey Breast Side Down?
YES!
You read that right. Flip that bird over!
If you roast your turkey with the breast side down, then all the juices that run down the turkey will end up resting beautifully in the breast. Get ready to enjoy moist and flavorful turkey breast meat!! Guys, I’m telling you, this is where the difference is made.
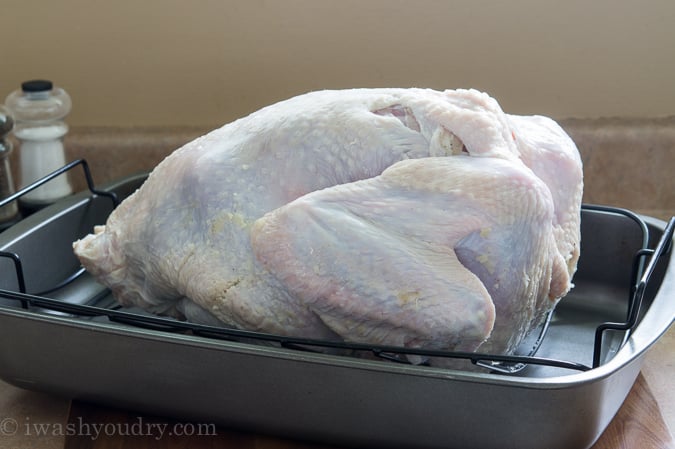
Lay the bird breast side down on in a roasting pan with a rack. You could even use one of those tinfoil throw-away roasting pans as well, doesn’t really matter.
5. Brush The Turkey with Butter
I love butter. What can I say? It’s delicious and makes things better. Give the bird a quick rub down with some melted butter. Since the bird is cold the butter will cling to the bird once it’s applied.
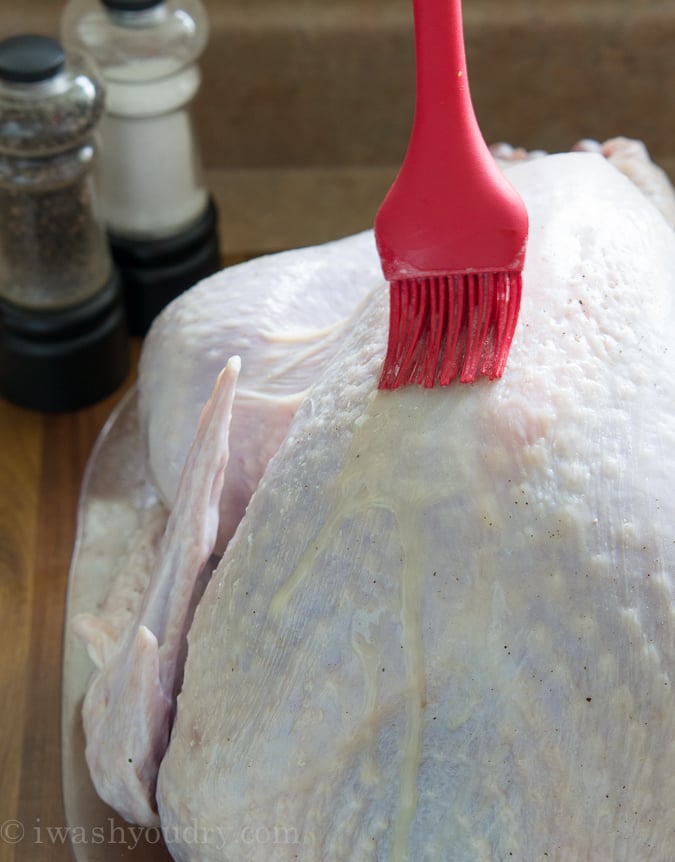
Once you’ve brushed both sides with butter, give it a quick sprinkle of black pepper. Remember, it’s already salted (from the brining), so refrain from adding more salt.
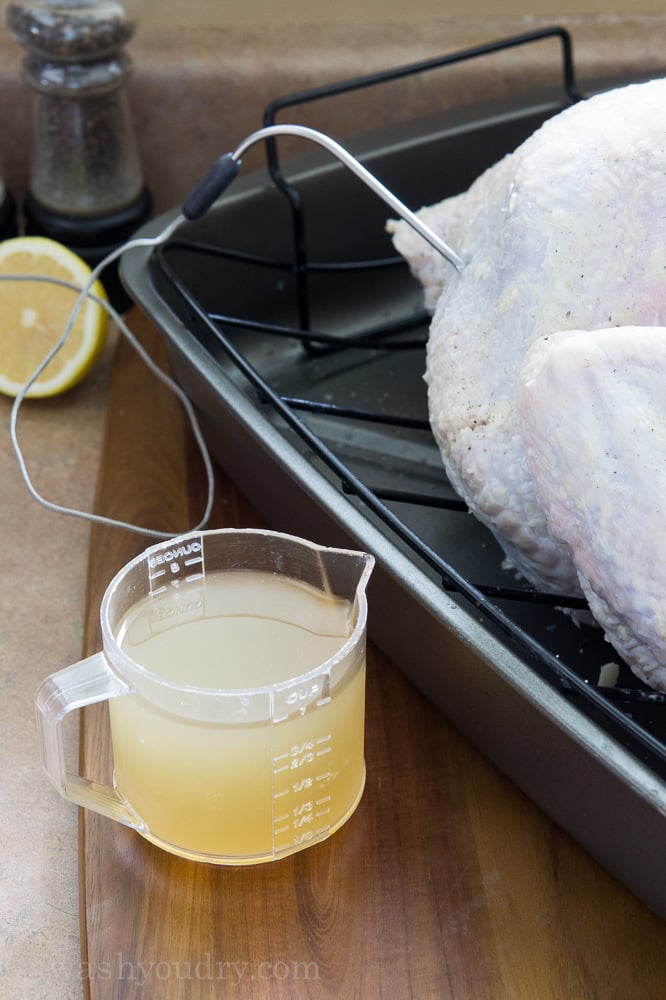
I like to add a 1 1/2 cups of chicken broth to the bottom of the roasting pan prior to baking. This does two things – keeps the moisture levels high in the oven, and also makes for a fantastic base for turkey gravy later on. 🙂
6. Best Thermometers, Temperature and Oven Settings
If there’s one thing you need to invest in before turkey day, it’s a great thermometer. I was recently sent a ThermoWorks ChefAlarm Thermometer to try out, and guys… I’m sold.
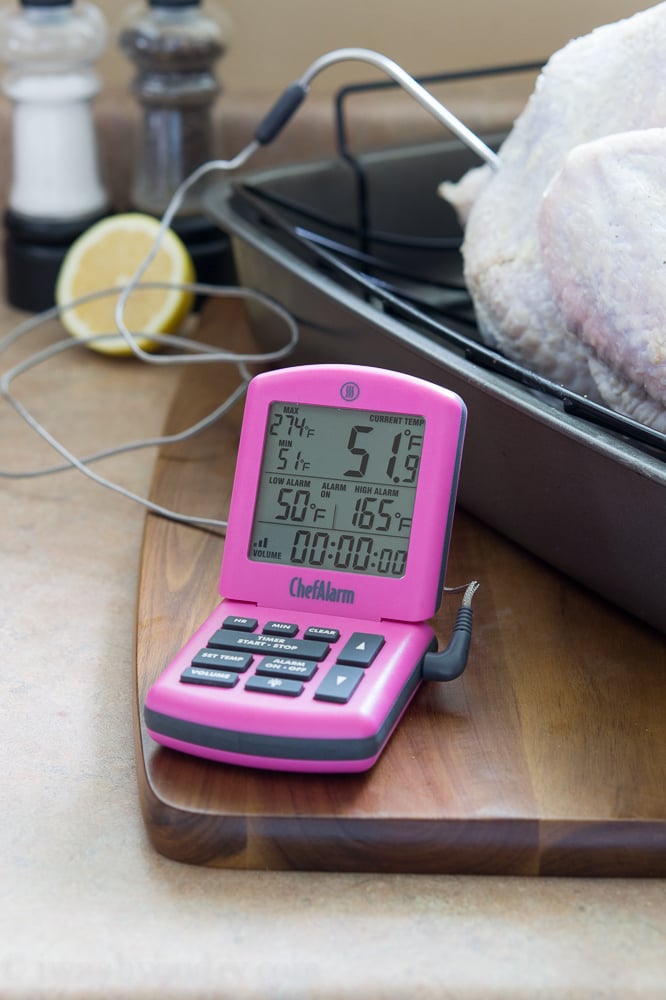
The ChefAlarm takes all the guess work out of cooking a turkey (or any piece of meat for that matter). With it’s long oven safe probe, I can keep track of the internal temperature of the turkey without ever opening the oven door. I can set a max temperature alarm, so when the turkey reaches that perfect 165 degrees it will alert me and I can take it out.
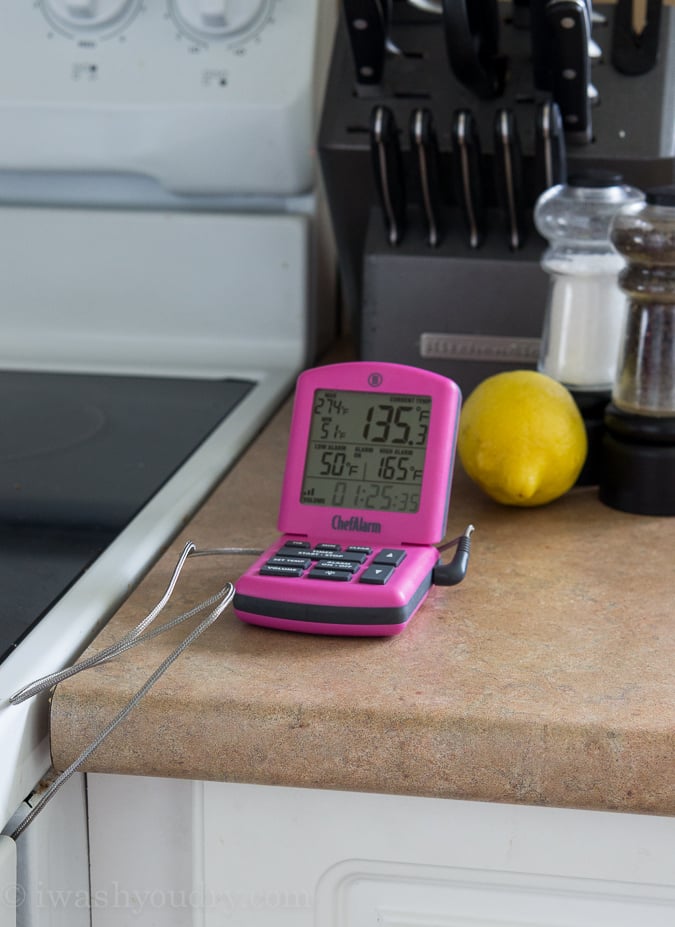
I’m not going to lie, it was quite addicting to watch the thermometer. It also gave me piece of mind to know that I wasn’t going to over cook or under cook my turkey.
I’m excited to use my new ChefAlarm for other things like cooking in our smoker, making candies this holiday season and just being able to instantly get the temperature of anything! I love the easy to read display, and it also comes in a super cute carrying case to keep it protected when it’s not in use. It’s professional quality at an affordable price. Pick one up for sure!
- Place the probe so that the tip is in the deepest part of the thigh.
- Preheat the oven to 425 degrees F. I start it out at a higher temperature for 30 minutes, then reduce the temperature to 350 degrees. This gives it a nice browned skin, then reducing the temperature lets the insides get nice and tender.
Since we’ve brined the turkey it will cook much faster. That’s why it’s beneficial to have the thermometer to keep track for you.
- As a guide though, figure for 1 pound of turkey – it should take 13 minutes to cook.
I had a 13 pound turkey and it was finished cooking in 2 hours and 23 minutes.
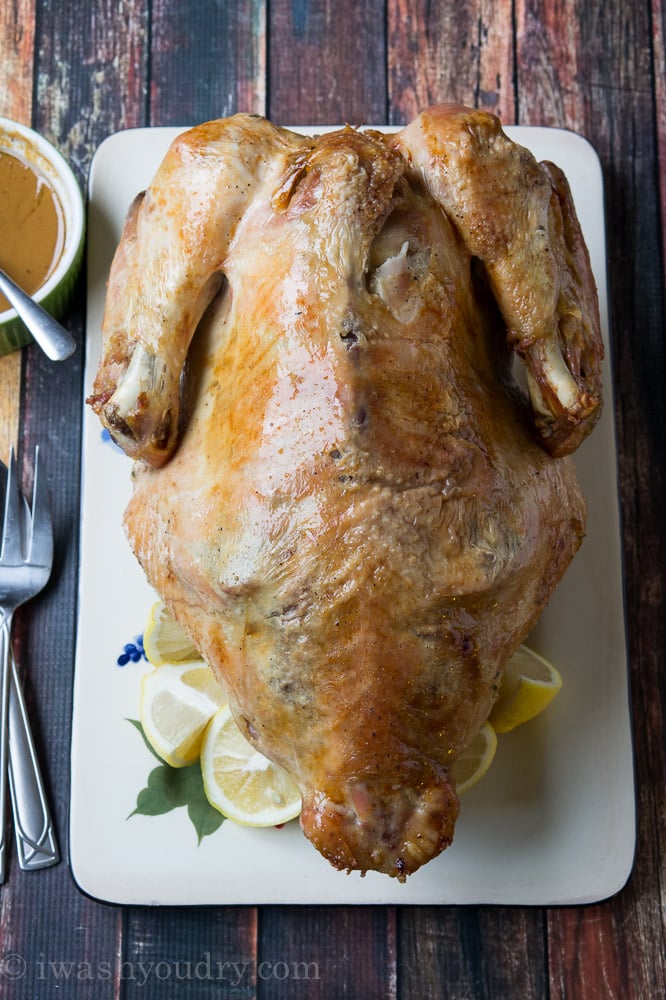
If you’re concerned about not having a browned breast, during the last 30 minutes of baking you can carefully remove the turkey from the oven and roll it over onto it’s back. Brush the top with more melted butter if desired (I used 3 tbsp of melted butter and added 1/2 tsp garlic powder and 1/2 tsp dried parsley). Return it to the oven until the internal temperature is 165 degrees F.
7. Tent the Turkey!
To keep the bird it’s juiciest, once it’s pulled from the oven, place it on a platter and tent it with foil. It may take several sheets of foil to cover it completely. This will keep the moisture locked in and also give it a chance to rest and redistribute the moisture inside.
During this time feel free to make some gravy with the drippings from the pan. I love using this recipe from CenterCut Cook.
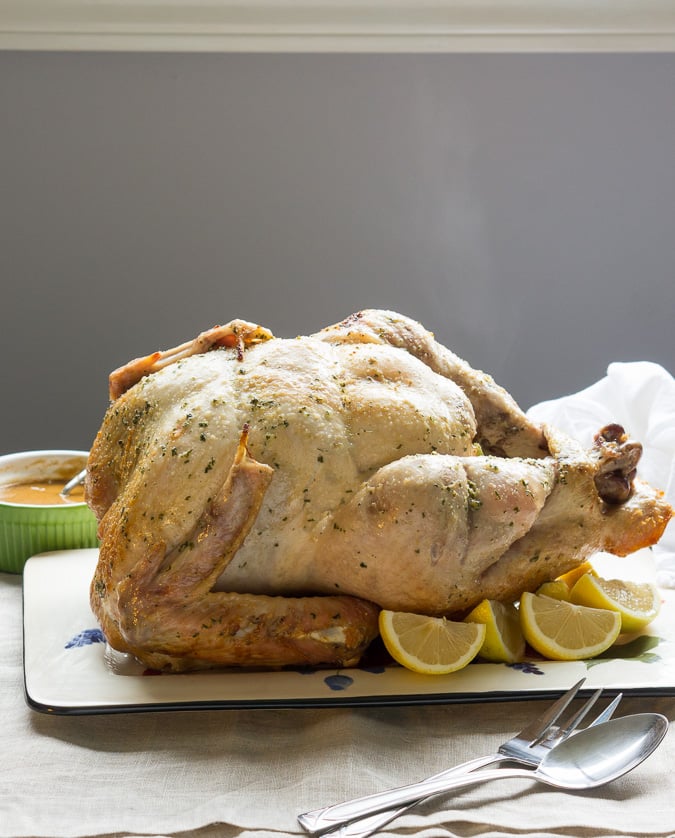
All that’s left is to remove the stuff inside the turkey (you can either discard this or serve it alongside the turkey), and carve up the meat!
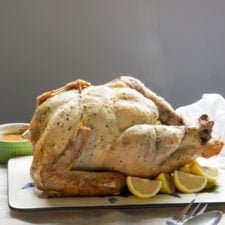
Ain’t she a beauty?!
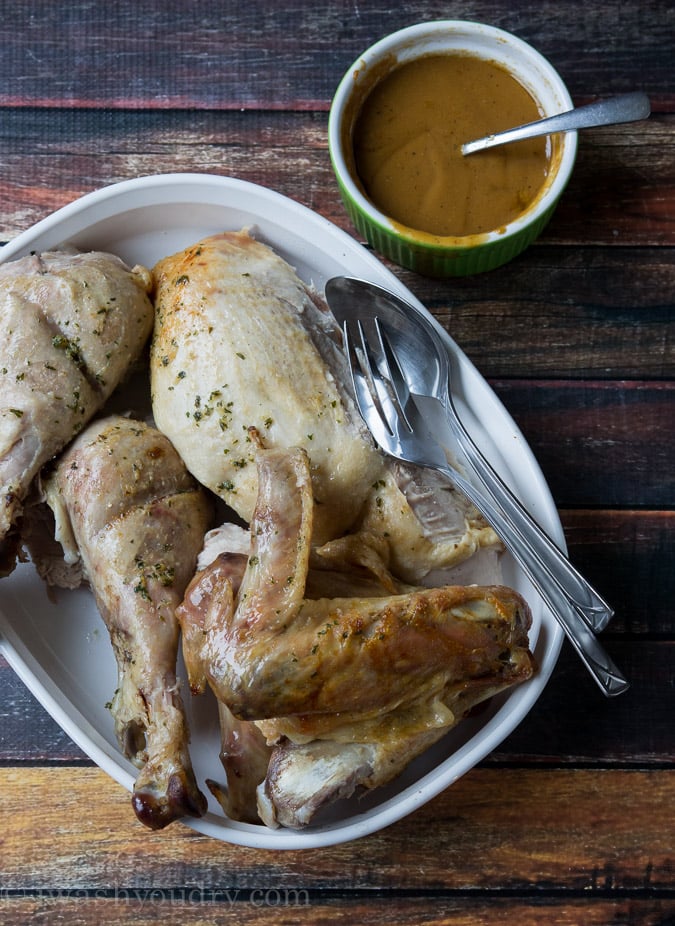
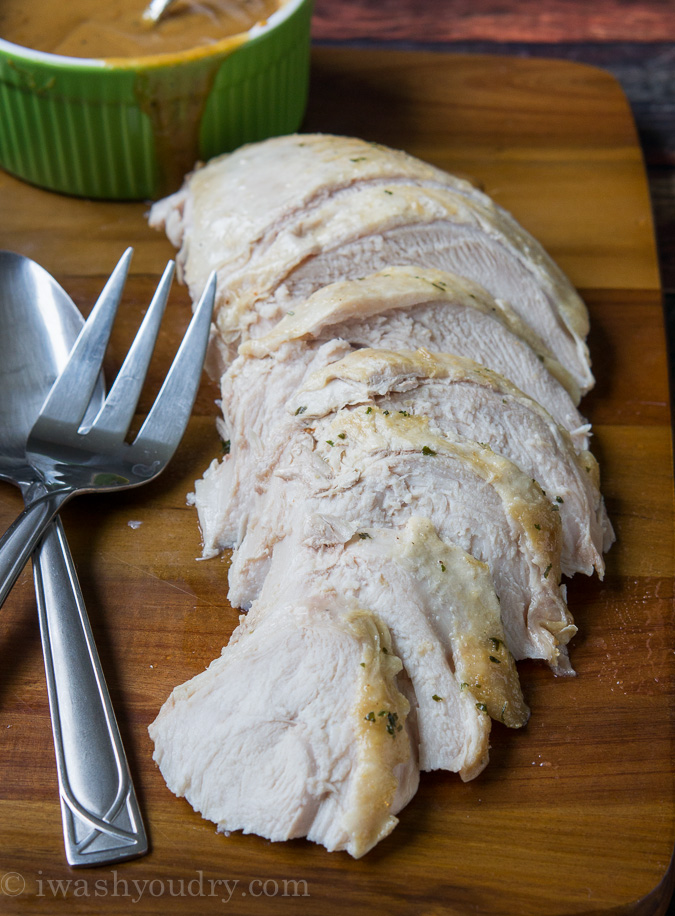
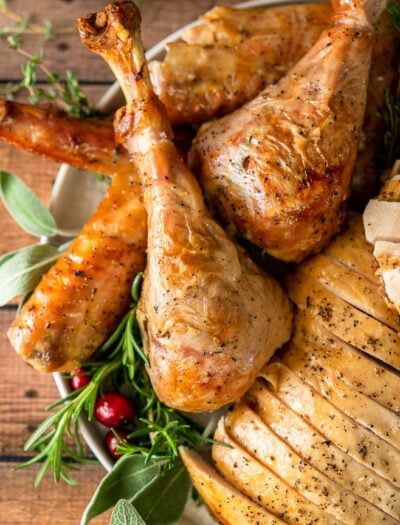
Not only is your dark meat going to be ultra tender and moist, but your guests will be raving about how tender and juicy the breast meat is!
Don’t forget to add the stuffing and sweet potato casserole to the menu!
I hope you found some useful tips and trick here.
Let me know if you have any questions or if you feel I left anything out!
Make sure you don’t miss a thing! Follow I Wash You Dry here:
FACEBOOK | PINTEREST | GOOGLE+ | TWITTER | INSTAGRAM | BLOGLOVIN
How to Roast a Turkey
Ingredients
For the Brine:
- 1 cup salt
- 1 cup of sugar
- 1 tbsp black pepper
- 4 bay leaves
To Cook The Turkey:
- 12-14 pound turkey, brined (see directions above)
- 2 carrots, cut into 1 inch pieces
- 2 stalks of celery, cut into 1 inch pieces
- 1 onion, quartered
- 1 lemon, quarterd
- 5 cloves of garlic, smashed
- black pepper
- 6 tbsp butter, melted
- 1½ cups chicken broth
- ½ tsp garlic powder
- ½ tsp dried parsley
Instructions
To Brine The Turkey
- For every gallon of water used in the brine, use the amounts shown in the ingredients.
- Once you've filled your bucket with cold water (and submerged the turkey), remove the turkey and measure the water.
- Grab a small pot and scoop about 4 cups of water from the bucket. Bring the water to a small boil and add the salt and sugar. Stir until dissolved completely. Pour the salted water back into bucket and stir in the black pepper and bay leaves. Submerge the turkey completely and place in the fridge for anywhere from 4 to 18 hours.
- Remove bird from brine, drain, rinse the turkey completely under cold water.
To Cook the Turkey:
- Preheat oven to 425 degrees F. Place oven rack so that it's on the lowest level.
- Pat the turkey dry with paper towels and then rub the inside cavity of the bird with the cut side of a lemon. Season the inside of the bird with black pepper and then stuff with the carrots, celery, onion, garlic and lemon.
- Use half of the melted butter to brush the turkey and season with black pepper. Lay the turkey, breast side down, on a rack in a roasting pan. Pour the chicken broth in the roasting pan.
- Insert a probe thermometer into the deepest part of the turkey thigh (avoiding the bone). If you don't have a probe thermometer start checking the temperature with an instant read thermometer after 2 hours.
- Bake the turkey for 30 minutes at 425 degrees F, then reduce the temperature to 350 degrees F until the internal temperature reaches 165 degrees F at the deepest part of the thigh. If you want to brown the breast (with 30 minutes remaining) carefully remove the turkey from the oven and roll the turkey over so it's breast-side up. Use the remaining melted butter mixed with the garlic powder and parsley and brush the bird. Return to oven until temperature is reached.
- Remove from oven and transfer bird to a platter. Cover with foil and let rest for 30 minutes. Remove the inside stuffing and carve turkey. Enjoy!
Notes
(12 pounds = 12 lbs x 13 min. = 156 min. (2 hours 36 minutes).
When you brine a turkey though, they cook faster, so keep an eye on the internal temperature for better accuracy.
Nutrition
Disclaimer: This post is in partnership with ThermoWorks. All thoughts and opinions are 100% my own. Thank you for supporting the brands that make I Wash You Dry possible.


Best Turkey we’ve ever tasted!
So happy to hear it! Thank you for the comment Michelle!
You made a great point when you mentioned that when cooking a turkey is important to never use a frozen one. My wife and I tried to cook for some extended family this past Thanksgiving, but we ended up burning the turkey. I think it would be a good idea for us to find a roasting rack to use for next year.
I am going to make it now :), Thank you
That was the best turkey that I have ever made….I can’t thank you enough! Brine, brine, brine…..a perfect tip!
I’m so glad you enjoyed it Wanda!! 🙂
Great post, Shawn! Pinned to my cooking tutorials board. Everyone can used this!
Thank you so much Carolyn! 🙂
Brining a turkey is the only way to roast it! Awesome tutorial!
Thanks Emily! 🙂
What a great tutorial!
Thought I’d add: if you do not have a pot large enough to brine the turkey or if you are worried the pot w/ turkey & brine will be too heavy for the refrigerator shelf, you can brine it in a cooler. I use ice water when using the cooler method and keep a thermometer in the cooler to be sure it stays under 38 degrees F or 3 degrees C. If the temperature rises, I add ice. Empty the cooler & sanitize immediately after removing the turkey.
FYI– Butterball has a Turkey Talk Line (800-288-8372) for cooking turkey.
I completely agree with Shawn—always stuff the turkey. For me that means packing it full of quartered shallots & as much fresh rosemary as I can get my hands on.
Great tips! Even the ThermoWorks Chef Alarm would work for keeping track of the temperature of the water in the cooler. 🙂 Thanks CTY!
I have recently discovered the world of brining. It really does make a difference. I never thought it would have such an impact on flavor and moistness. If you have any doubts about it try it with chicken first. You’ll be surprised.
Thanks Michael! 🙂
Never brined a turkey before, but it looks tasty!
It seriously make such a difference, you should try it!
What great tips! This thermometer would make cooking the turkey easy peasy!
It sure does Lisa! Thanks! 🙂
Shawn, does the 2 hrs 36 mins include the first 30 @ 425°? Or is that 2hr36m @350°?
Thanks for your time!!
I’ve already messaged you, but yes, the total time includes the time at 425 degrees F.