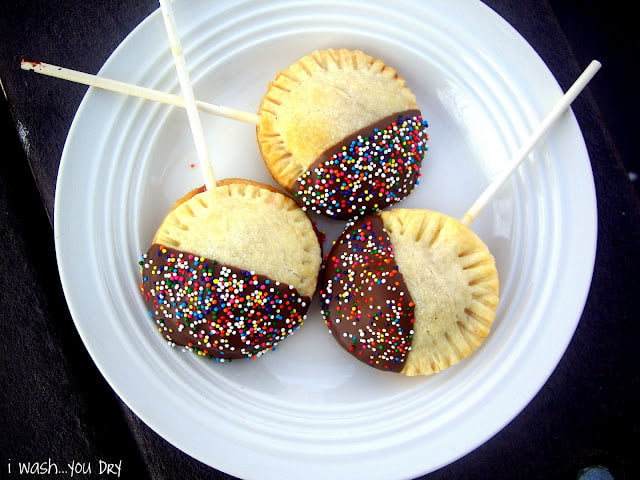
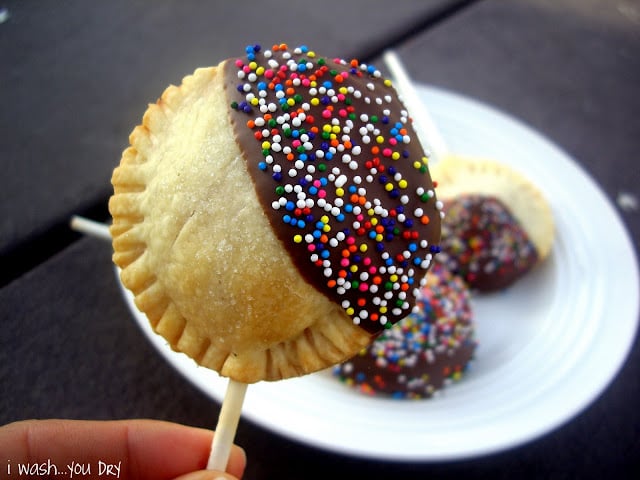
Cherry Pie on a stick?
How much better can life get!!
Covered in chocolate and sprinkles too?
Now that’s just insane!
Oh yeah, I forgot to mention… I’m insane!
These were the perfect little treat for my kiddos. They loved helping out the whole way thru. Letting them cool was probably the hardest part for them!
I got this cute idea out of that awesome Better Homes and Gardens Holiday Baking magazine. Instead of cherry pie, they used a peach filling, and made them into cute star shapes.
I thought I’d “one up” them and dip it in chocolate.
I came thisclose to making them look like gingerbread men instead of circles… but Christmas is still too far away.
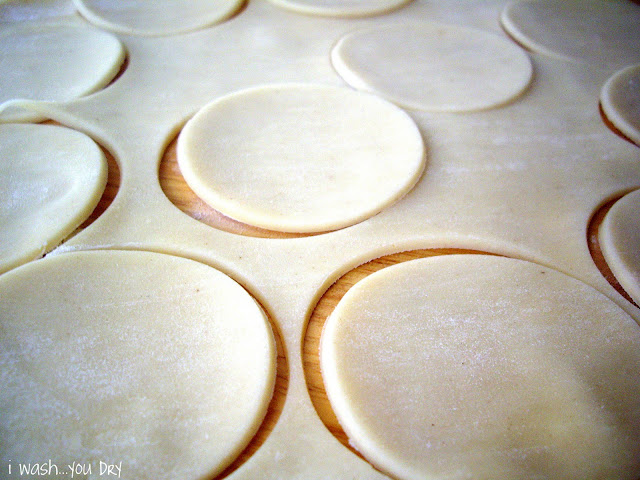
These are a no brainer to make. Get yourself a box of those Pillsbury Refrigerated Pie Crusts. There are two in the box. Unroll them on a lightly floured surface. And cut out the shapes.
Use a shaped that is at least 2 inches wide.
You can combine the scraps, roll them out and get more cut out more shapes.
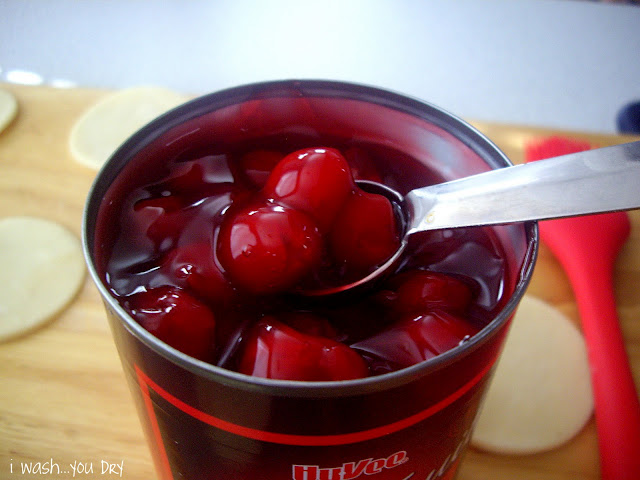
Pick your filling. I chose cherry.
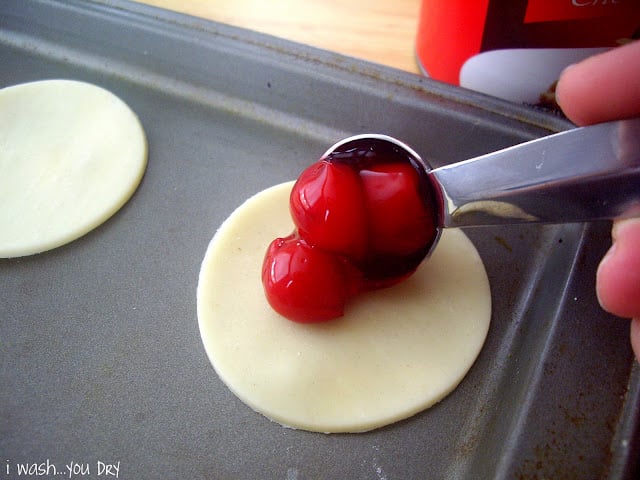
Place a level teaspoon full into the center of the circle. {I went with a heaping teaspoon full and ended up having filling ooze out when I tried to close it.} So stick with a tsp.
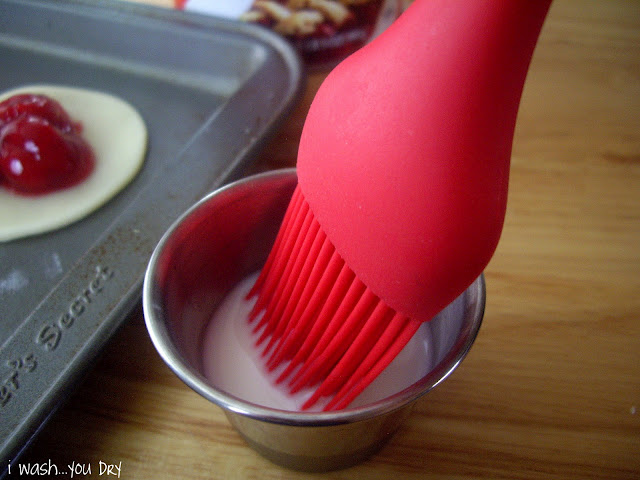
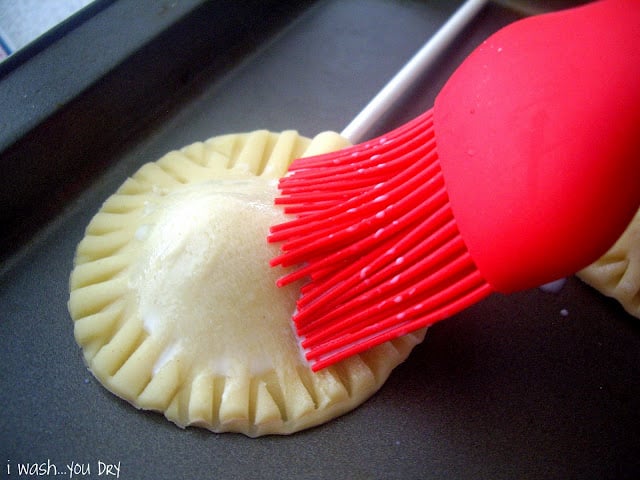
Brush all around the outer edge of the circle with milk.
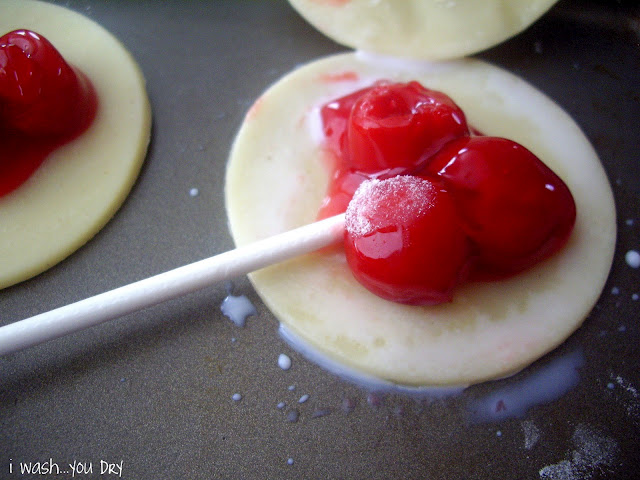
Place your lollipop stick in the center.
{I got my sticks at the craft store.}
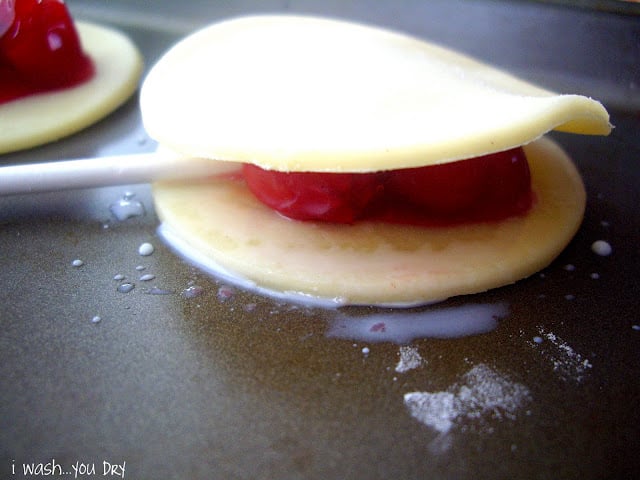
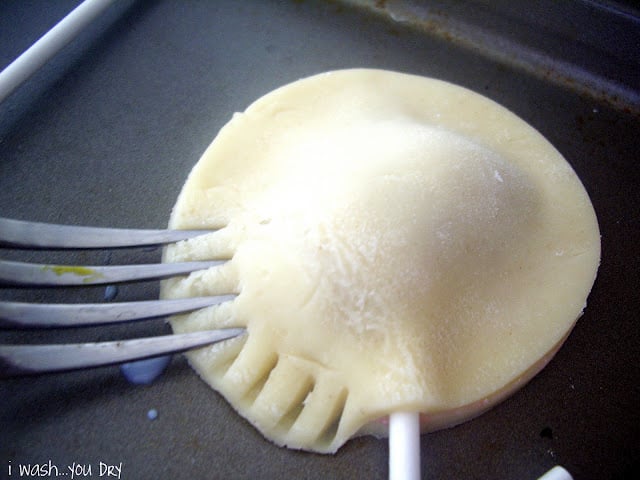
Lay another circle on top.
Using a fork, pinch the sides all the way around to seal in the pie filling.
Give it another brush of milk, and a sprinkle of sugar.
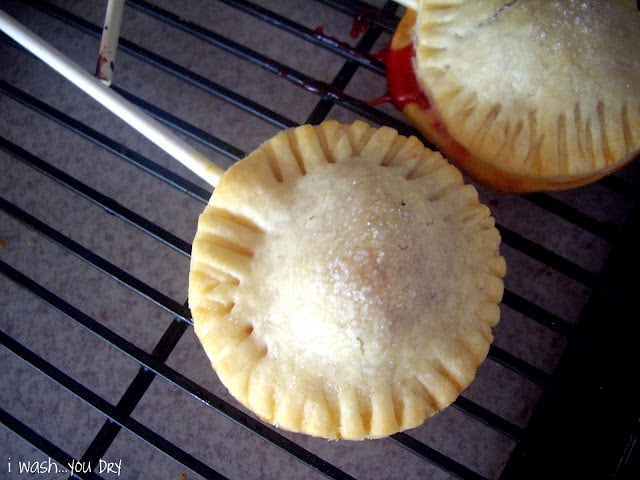
Bake for 12-15 minutes or until golden brown.
Use a spatula to transfer to a wire rack to cool completely.
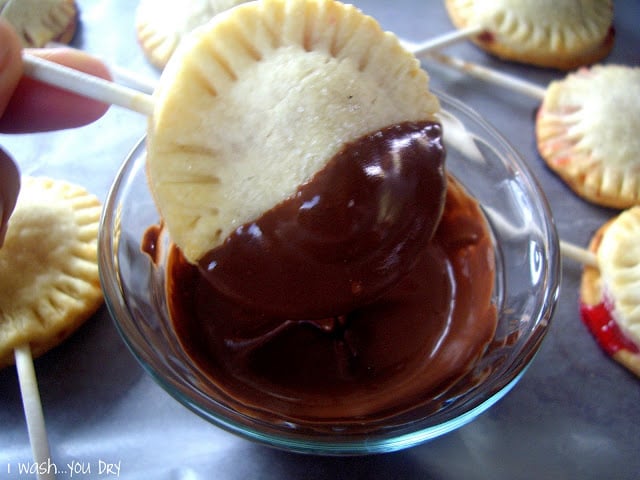
Once they are cooled, dunk the cherry pie pop into a warm bath of dipping chocolates.
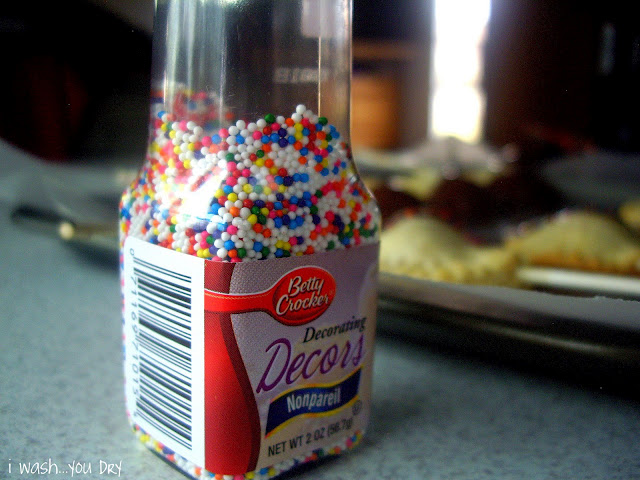
Transfer to a sheet of wax paper, and have at it with some fun sprinkles!
And you better believe we licked up all those sprinkles!
Chocolate Covered Cherry Pie Pops
Ingredients
- 1 Pie Crusts, 2 crusts
- 1 pie filling
- dipping chocolates
- sprinkles
- 18 sucker sticks
- milk
- sugar
Instructions
- Preheat oven to 400 degrees F.
- Unroll pie crust on lightly floured surface. Cut out 36 shapes at least 2? wide.
- Place a level tsp of cherry pie filling into center of 18 shapes. Place on an ungreased baking sheet at least two inches apart. Brush outside edge of shape with milk. Place the other 18 shapes on top, and using the tines of a fork seal the edges shut.
- Brush tops with more milk, and sprinkle with sugar. Bake for 12-15 minutes or until golden brown.
- Remove with spatula (do not pick up by sticks yet) to cool on a wire rack.
- Meanwhile, heat dipping chocolates according to package instructions. Dip edge of cooled pie pop into chocolate, and place on a sheet of wax paper to dry. Cover with sprinkles if desired.
- Enjoy!






 The Pomegranate: How To-
Jeanette
Oh Shawn I'm so sad you're gone already–we had so much more blog-talking to do!
These pies look delicious and I think you made the right choice doing them round. Any other shape would have meant more seams for the filling to seep out of. And dipping things in chocolate just for good measure is always right in my book!
TexasTwinsTwice
WOW! All your posts are amazing. I bet your family eats better than anyone you know!! i love your blog =)
megan @ whatmegansmaking
These are so cute! Such a fun little treat, and perfect for Thanksgiving.
Pam
How cute and creative are these! My whole family would gobble these up.
amber
wow, i'm going to make these this weekend, they look delicious!!! love seeing you being so creative, your amazing. love you!!!
Shawn
Oh yes, white chocolate would be excellent!
Krystal and Brad Cooley
Yummy and cute indeed! I want to make these with white chocolate!