For the next two weeks I will be introducing you to a slew of awesome bloggers who have worked hard to come up with great ideas to keep our kids entertained this summer.

The first blogger in my line-up is Stefanie from Sarcastic Cooking. She is one creative chick. I love reading her blog, and trying out her tasty recipes. I knew she would come up with a great lunch idea, and oh my goodness I want to eat that pizza right now!
Don’t forget to come back every day this week and next week for more great Kid’s Summer Lunches! {check out the “kid friendly” tab up top to see them all!}
Without further ado, here is Stefanie… give her a warm welcome!
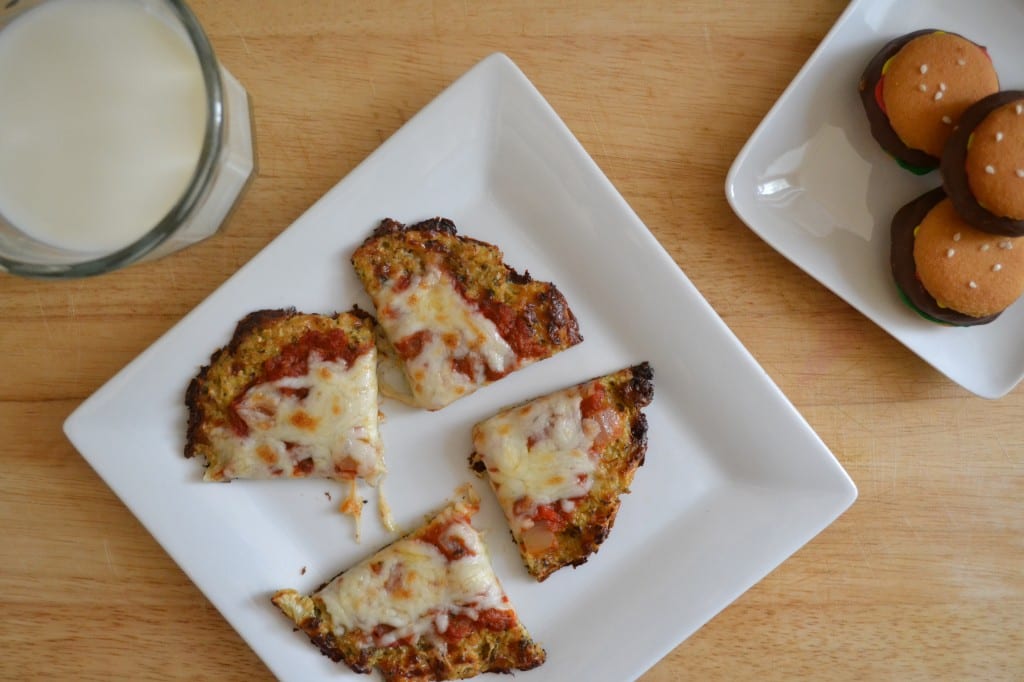
When Shawn asked me to contribute to her week of summer lunches for kids, I was really flattered and excited. I couldn’t wait to test out a few things and try and come up with something easy and healthy. There is only one thing; I don’t have kids to test these foods out on.
However, I happen to be married to a picky eater who, given the choice would eat pizza or macaroni and cheese with sliced hot dogs in it every day of his life.
I also have two nieces who are little cookie fiends that love any chance to get their hands on a cookie or “pupcake.” Yes, that is how they say cupcake. Cute, right?
Now, what to make?
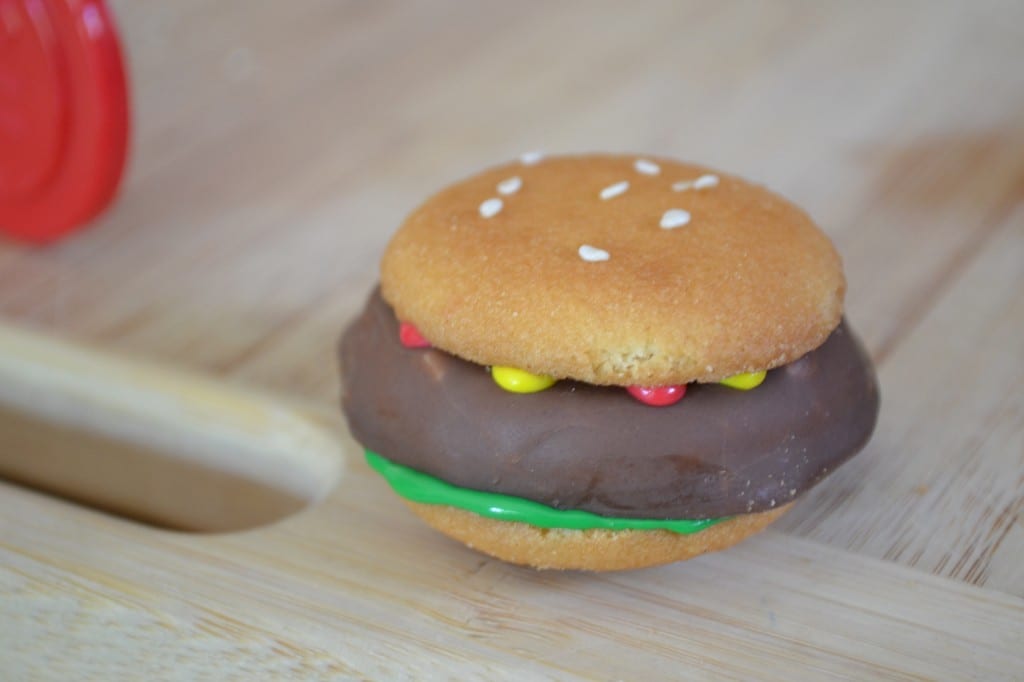
I have always loved these little hamburger cookies. When I was in grade school, we were allowed to bring a treat in for our class on our birthday. My mom was awesome at this. One year she made individual cups of dirt. You know, the classic pudding and Oreo cookie mix with little gummy worms in it? The twist was, she made them in little plastic cups then put them in personalized terracotta flower pots for every kid in the class! How cool is that? I still use that pot as a pen and pencil holder. Another year she made these fake hamburger cookies. I have always loved these little guys and jumped at the chance to put them on the blog.
I researched lots of different ideas on what to make for the actual meal. I didn’t want to over think it, because I know that a lot of the moms I know don’t have much time to themselves to whip up a complex lunch in between all the running around they do.
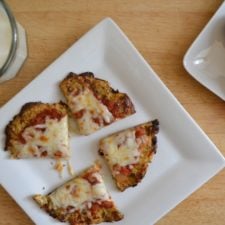
When I came across Lori’s twist on traditional pizza crust, I knew I had to do that in min form! Every little kid I know loves pizza. Scratch that. Every person I know loves pizza.
So, who better to test this out on than my picky eater husband? Guess what? He liked it! It holds up, and it’s crisp like the regular pizza crust. The slight difference, according to my husband, is it just “tastes a little more vegetable-y.”
You can bake the crusts ahead of time and store them in the fridge until you want to serve them. When lunch rolls around, have the kids top them with whatever they want and then pop them under the broiler for a few minutes. Without breaking up the cooking and prep time, this dish takes about forty minutes from start to finish.
Now, for dessert. It is all store bought. No baking necessary, just a bit of assembly. My four year-old niece loves to help out with baking, especially if it involves frosting. This is a great time consuming activity to get the kids to assist with.

I may not be a mom yet, but I think that I am honing my cooking for kids craft with all the practice I have been getting cooking for my husband and nieces. I guess you could say these recipes have been kid (kind of) tested and aunt approved!
Remove most of the core from the head of cauliflower. Cut the head of cauliflower in half. Coarsely grate the head of cauliflower using a box grater. Grate the cauliflower over/into a large heat-proof mixing bowl.
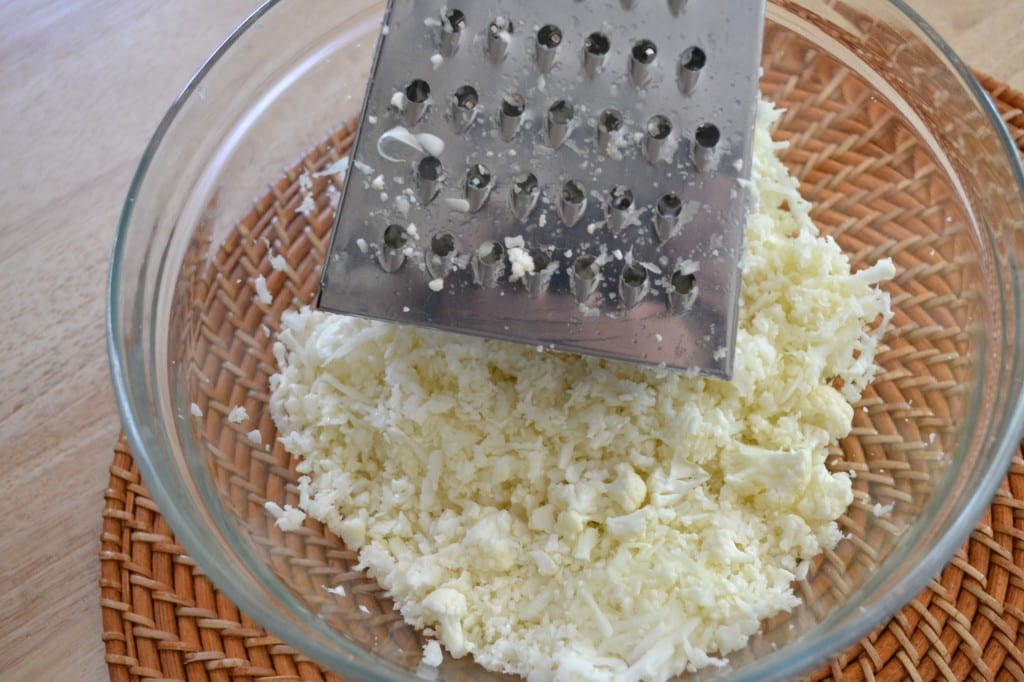
After the cauliflower is grated, pop it in the microwave for eight minutes. Remove the bowl from the microwave when finished heating. Let cool for 5-10 minutes.
Preheat the oven to 450 degrees F.
Add the egg, 1 cup of shredded mozzarella, Italian seasoning, garlic, salt and pepper to the bowl with the cauliflower. Use a rubber spatula to mix all of the ingredients together.
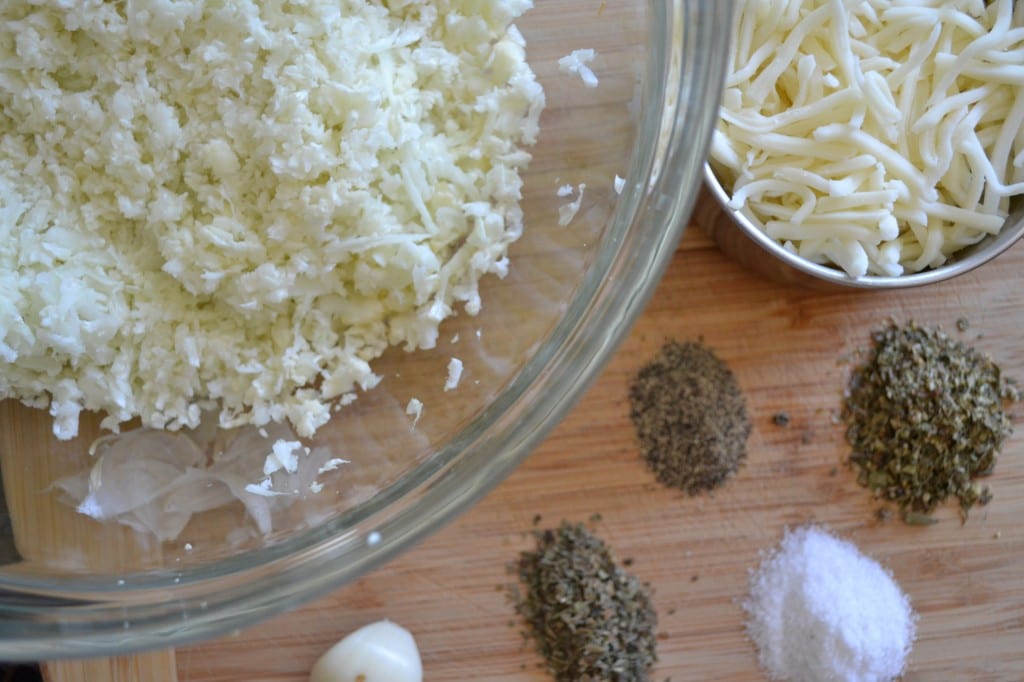
Use a ½ cup measuring cup to scoop out three big scoops of the crust mixture. Place each scoop on to a pizza pan lightly coated in olive oil. Press the crust mixture down and form it into a 6 inch circle about ¼ of an inch thick.
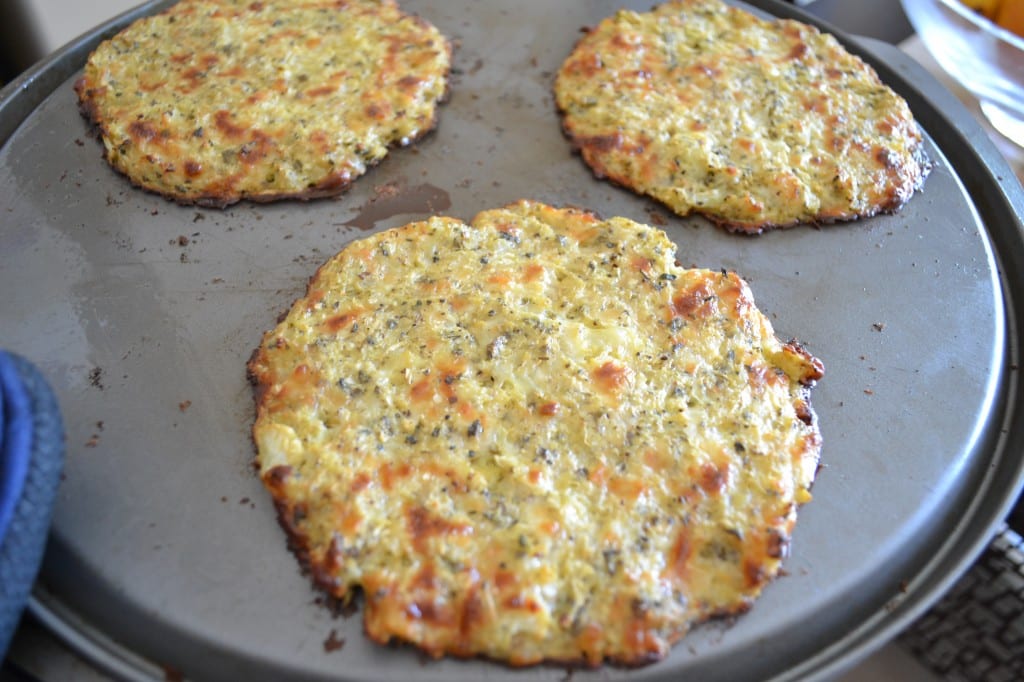
Bake the crusts for 20 minutes. After 20 minutes, remove from the oven and let cool. Use a spatula to loosen the mini crusts from the pizza pan. This is the point where, if you were making these ahead of time, you could stop and wrap the pizza crusts in tin foil and then store them in the fridge for up to a week until ready to eat.
If you are eating the pizzas right away, place a tablespoon of marinara or pizza sauce on each pizza and spread it around evenly. Then sprinkle a tablespoon of cheese over each mini pizza.
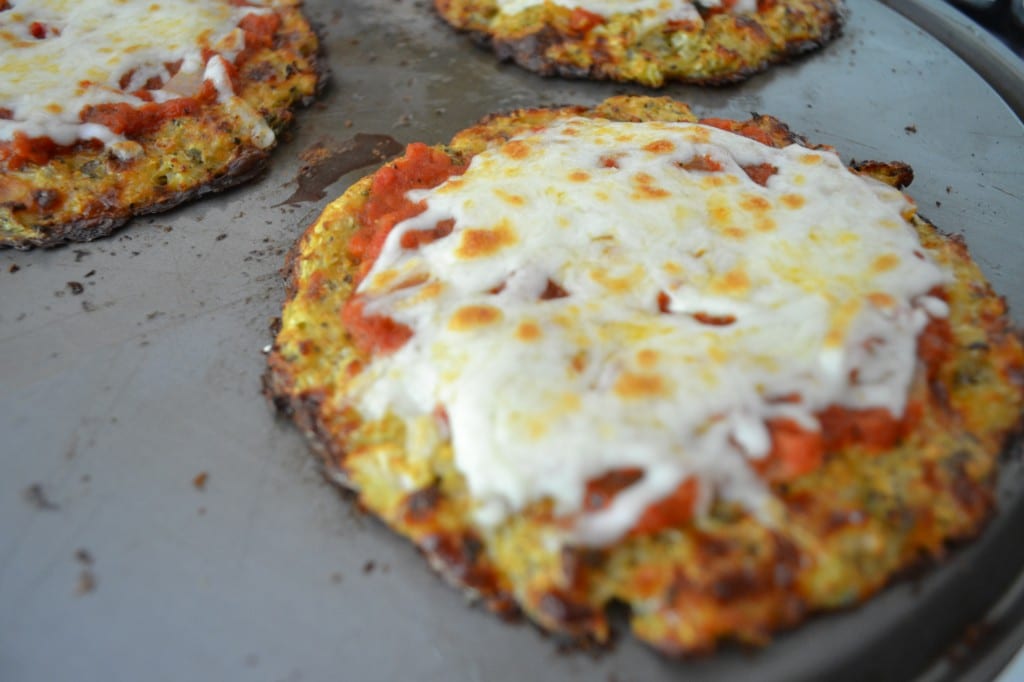
Switch the oven to broil. If you have a high or low setting on your oven for broil, go with high. Broil the pizzas for 3-4 minutes, until the cheese melts. Let the pizzas cool for 5 minutes. Cut into fourths and then serve.
The vanilla wafers act as the buns for the hamburger cookie. Place a squiggly circle around the bottom bun using the green icing. Place squiggly circles of both the yellow and red icing around the other vanilla wafer.
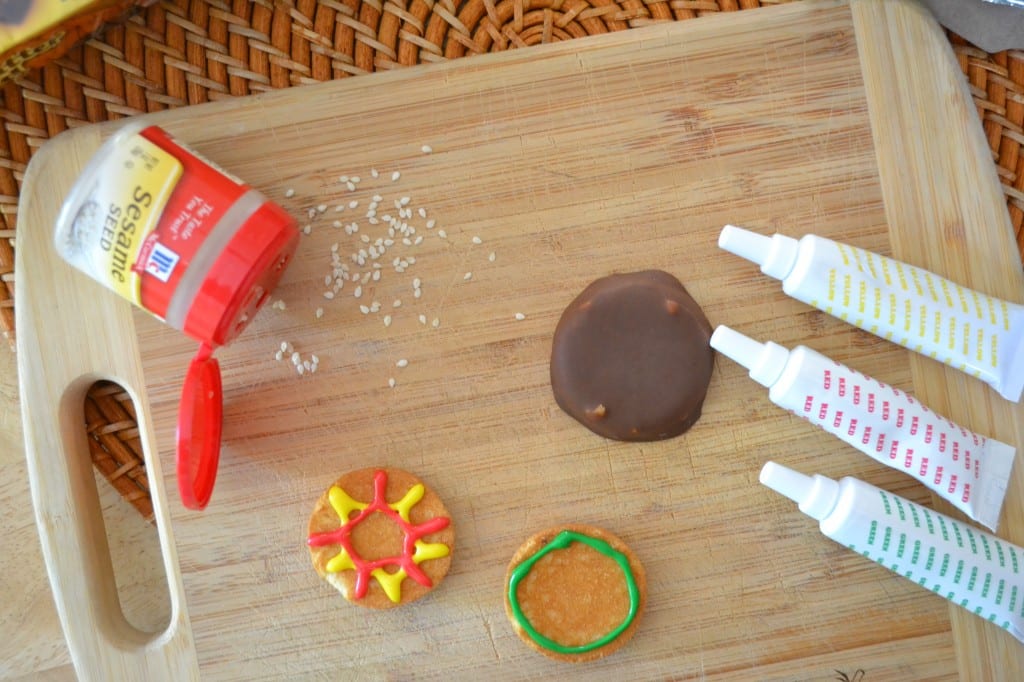
Place the Keebler Peanut Butter Filled cookie on top of the vanilla wafer with the green icing (the lettuce) on it. Place the other vanilla wafer on top. Press down so the colors start to sneak out the sides.
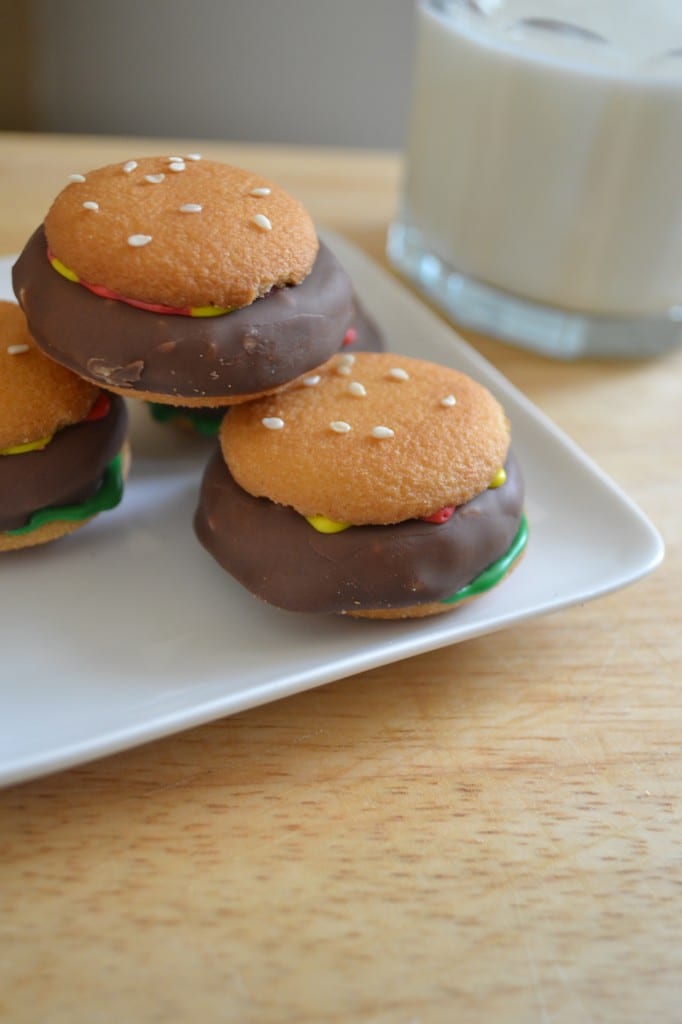
Dab your finger in some water and slightly moisten the top of the cookie. Then press the pinch of sesame seeds into the moistened area. In the end it will look like a mini hamburger with lettuce, ketchup, and mustard on a sesame seed bun!
Trust me, they will love it!!!
Cauliflower Crusted Pizza & Hamburger Cookies
Ingredients
For the Pizzas:
- ½ Cauliflower, grated
- 1 Large Egg
- 1 Cup Mozzarella, Plus 3 Tablespoons, Shredded
- 1 Tablespoon Italian Seasoning Blend
- 1 Clove Garlic
- 1 Teaspoon Salt
- ½ Teaspoon Pepper
- 3 Tablespoons Pizza Sauce, or Marinara
For the cookies:
- 2 Vanilla Wafers
- 1 Keebler Peanut Butter Filled Cookie, or Tagalong
- 0.7 Ounce Icing in Yellow, Green and Red
- A Dab of Water
- Pinch Sesame Seeds
Instructions
For the pizzas:
- Remove most of the core from the head of cauliflower. Cut the head of cauliflower in half. Coarsely grate the head of cauliflower using a box grater. Grate the cauliflower over/into a large heat-proof mixing bowl.
- After the cauliflower is grated, pop it in the microwave for eight minutes. Remove the bowl from the microwave when finished heating. Let cool for 5-10 minutes.
- Preheat the oven to 450 degrees F.
- Add the egg, 1 cup of shredded mozzarella, Italian seasoning, garlic, salt and pepper to the bowl with the cauliflower. Use a rubber spatula to mix all of the ingredients together.
- Use a ½ cup measuring cup to scoop out three big scoops of the crust mixture. Place each scoop on to a pizza pan lightly coated in olive oil. Press the crust mixture down and form it into a 6 inch circle about ¼ of an inch thick.
- Switch the oven to broil. If you have a high or low setting on your oven for broil, go with high. Broil the pizzas for 3-4 minutes, until the cheese melts. Let the pizzas cool for 5 minutes. Cut into fourths and then serve.
- Bake the crusts for 20 minutes. After 20 minutes, remove from the oven and let cool. Use a spatula to loosen the mini crusts from the pizza pan. This is the point where, if you were making these ahead of time, you could stop and wrap the pizza crusts in tin foil and then store them in the fridge for up to a week until ready to eat.
- If you are eating the pizzas right away, place a tablespoon of marinara or pizza sauce on each pizza and spread it around evenly. Then sprinkle a tablespoon of cheese over each mini pizza.
For the cookies:
- The vanilla wafers act as the buns for the hamburger cookie. Place a squiggly circle around the bottom bun using the green icing. Place squiggly circles of both the yellow and red icing around the other vanilla wafer.
- Place the Keebler Peanut Butter Filled cookie on top of the vanilla wafer with the green icing (the lettuce) on it. Place the other vanilla wafer on top. Press down so the colors start to sneak out the sides.
- Dab your finger in some water and slightly moisten the top of the cookie. Then press the pinch of sesame seeds into the moistened area. In the end it will look like a mini hamburger with lettuce, ketchup, and mustard on a sesame seed bun!


I love love love the cauliflower pizza crust. I seriously make it once a week and never get tired of it. The hamburger cookies are so creative! I bet we see these all over Pinterest. Great guest post 😉
fantastic ideas. i can’t get over the hamburger cookies!
Aren’t they cute?!
These look great … I recently tried cauliflower pizza and was shocked at how great it was 🙂
I have always wanted to try cauliflower pizza crust. I have seen recipes for it before but none were as well put together as this. Love the photos and I’m looking forward to learn more about “popping” my grated cauliflower in the microwave!! I feel like a kid doing a science experiment….YIPPEEE!!!
Very creative!